Sample Club
Laser Cutting Holiday Gift Tags
Holidays, Wood
Introduction
– Laser Cutting Holiday Gift Tags
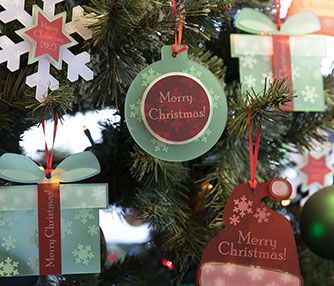
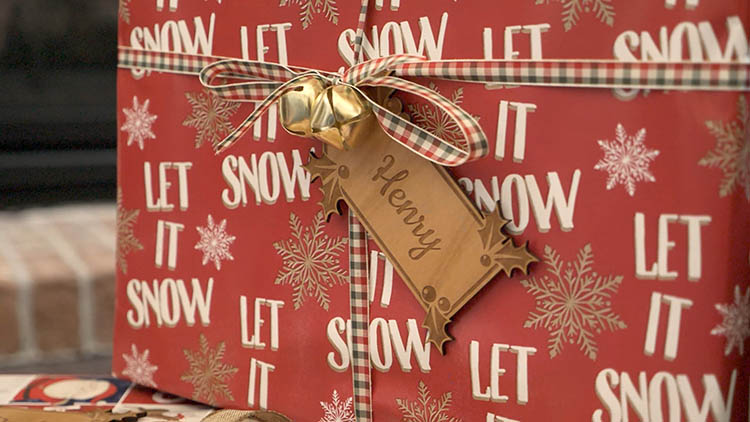
Make gifts even more personal with these custom wooden gift tags! These festive tags aren’t only cute, but they are also quick and easy to make. And not just for the holiday season – change up the design or message and they can be used for birthdays, anniversaries, and lots of other special occasions. Read on to see how we did it!
Project Settings
Materials Needed
-
ours were 1/8″ thick alder, purchased from Colorado Heirloom
-
Ribbon/string
Machine Used
Fusion Pro 32 80 watt
Raster Engraving
Speed65%
Power100%
DPI500
PatternStucki
DirectionBottom-Up Engraving
Vector Engraving
Speed25%
Power100%
Frequency10%
Recent Projects
Speed65%
Power100%
DPI500
Prepare the Artwork
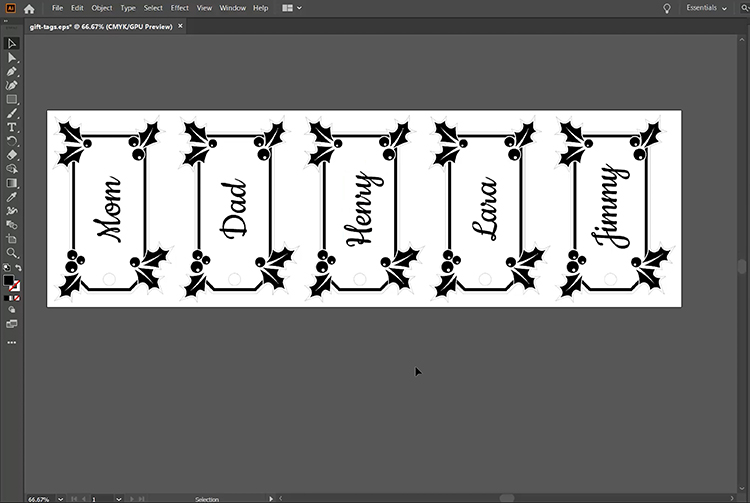
Start by customizing your artwork as necessary.
Determine your Parameters
Consult your owner’s manual for recommended engraving/cutting settings for your machine and wattage. Enter your settings within the dashboard, and send the job to the laser.
Prepare your Material
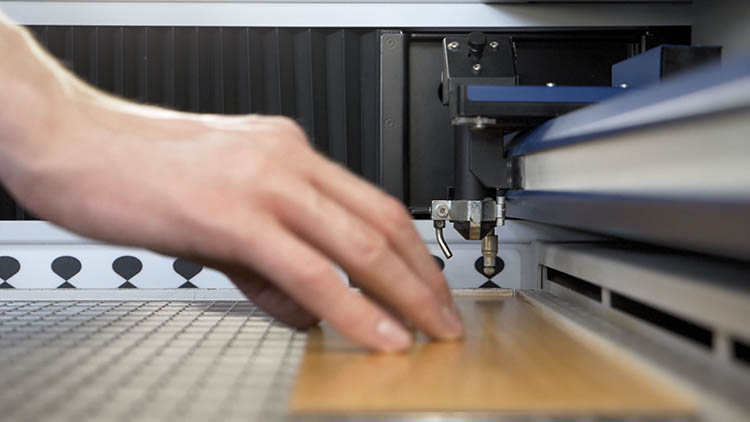
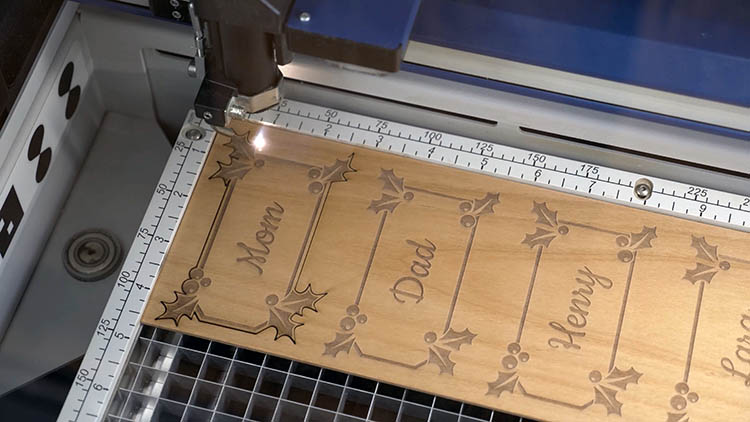
Insert your wooden sheet, press Go, and let the laser go to work.
Clean Up
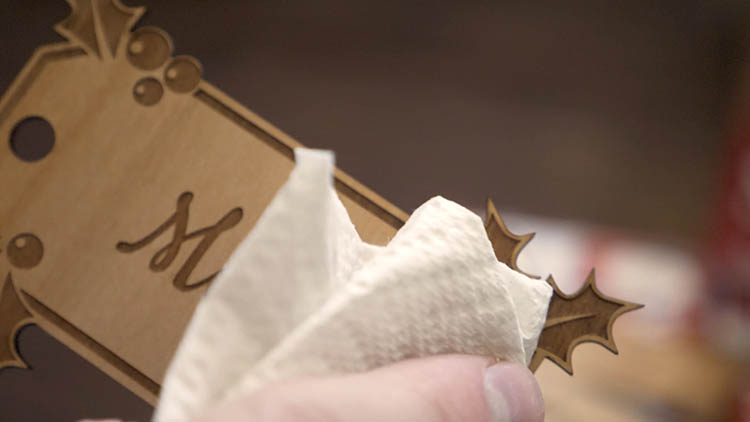
Once the job has completed, wipe away any residue from the tags and let the gift-giving begin!
Enjoy
Where can you sell laser cut gift tags?
- Retail shops
- Online
- Craft Fairs
You may also like…
Related to: Holidays, Wood

