Getting Started
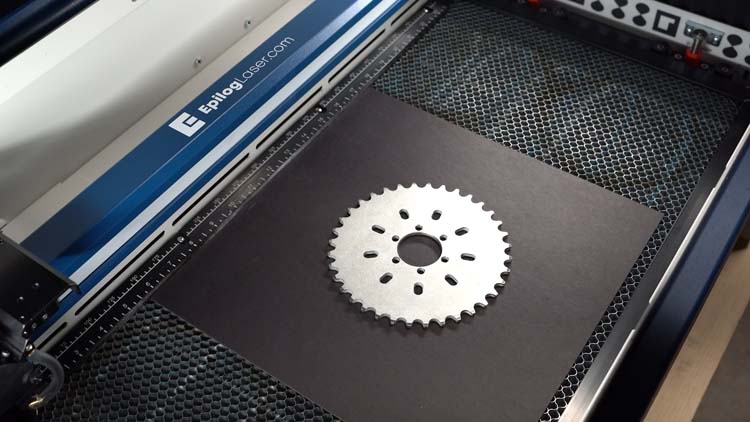
We’ll begin by placing a black matboard scrap and the chainring gear on the work surface under the Fusion Edge camera. Using a section of black matte board will provide high contrast between the metal chainring and the background, which is important for a good auto trace in a later step.
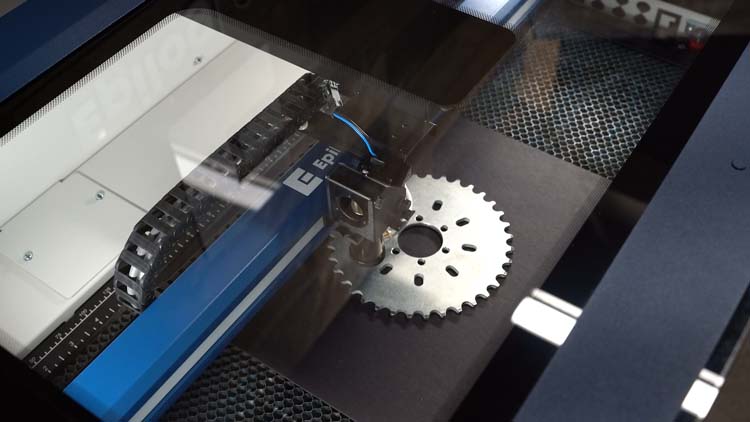
Next, we’ll use the Auto Focus feature to focus the IRIS camera to the chainring for a life-sized image capture.
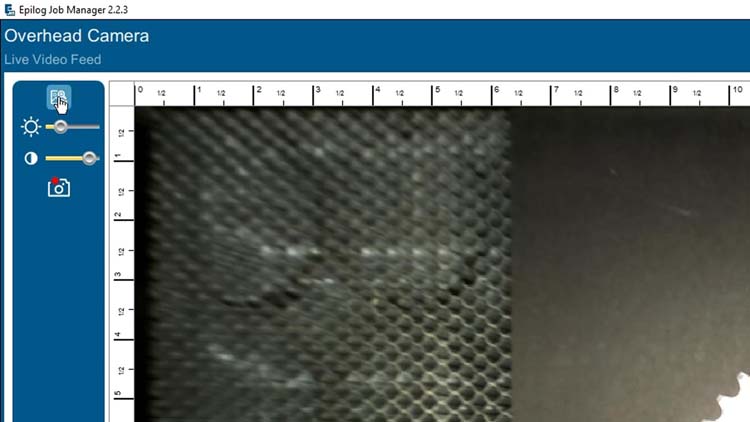
To collect an image capture with the IRIS Camera, open the Job Manager and click the Camera Options icon in the top right corner
![]()
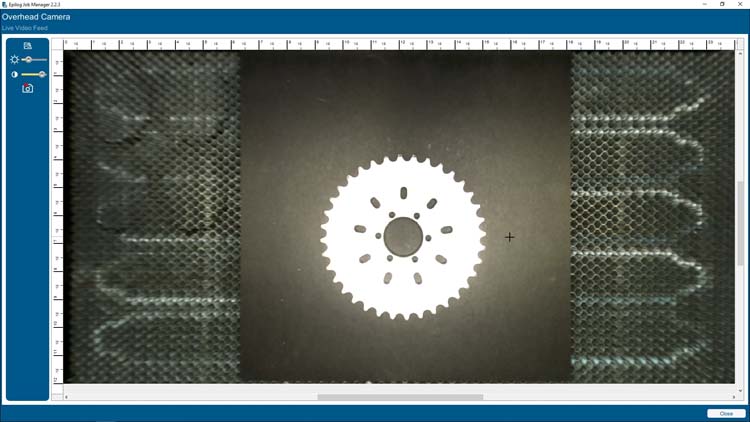
Select the Overhead Video option to open the IRIS Camera live video feed.
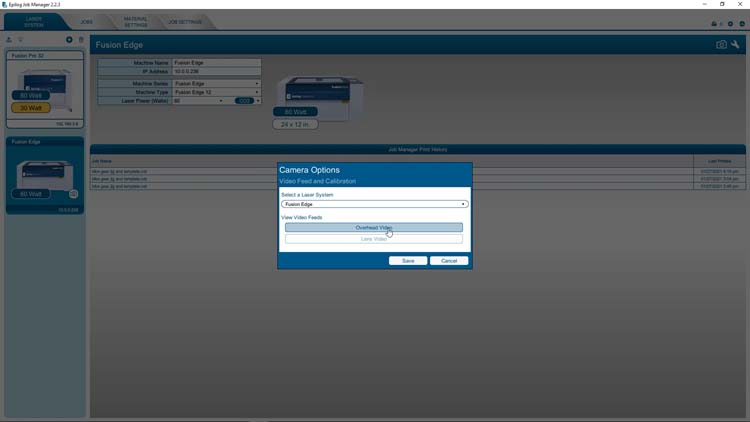
The Overhead Camera feed provides a top-down view of the work area and includes an Automatic setting for brightness and contrast.
We can also turn off the Automatic feature and adjust the brightness and contrast manually to achieve a custom result.
For this example, we’ve turned off the Automatic setting and adjusted the brightness and contrast to achieve a high-contrasting result between our black matte board and metal chainring.
With our brightness and contrast now optimized for image capture, we’ll select the Copy Background Image button to copy the IRIS Camera view to the computer’s clipboard.
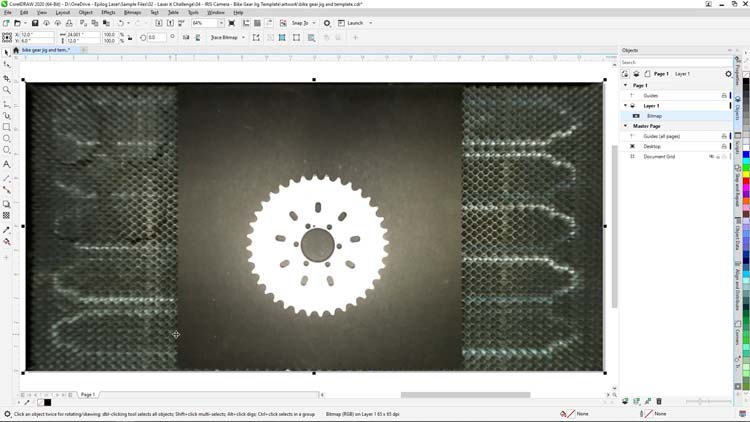
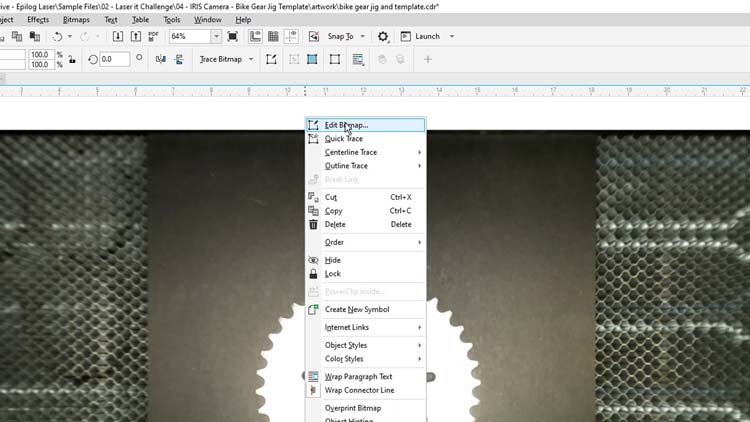
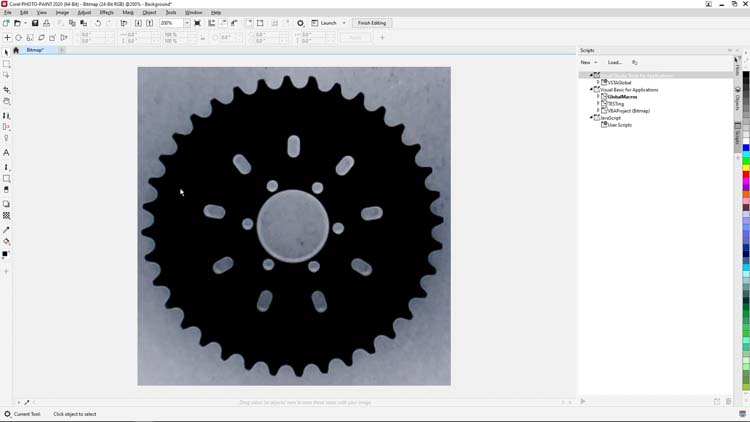
Now within CorelDRAW, we’ll paste our image capture into a new 24” x 12” document, then right click the image and select Edit Bitmap to open the image in Corel PHOTO-PAINT where are few more adjustments will be made.
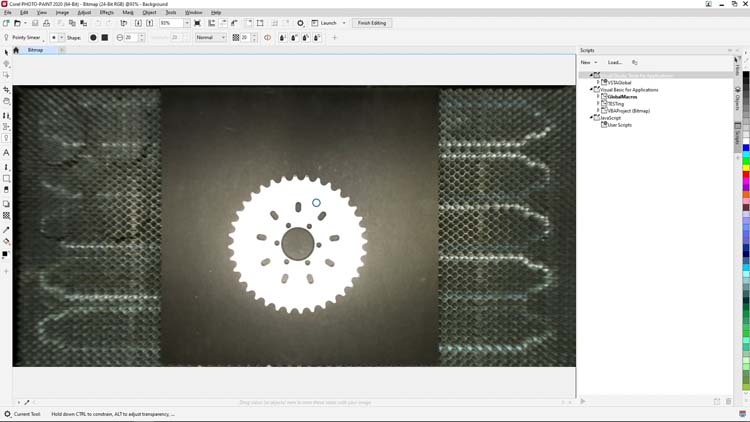
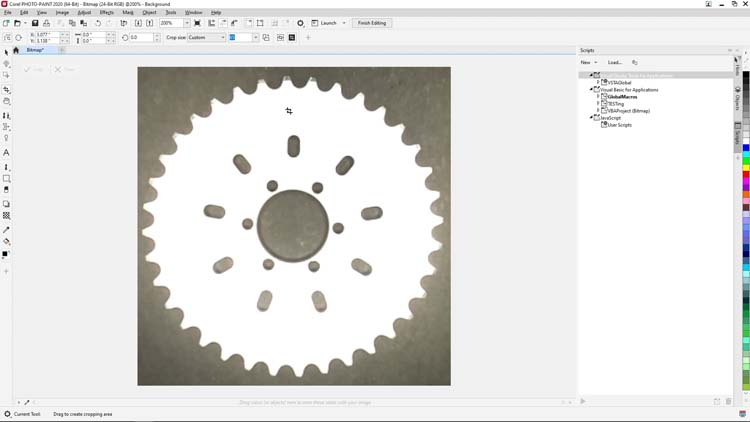
Select the Crop Tool from the Toolbox on the left and draw a crop box around the chainring leaving a comfortable margin around the outside.
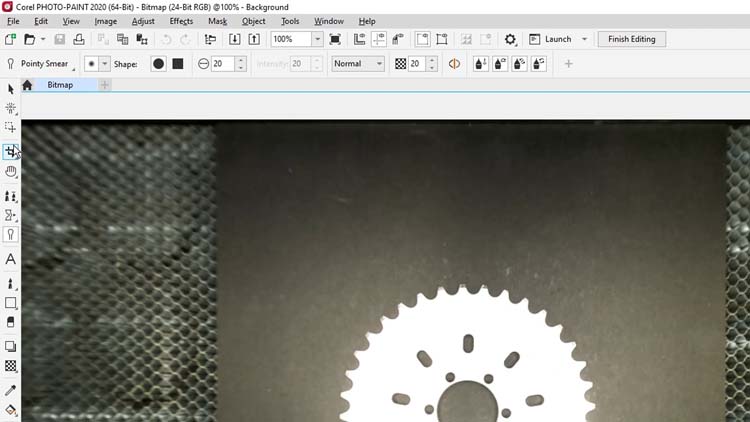
At this point we’re going to clean up the teeth of our chainring using the Eraser tool. Doing so will provide a much better quality Vector Trace when we move back into CorelDRAW.
Select the Eraser tool from the Toolbox on left and begin clicking and erasing any gray pixels seen on the tips of the chainring teeth.
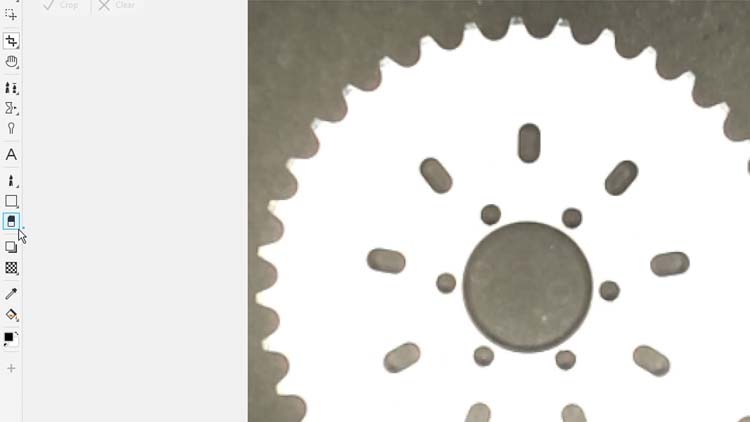

The eraser tool comes with a few options to increase the size and shape of the tool, but for this example the default settings work out perfectly to match the curve on the tip of each chainring tooth.
Once all the teeth of the chainring have been cleaned up, we’ll use the Invert Colors option in PHOTO-PAINT to invert the colors in our image capture.
From the Menu bar at the top of the screen, select Image > Transform > Invert Colors to invert the image.

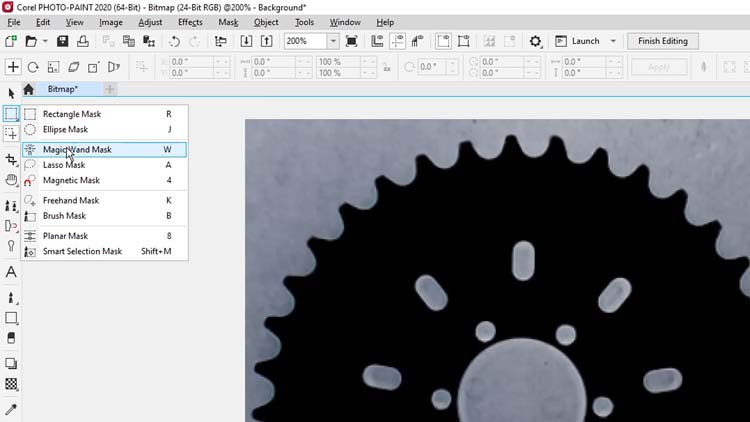
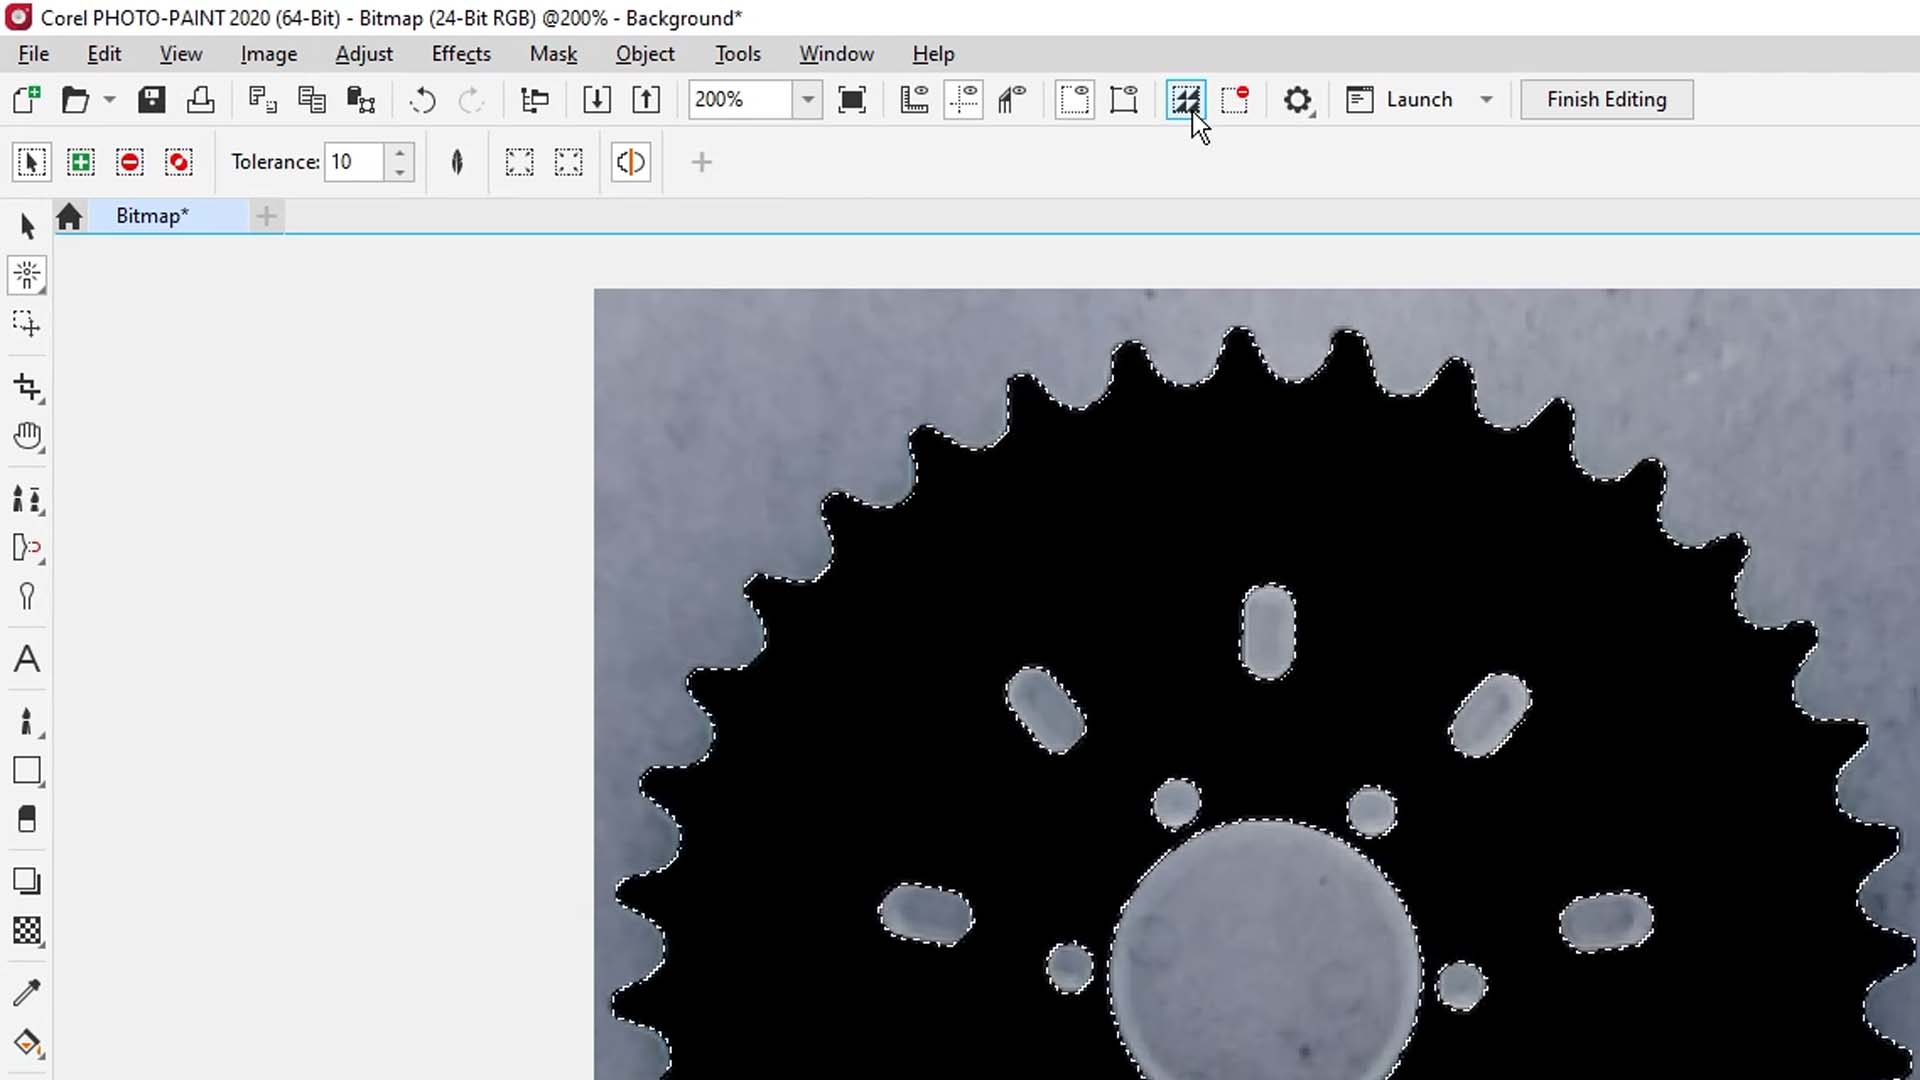
Now we’re going to remove the background of our image, which is now a gray by utilizing the Magic Wand Mask tool. Click and hold on the Rectangle Mask tool in the Toolbox on the left, and select the Magic Wand Mask tool from the options.
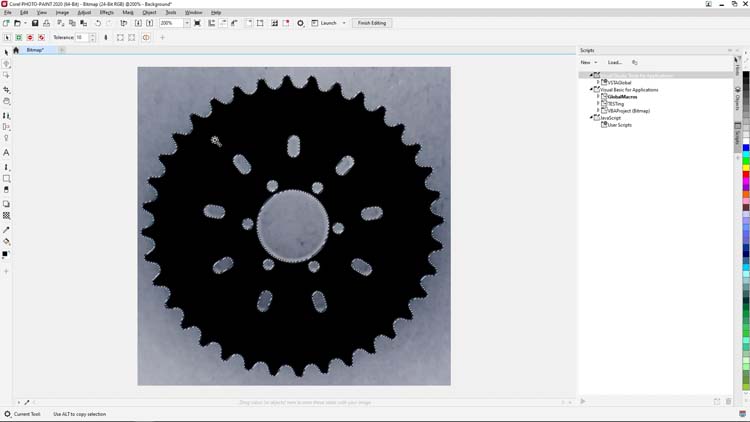
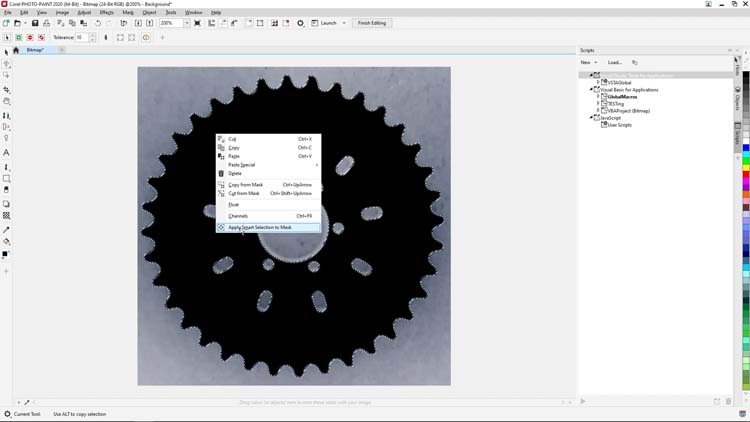
Click on the black chainring image to create a selection of the chainring, then right click the selection and select Apply Smart Selection to Mask from the menu.
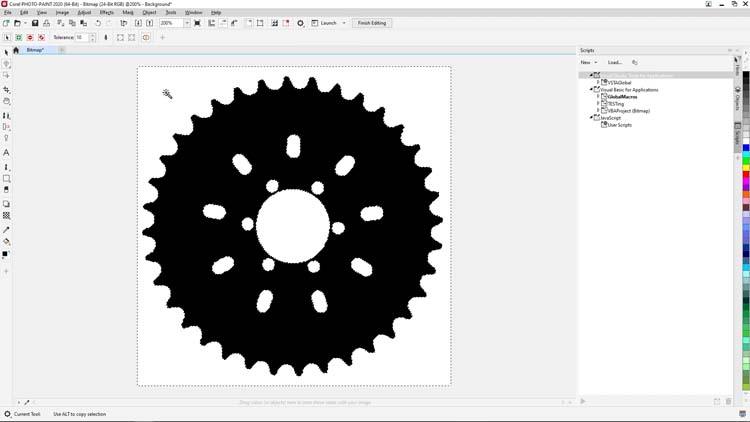
As a final step before moving back into CorelDRAW for our vector trace we’ll invert our mask selection by clicking the Invert Mask option from the Standard menu bar at the top of the screen.
Then press Delete to remove the background.
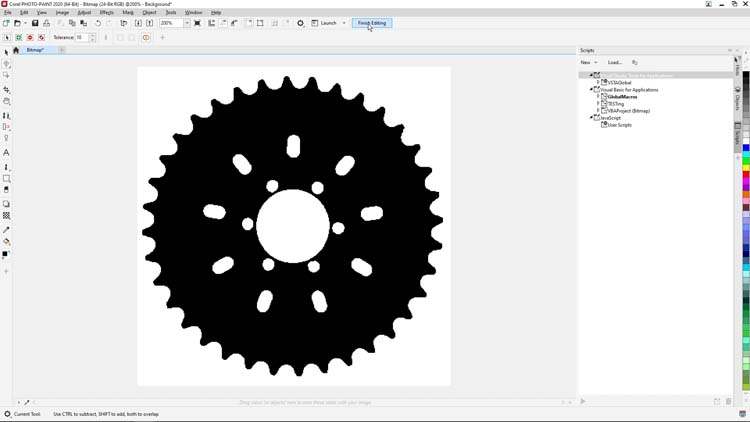
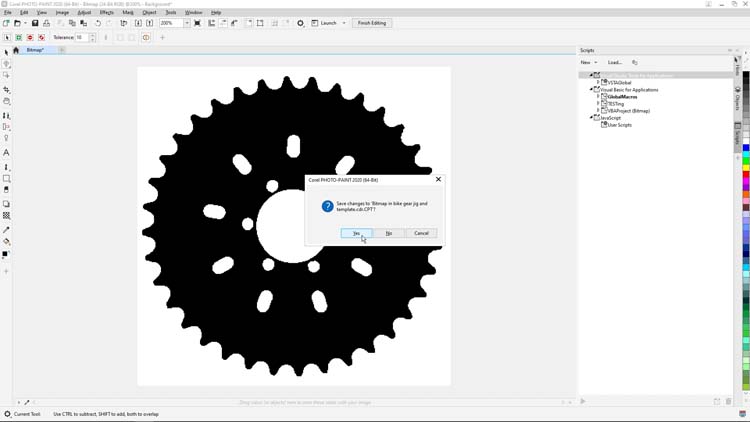
To finalize our image and move back into CorelDRAW, we’ll click the Finish Editing button in the Standard menu bar at the top of the screen, then select Yes when prompted to save changes to the bitmap
Once PHOTO-PAINT has finalized our save, we’ll move over to CorelDRAW to create a vector tracing of our newly adjusted bitmap image.

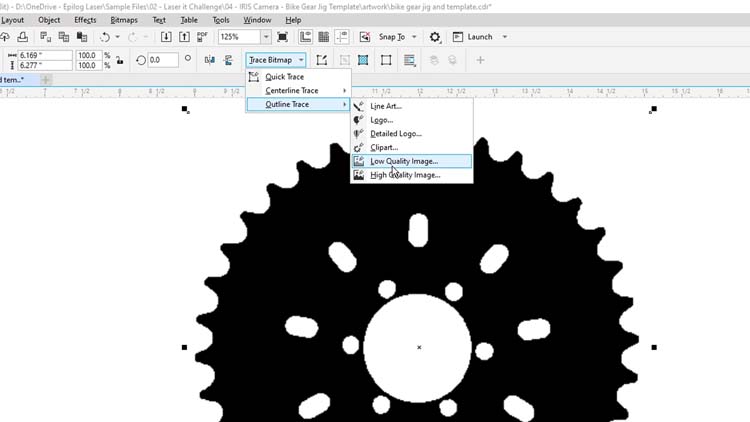
Back in CorelDRAW with our image selected, we’ll select the Trace Bitmap button in the Property bar at the top of our screen and select Outline Trace > Low Quality Image from the options to open CorelDRAW’s PowerTrace feature.
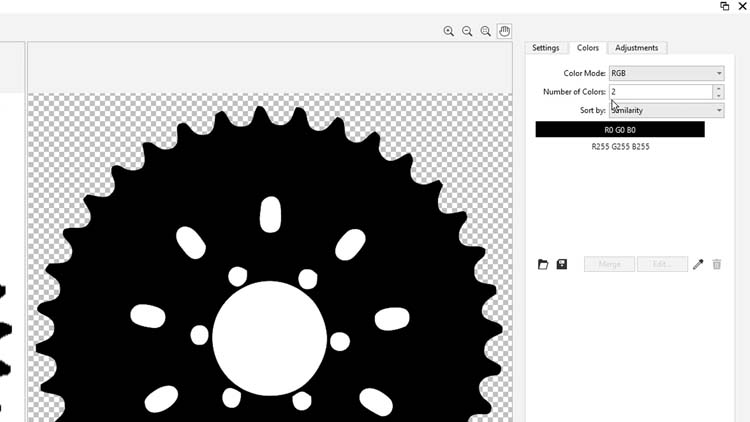
We’ll start by selecting the Color tab in the top right of PowerTrace, then setting our Color Mode to RGB and Colors to 2. These settings will simplify the image vector trace and give us a black and white only result.
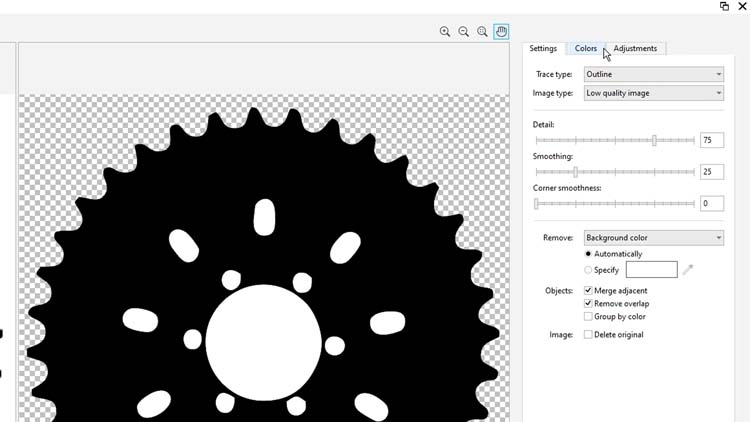
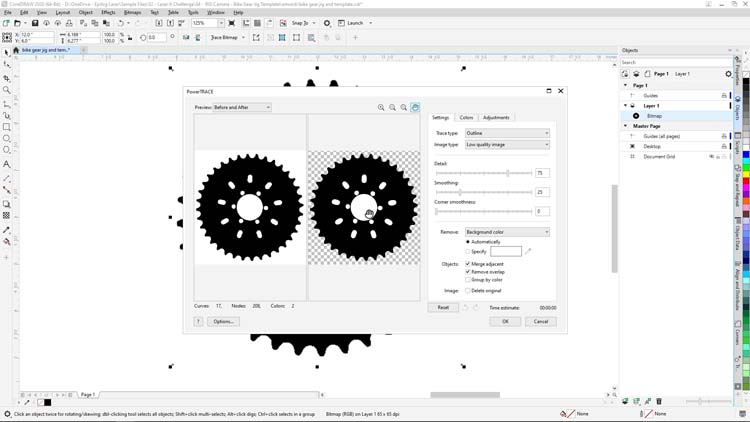
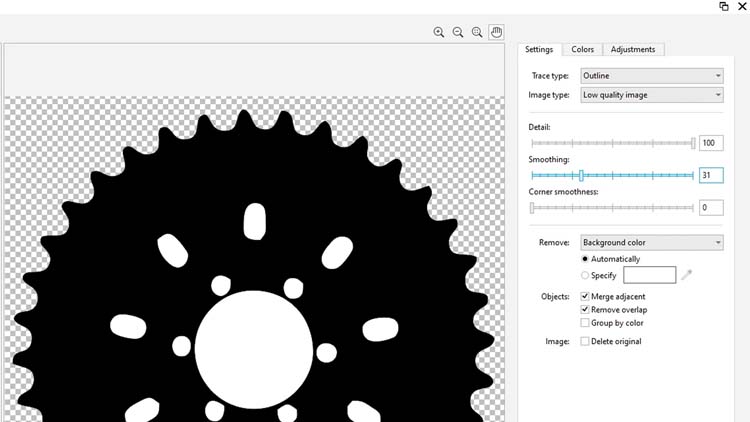
Next, we’ll go back to the Settings tab for a couple adjustments to our Detail and Smoothing settings.
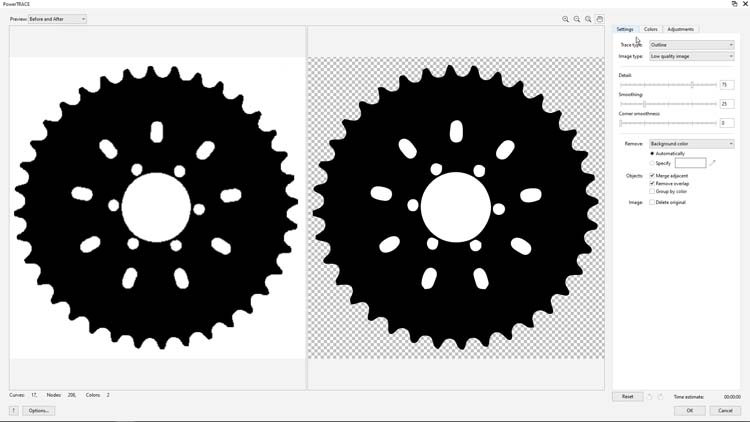
We’ll set the Detail to 100, and the Smoothing to 31 and click OK at the bottom of the screen.
The PowerTrace feature isn’t perfect for all vector tracing projects, but for this black and white conversion and example, it works very well. Depending on various factors like brightness and contrast, bitmap capture DPI and lighting you may have to experiment with various PowerTrace settings to achieve the results you see here.
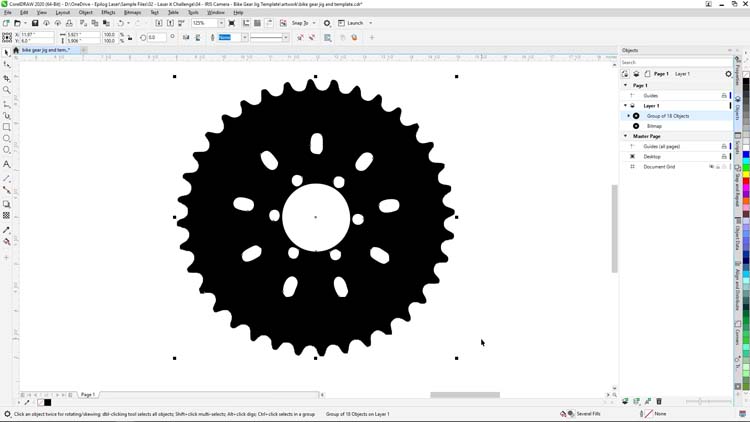
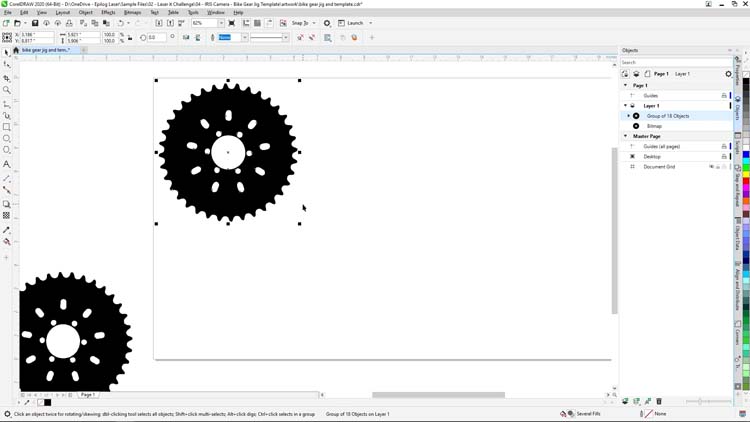
Once our vector trace is complete, we’ll create a copy of our results and move them off to the side of our document area for use in a later step.
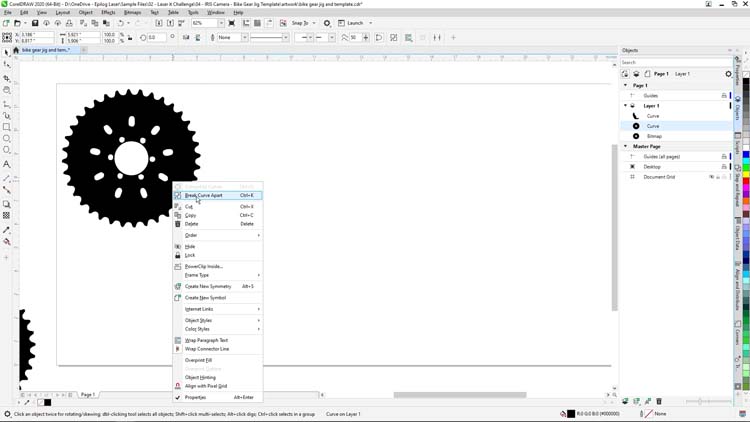
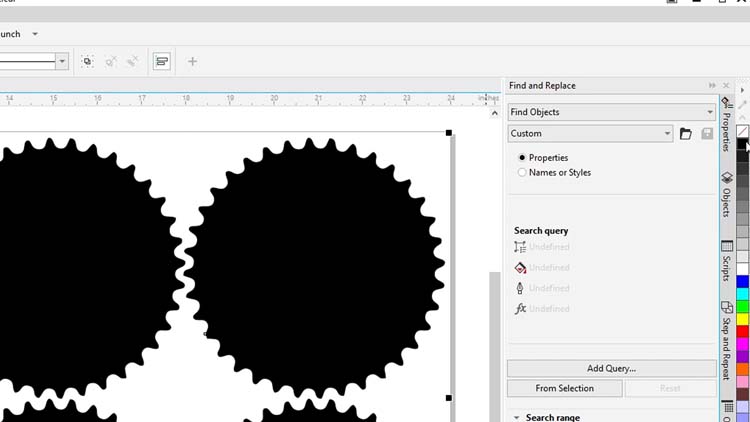
To create our jig for the chainrings we’ll only need the outline of the chainring. To isolate the chainring outline, we’ll right click our vector group, select Break Apart from the menu options, then select the inner chainring holes we don’t need and press the Delete.

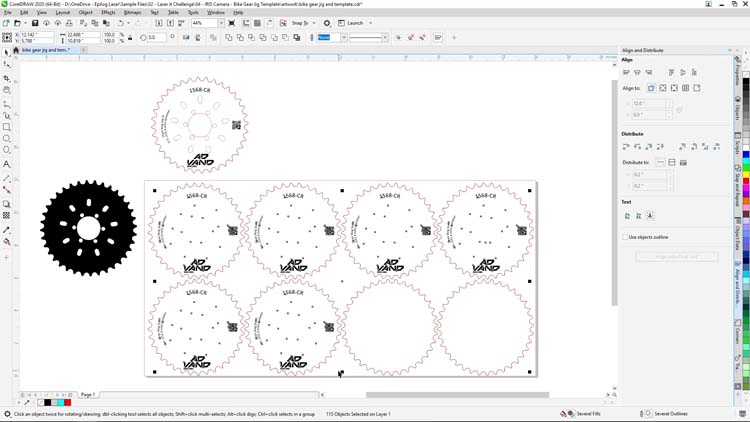
With the chainring outline now isolated, we’re now going to create a jig with 4 columns and 2 rows of chainring holes.
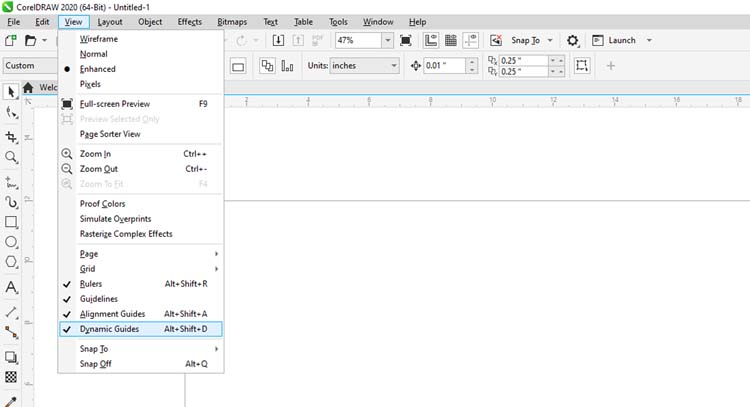
A quick note here, turning on the Alignment and Dynamic Guides under the View menu within CorelDRAW will make aligning and creating our matrix of jig holes much easier in the following steps.
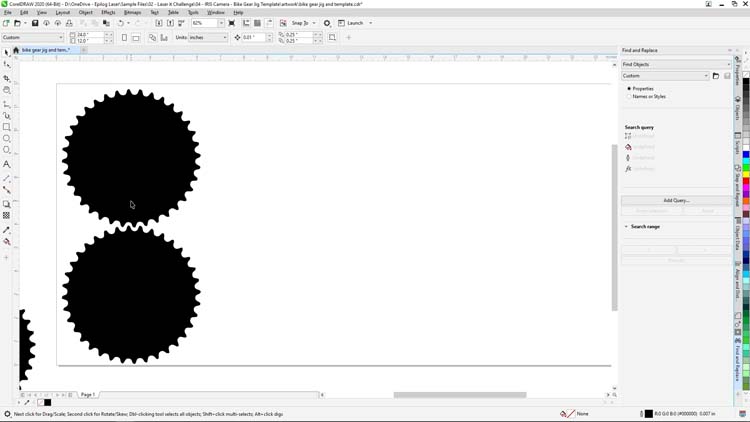
To create our jig matrix, we’ll start by selecting our chainring shape, and while holding the Shift key, drag a copy below the original and press the Spacebar to create a duplicate. Then delete the extra copy.
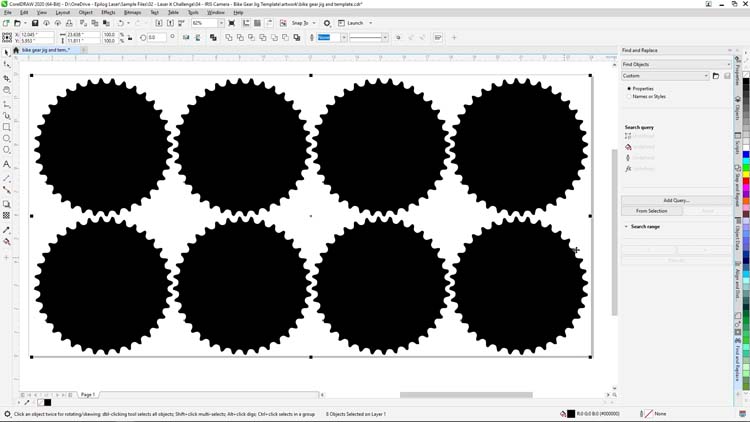
We’ll now select the two chainring shapes and repeat the process until we’ve created a 4 x 2 jig setup of chainring shapes which will become the holes in our jig.
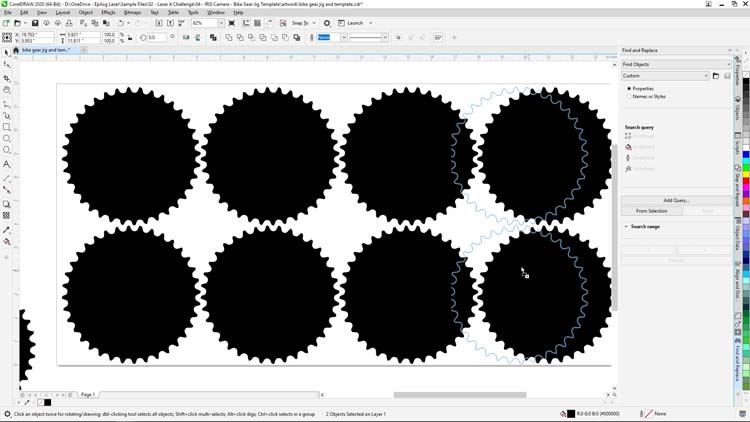
Now select all the chainring shapes, then in the Color Palette on the right side of the screen, right click Black and left click none to give the chainring a black outline with no color fill.
We’re now ready to print and cut our chainring jig at the laser. We’ll be setting up our laser Process settings for corrugated cardboard. There are many types of materials suitable for jig applications – wood, acrylic, engravable plastic, and cardboard for example. Corrugated cardboard is a great material for a one-time use jig as it’s readily available and inexpensive.
We’ll begin this portion of our project by printing the file to the Epilog Software Suite.
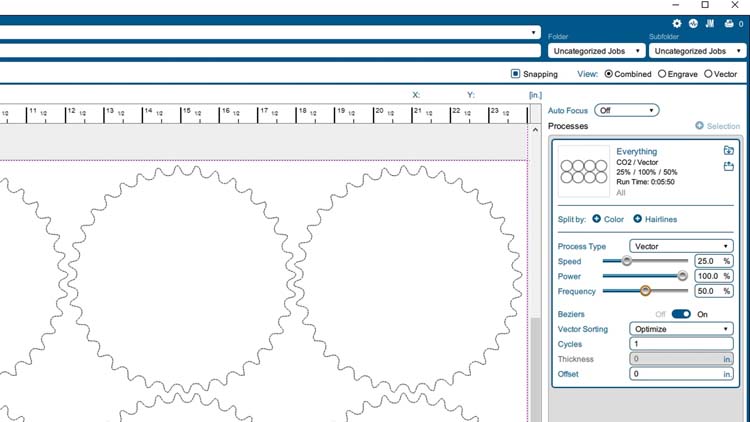
Within the Epilog Software Suite, we’ll adjust the following settings:
Engraving Settings
Machine: 60-Watt CO2 Fusion Edge 12
Speed25%
Power100%
Frequency50%
(Be sure to check the recommended materials settings in your machine’s manual.)
Then Print the file to the laser.
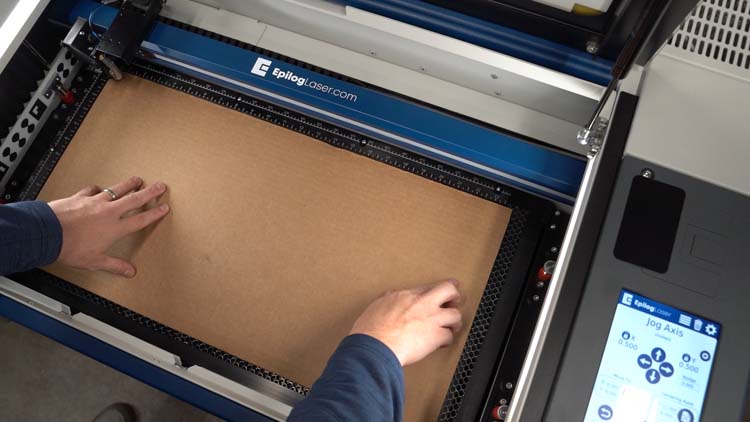
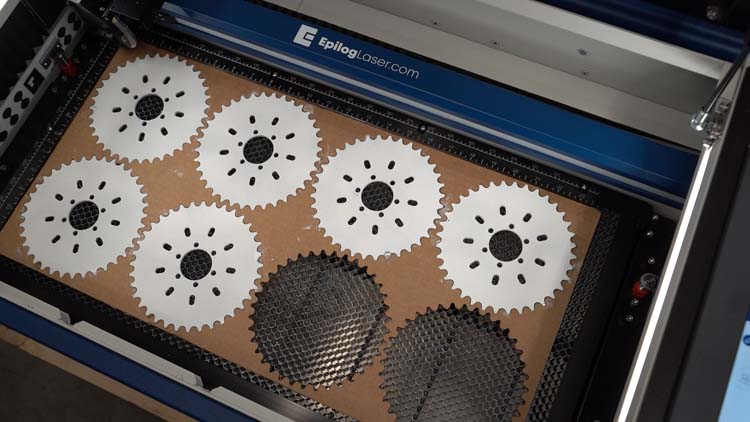
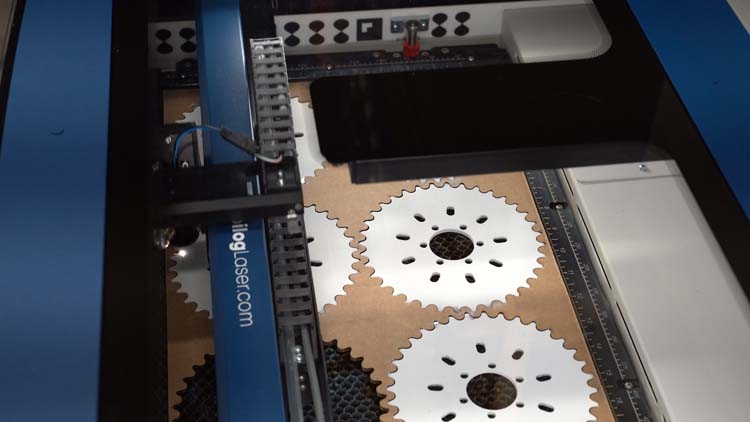
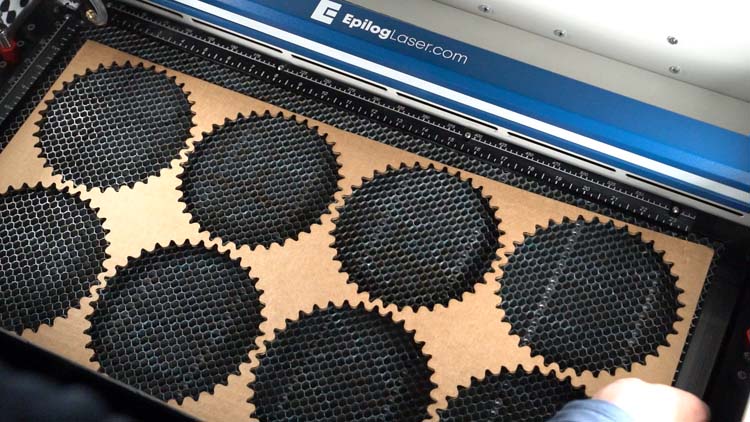
At the laser we’ll load our 24” x 12” sheet of corrugated cardboard onto the bed of the laser system in the top left corner, close the lid, focus the material, and press the Go button to begin cutting the job.
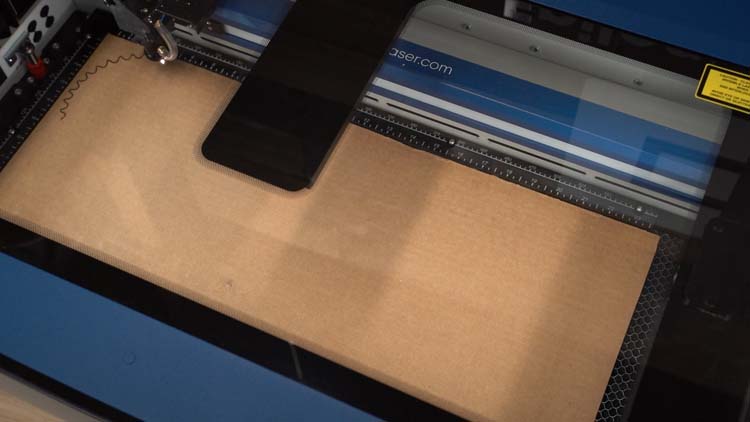
Once the job is complete, we’ll remove all the unnecessary cutouts from the bed and place the jig back into position of the laser bed.

Now it’s time to prep our chainring parts for engraving.
If we were using an Epilog fiber laser, we’d be able to mark directly on the chainring, but for this example we’re using the Enduramark metal marking spray for CO2 lasers, a metal marking compound that gives our Fusion Edge with CO2 laser, the ability to mark on bare metal components and parts.
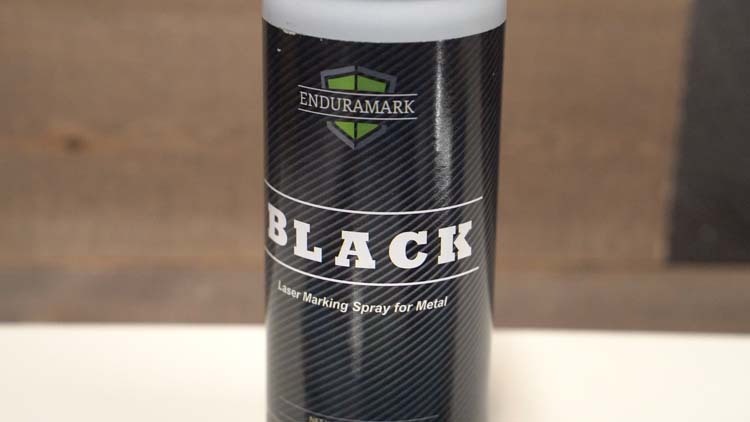
We’ll layout the chainring parts onto a sheet of cardboard, then thoroughly cover the parts with the Enduramark Black spray until the part is uniformly covered with a single coat of the metal marking spray.
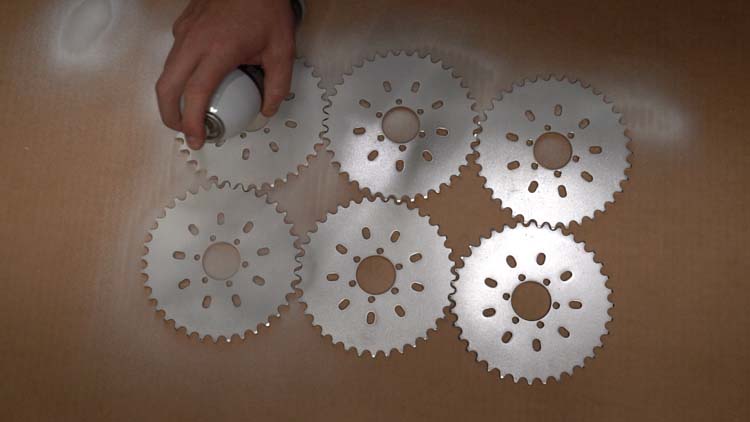
Once the metal marking spray dries, we’ll place our chainring parts into our jig in preparation for laser marking.
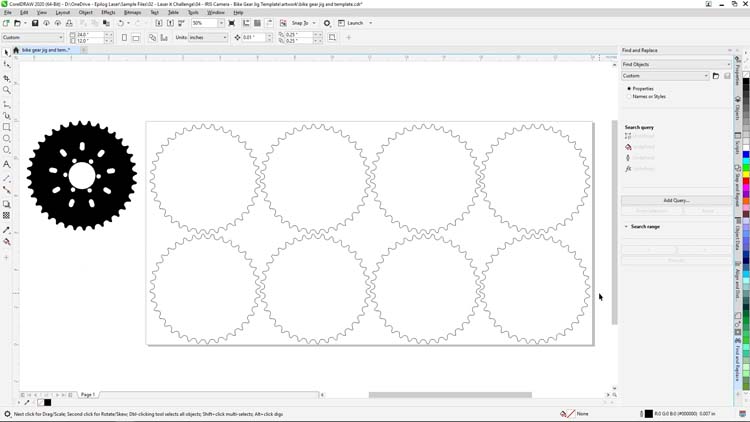
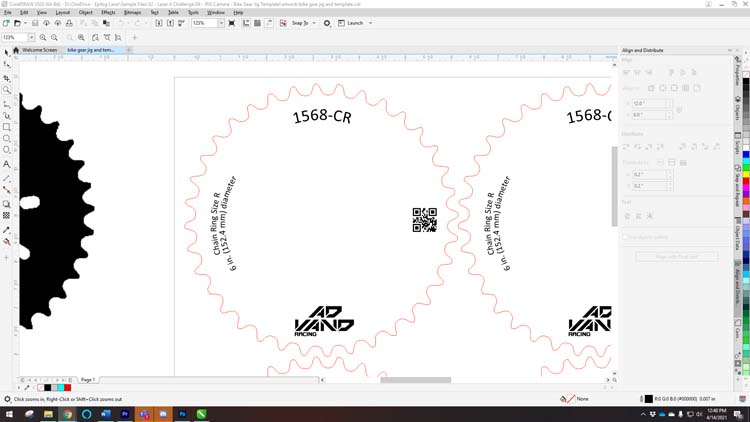
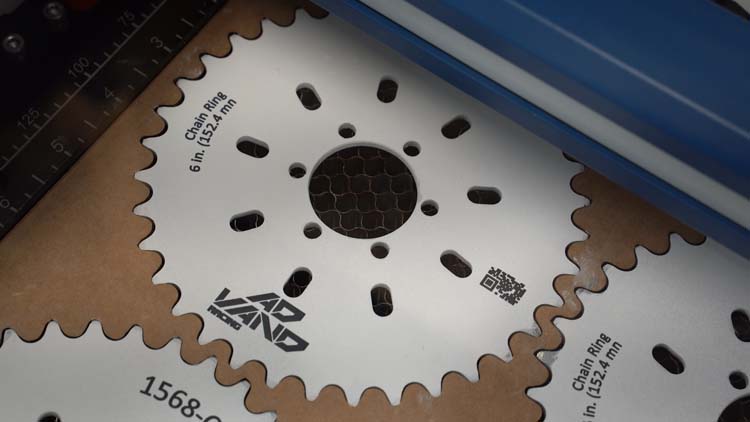
Back in CorelDRAW, we’ve gone ahead and used our jig file as a template to align and duplicate our marking file to the spaces in our jig where we’ve setup parts.
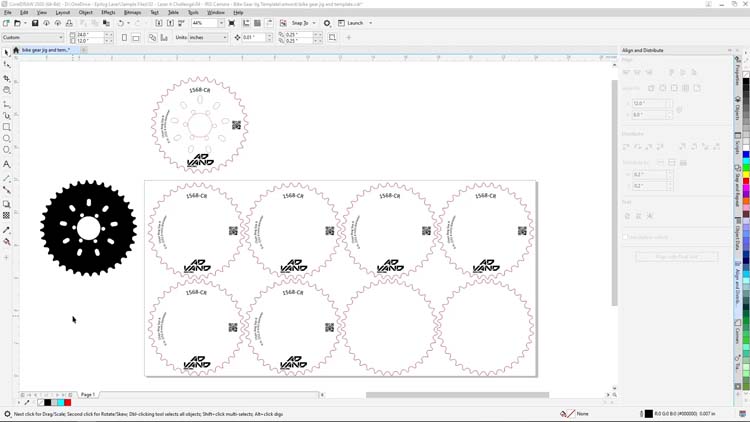
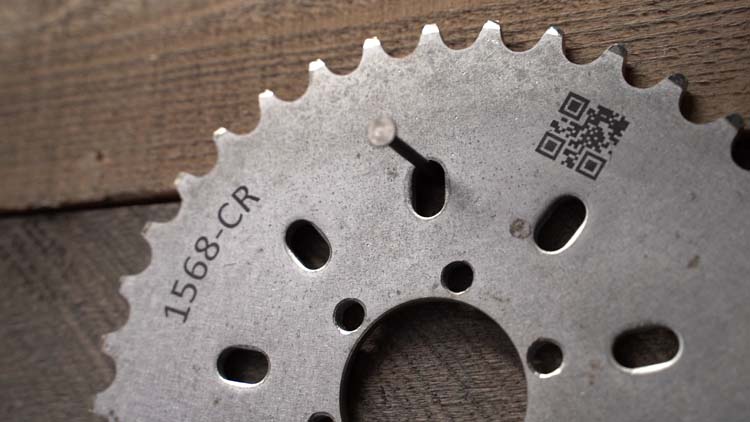
The artwork we’ll be using for the chainrings includes a serial number, data matrix code, logo, and chainring description text.
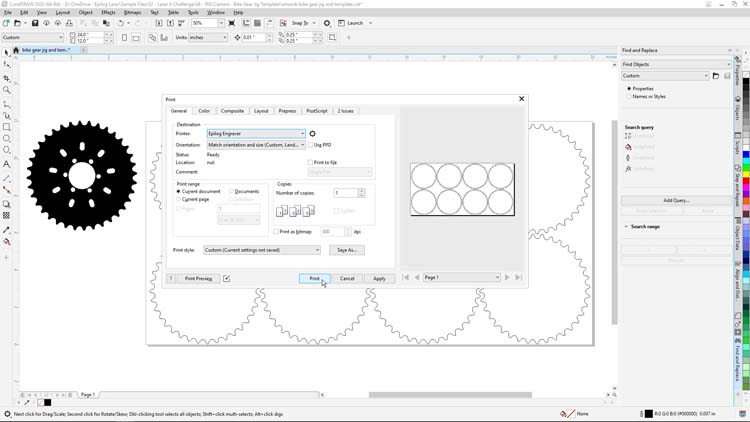
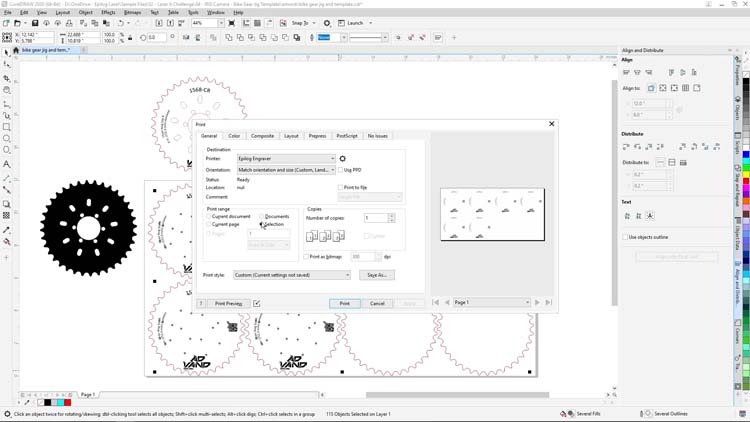
With our artwork ready to go, we’ll select only the artwork we’ll be printing for the job.
Then we’ll select Print from the File menu at the top of the screen and be sure to click the Selection button in the Print range options. Before clicking print we can verify on the right that we are only printing the artwork selected to the Software Suite, then press Print.
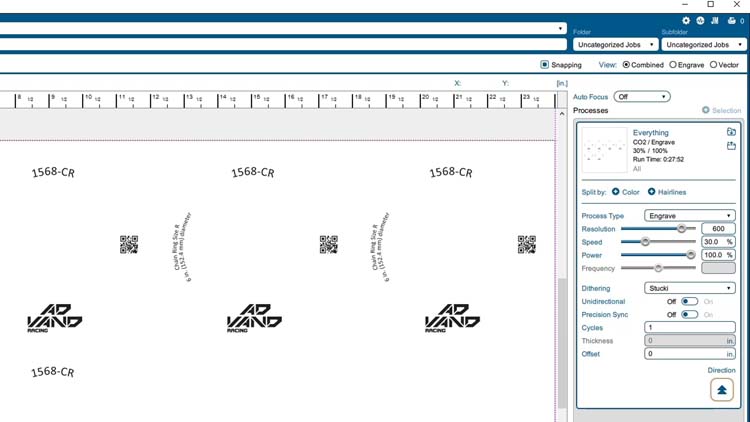
In the Epilog Software Suite, we’ll leave the Process Type set to Engrave and adjust the perimeters for:
Engraving Settings
Machine: 60-Watt CO2 Fusion Edge 12
(Be sure to check the recommended materials settings in your machine’s manual.)
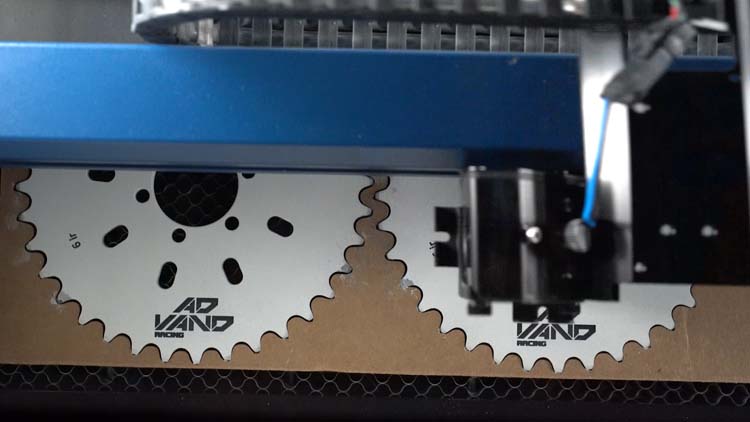
Then, we’ll click the Print button to send our marking job to the laser
At the laser, we’ll focus the laser to our chainrings, and begin the job by pressing Go

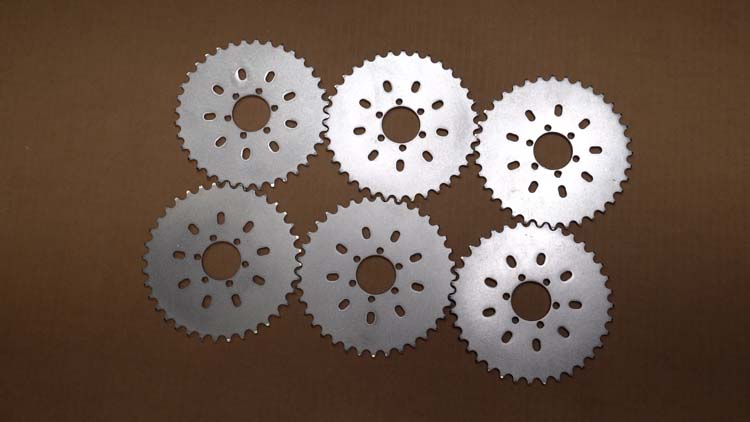
With the job complete, spray the chainring with water and wipe away the excess marking compound to reveal the final marking and finished product.
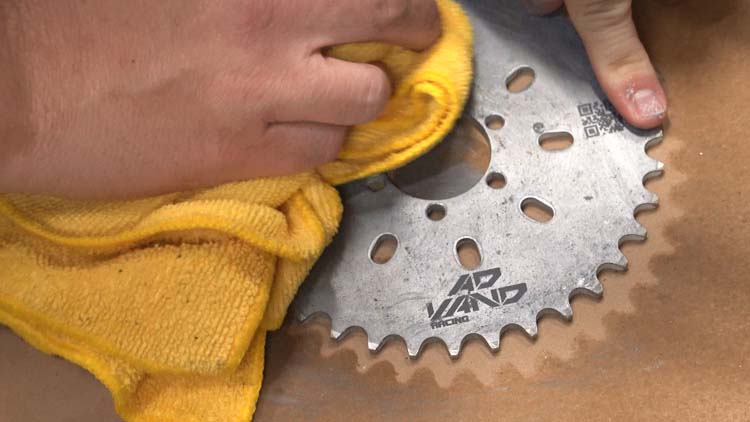
There you have it, a chainring jig and artwork template created utilizing the IRIS Camera system and Corel’s Graphic Software Suite. Then we marked the part using an Epilog Fusion Edge laser machine and Enduramark.

We hope these tips and techniques help you with your success and next laser project. Thanks for tuning in, we’ll see you next time.
You may also like…

Maglite Flashlight

Stainless Steel Travel Mugs

Stainless Steel Tumblers

UID Laser Marking

CO2 Metal Marking Spray

Barcode Laser Engraving System
