Laser Cutting Acrylic
Laser cutters for cutting and engraving cast and extruded acrylic
Why Use a Laser for Cutting Acrylic?
Laser cutting acrylic is an exceptionally popular application for Epilog Laser machines because of the high-quality results that are produced.
Depending on the type of acrylic you’re working with, the laser can produce a smooth, flame-polished edge when laser cut, and it can also produce a bright, frosty white engraving when laser engraved.
Types of Acrylic – Cast and Extruded
Before beginning to experiment with acrylic in your laser, it’s important to understand the different types of this laser-friendly material. There are two types of acrylics suitable for use with the laser: cast and extruded.
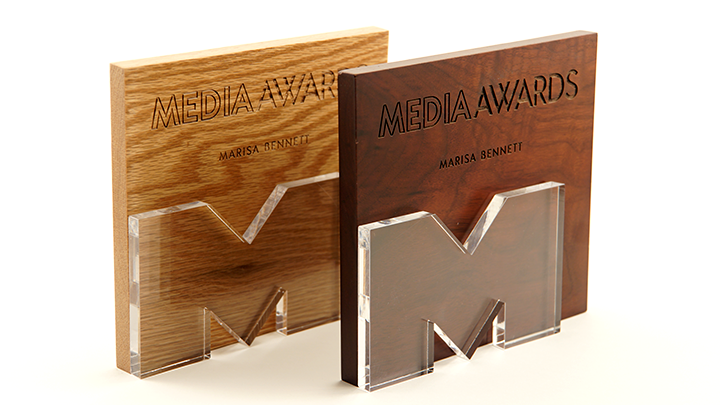
Cast acrylic sheets are made from a liquid acrylic that is poured into molds that can be set into various shapes and sizes. This is the type of acrylic used for most of the awards you see on the market. Cast acrylic is ideal for engraving because it turns a frosty white color when engraved. Cast acrylic can be cut with a laser, but it will not result in flame-polished edges. This acrylic material is better suited for engraving.
The other type of acrylic is known as extruded acrylic, which is a very popular cutting material for signs and promotional products. Extruded acrylic is formed through a higher-volume manufacturing technique, so it is typically less expensive than cast, and it reacts very differently with the laser beam. Extruded acrylic will cut cleanly and smoothly and will have a flame-polished edge when laser cut. But when it is engraved, instead of a frosted look you will have a clear engraving.
2OOW Laser for Thick Cutting & Increased Production
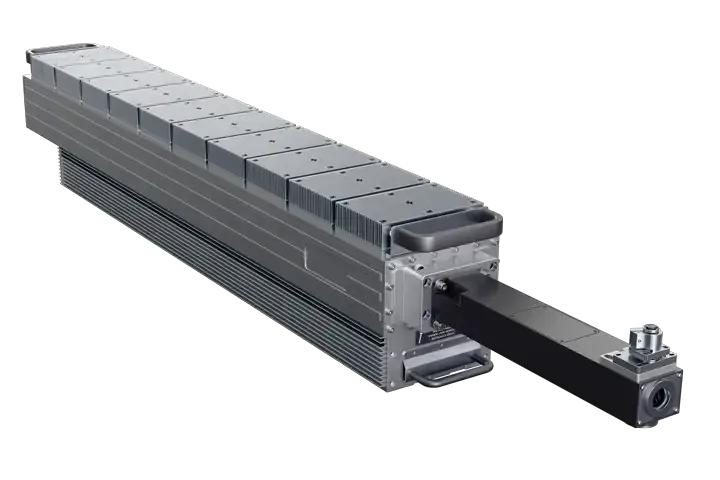
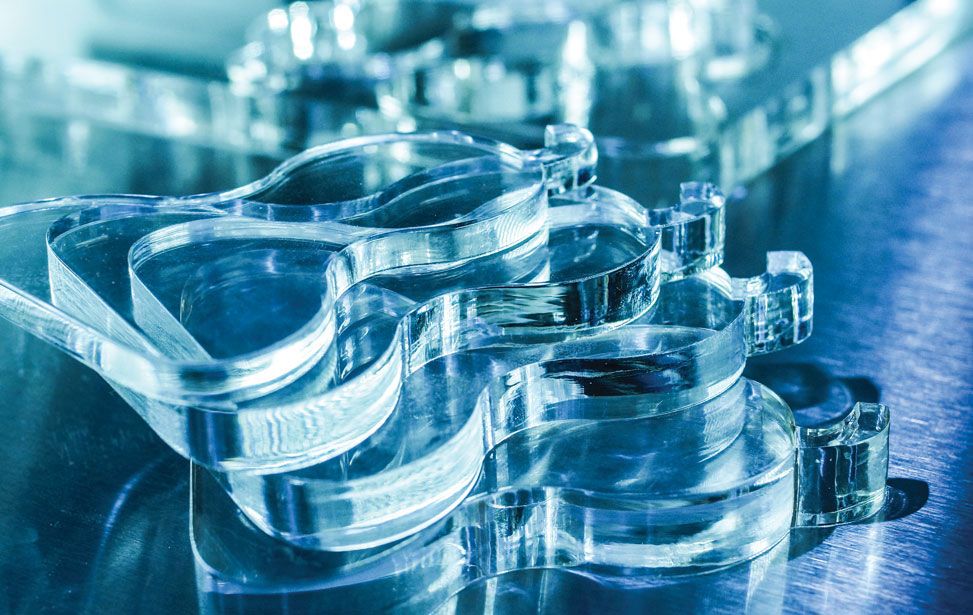
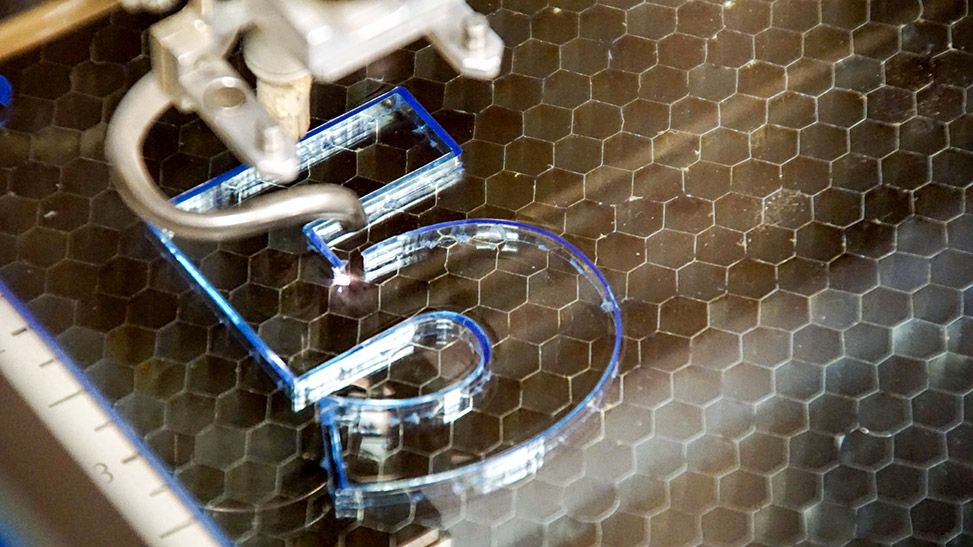
Laser Cutting Acrylic
To achieve the best results when cutting extruded acrylic, you’ll want to elevate the material so that it’s not touching the cutting table. This will greatly reduce backside reflection and the occurrence of grid marks on the material after being laser cut.
Using your laser to create standoffs from wood or acrylic is the perfect way to use your scrap wood and acrylic material to help you get those perfect extruded acrylic cuts for your customers. Creating standoffs or using other techniques allows you to raise and support your acrylic for better cutting edge quality.
How thick of acrylic can you cut?
This will depend on the wattage of your laser cutter.
- As you increase in wattage, you will be able to increase the thickness of acrylic you can laser cut.
- 30W – 40W will cut 1/8″ (3.1 mm) of acrylic.
- 50W – 60W will cut 1/4″ (6.3 mm) of acrylic
- 80W – 100W will cut from to 3/8″ (9.5 mm) – 1″ (25.4 mm) with two passes.
- 120W system will cut from to 1/2″ (12.7 mm) – 1″ (25.4 mm) with two passes.
- 200W system will cut from to 3/4″ (19 mm) to 1″ in. (25.4 mm) in two passes.
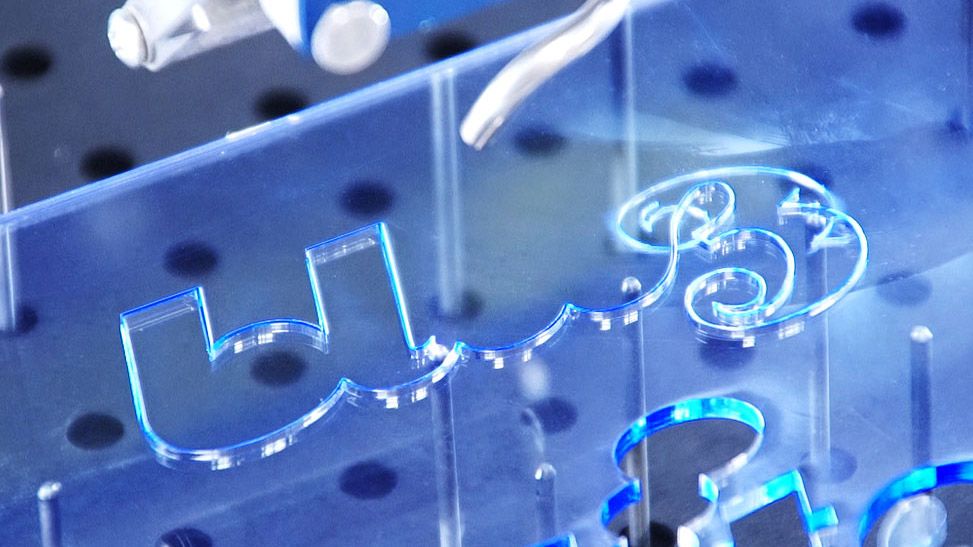
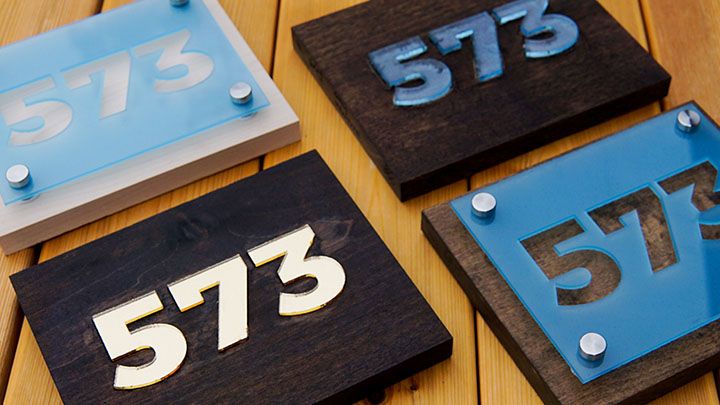
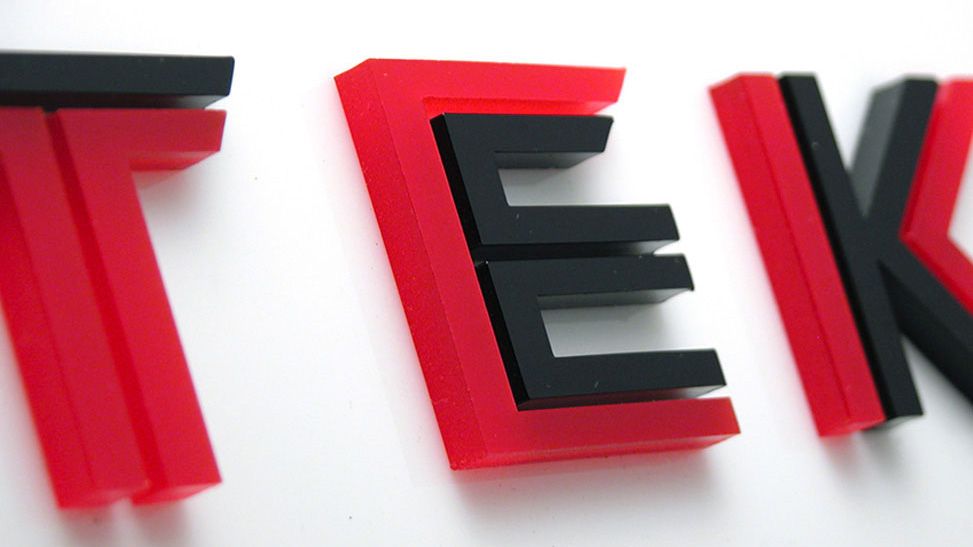
Laser Cutting Text out of Acrylic
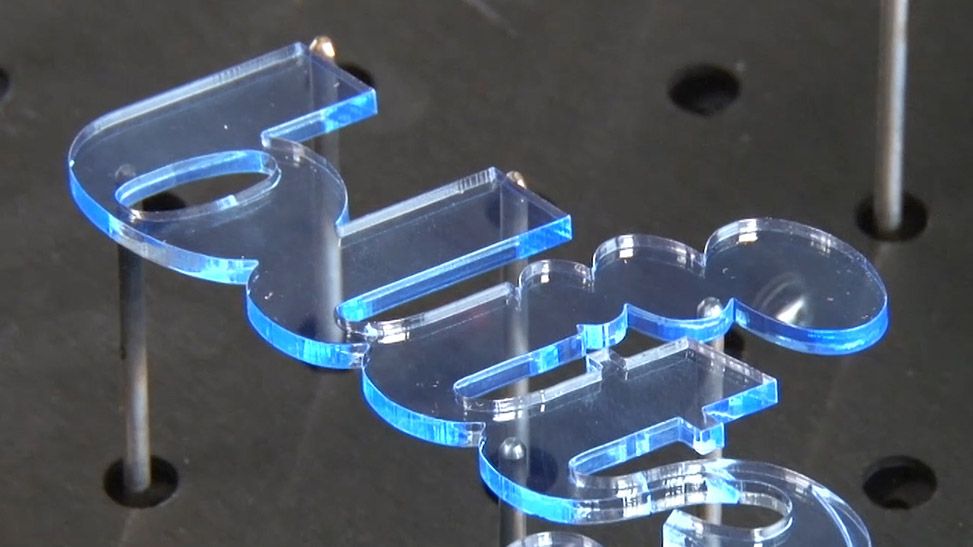
Text Laser-Cut out of Acrylic
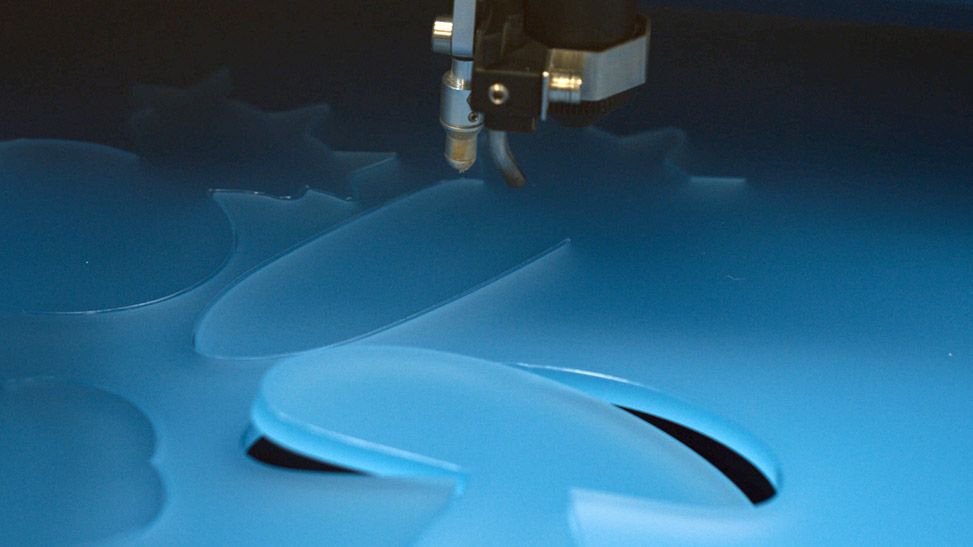
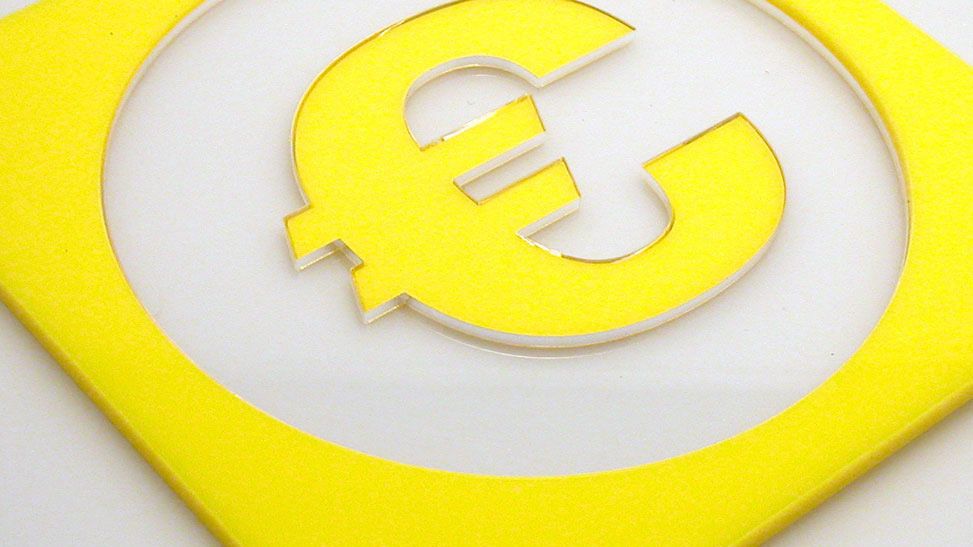
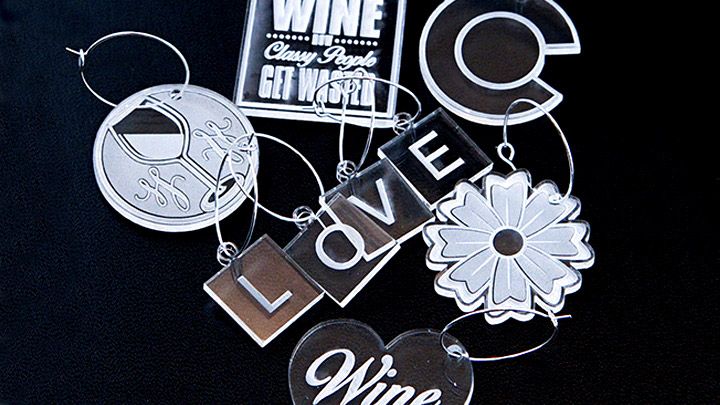
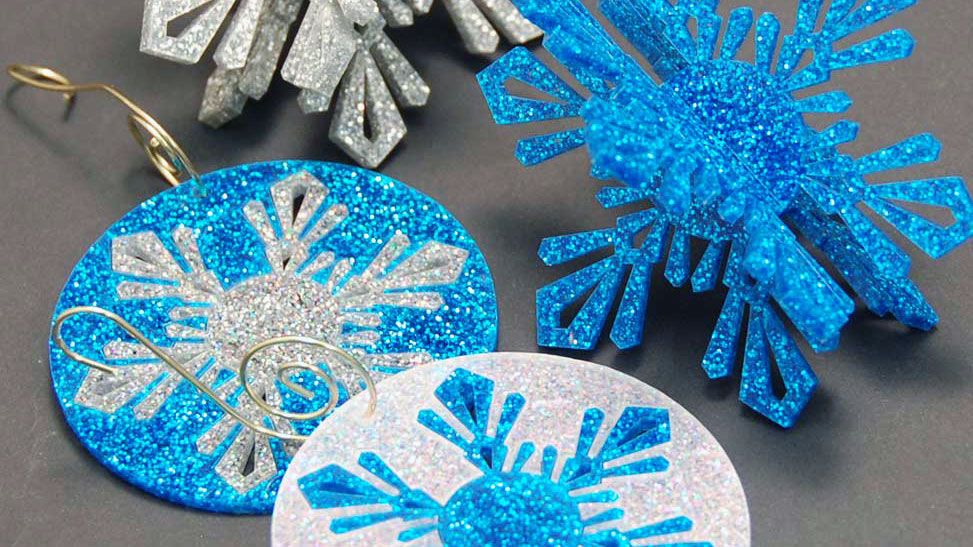
Laser Cutting Graphics out of Acrylic
Laser Cutting Speeds
Cutting acrylic is usually best achieved with relatively slow speed and high power. This cutting process allows the laser beam to melt the edges of the acrylic and essentially produce a flame-polished edge.
Today, there are a several acrylic manufacturers who produce a variety of both cast and extruded acrylics that feature different colors, textures, and patterns. With so much variety, it’s no wonder acrylic is a very popular material to laser cut and engrave.
Laser Engraving Acrylic
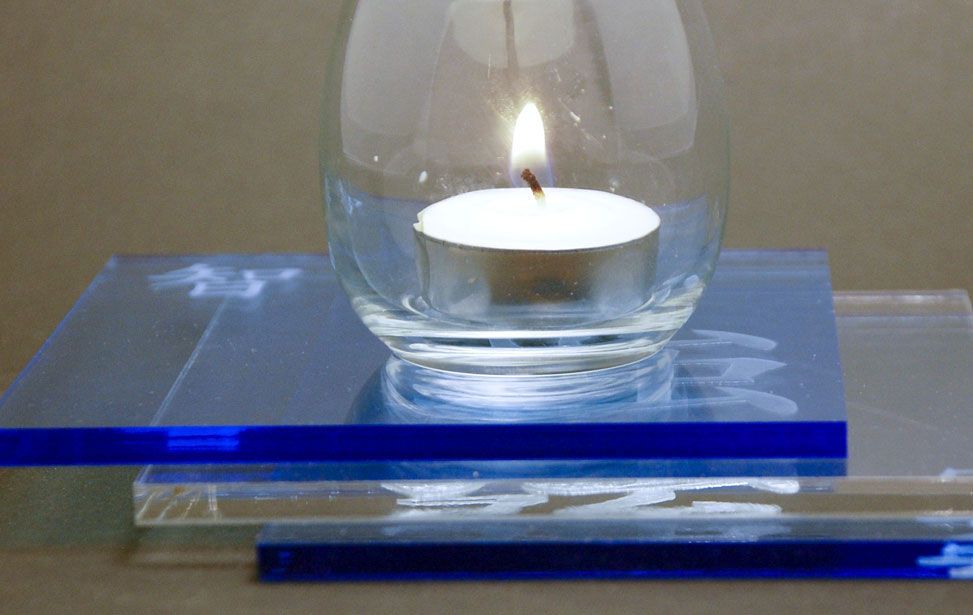
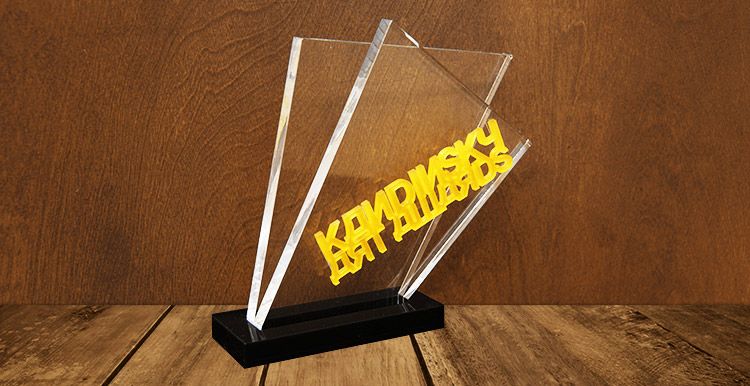
For the most part, laser users engrave acrylic on the back side to produce a look-through effect from the front. You’ll see this often on acrylic awards.
Acrylic sheets typically come with a protective adhesive film on the front and back to prevent it from getting scratched. We recommend removing the protective adhesive paper from the back of the acrylic before engraving, and leaving the protective cover layer on the front to prevent scratching while handling the material. Don’t forget to reverse or mirror your artwork before sending the job to the laser since you’ll be engraving the back side.
Acrylics generally engrave well at a high speed and low power. It doesn’t take much laser power to mark the acrylic, and if your power is too high you’ll notice some distortion in the material.
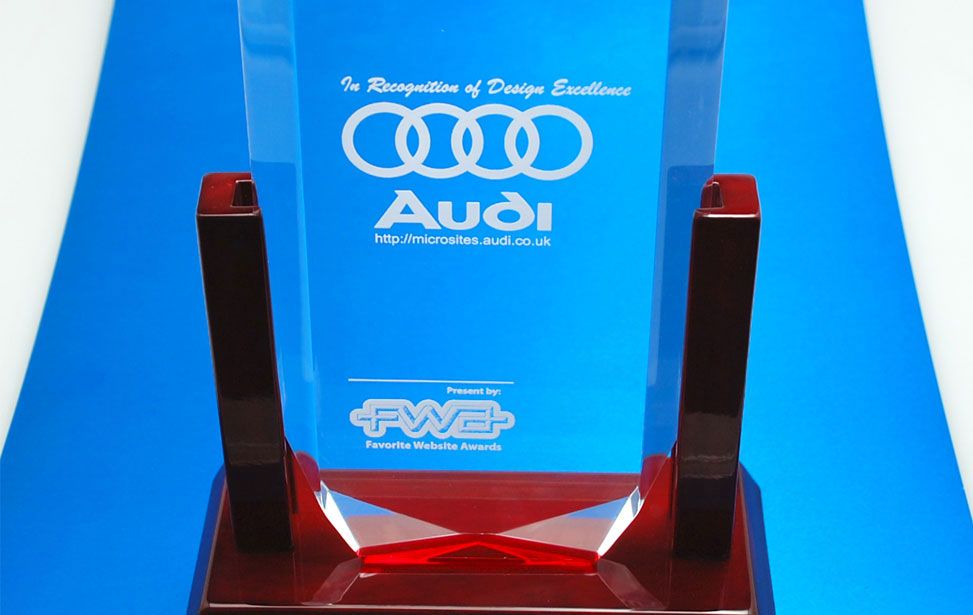
Laser Engraved Acrylic Award
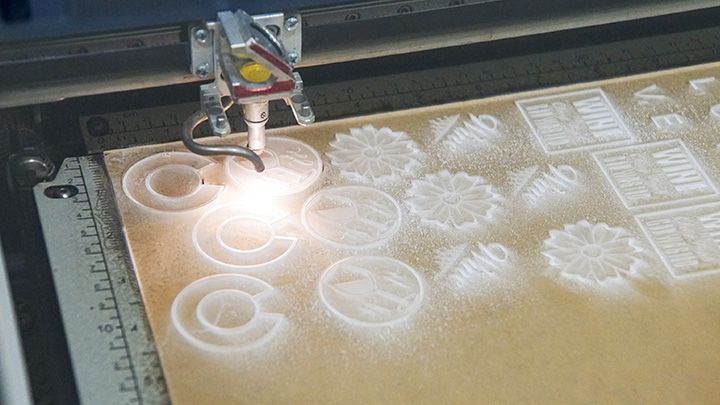
Laser Engraving a Sheet of Acrylic
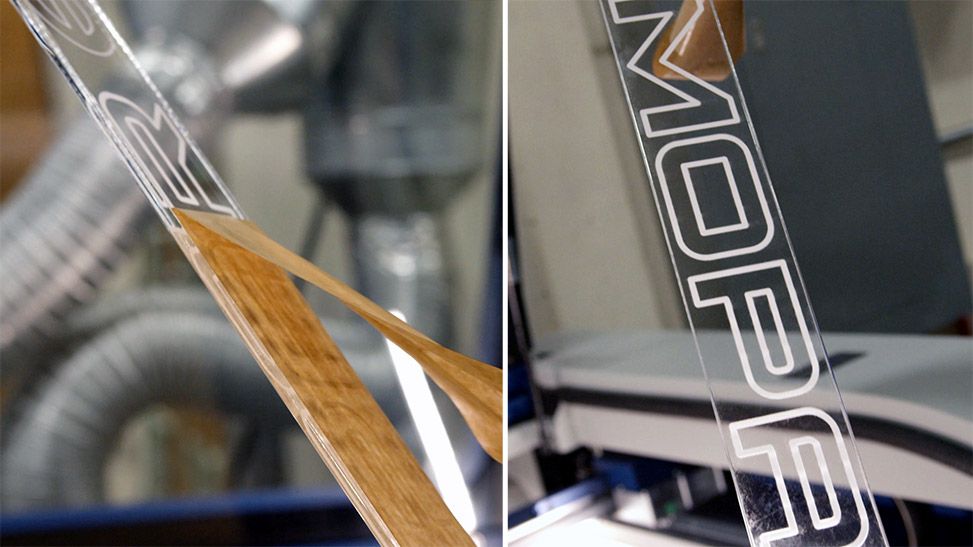
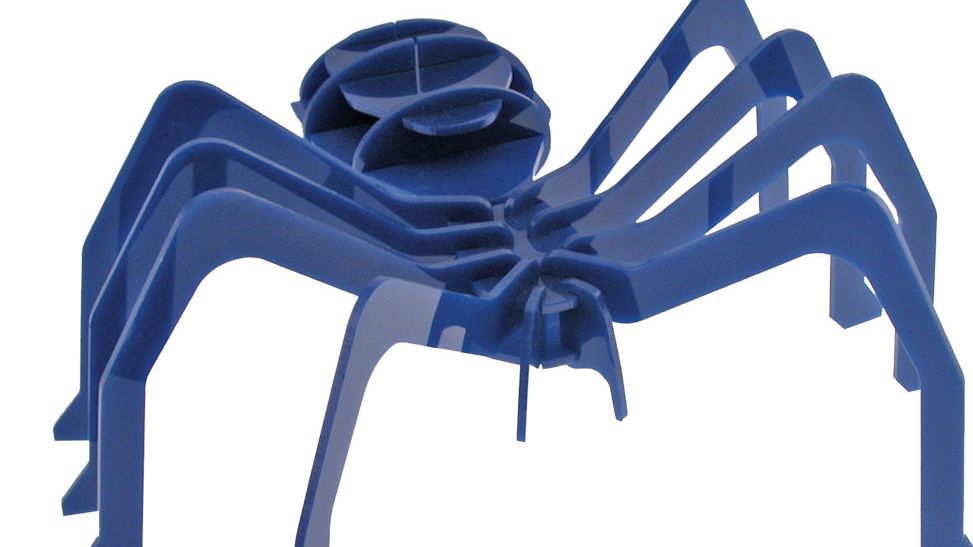
Laser Cutting Graphics out of Acrylic
General Laser Processing Tips
For Acrylic
-
Never leave your machine unattended when working with acrylic. Many materials are susceptible to igniting, but acrylic – in all its different forms – has been shown to be especially flammable when cut with the laser. As a general rule, you should never run your laser – using any material – if you are not present.
-
Make sure to choose the right type of acrylic for your application. Remember, cast acrylic is better for engraving, while extruded acrylic is better suited for laser cutting.
-
Elevate the acrylic – use an item for support to eliminate backside reflection.
What types of acrylic projects can you make?
Acrylic is a durable and practical material for laser processing. The variety of colors and textures make this material ideal for all kinds of things:
- Point of purchase signage
- Directional signage
- Earrings/pendants/buttons
- Containers/boxes
- Cake/cupcake toppers
- Custom awards
- Holiday ornaments
- And much more!
Who are some of the main acrylic suppliers?
Find more materials suppliers in our Industry Links listings.
Engraving is Easy!
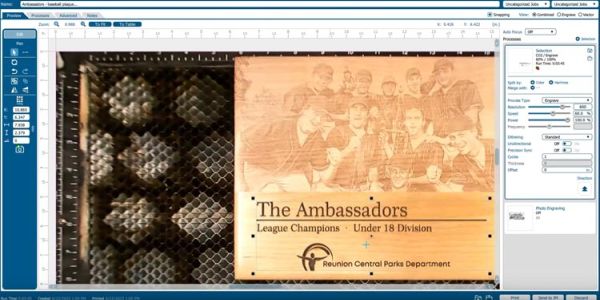
Print to your laser from any graphics software
Artwork Setup
Design in your favorite software
Material Settings
Assign speed and power by material
Start Engraving!
Send the job to the laser and press go!
Sample Club
You may also like…
Which machines are best for laser cutting and engraving acrylic?
-
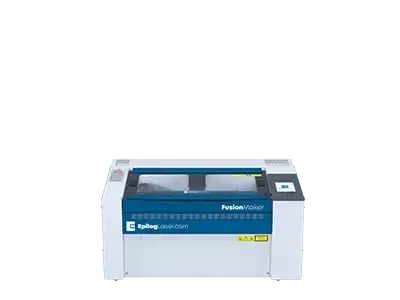
Fusion Maker 12
Starter SeriesWork Area24″ x 12″
(610 x 305mm)TypeCO2
WattageCO2: 30-40
The newest in Epilog’s laser lineup, the Fusion Maker was designed for the entry-level hobbyist or small business owner. This compact system features up to 60 IPS engraving speeds and our popular IRIS Camera System. -
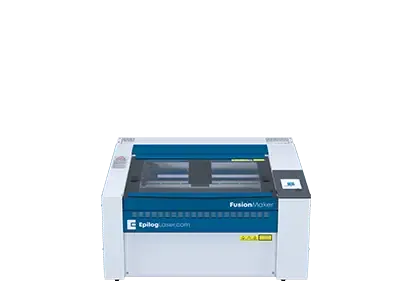
FUSION MAKER 24
Starter SeriesWork Area24″ x 24″
(610 x 610mm)TypeCO2
WattageCO2: 40
Featuring a 24” x 24” engraving table and available in a 40 watt configuration, the Fusion Maker 24 offers users a larger engraving table to tackle bigger projects. -
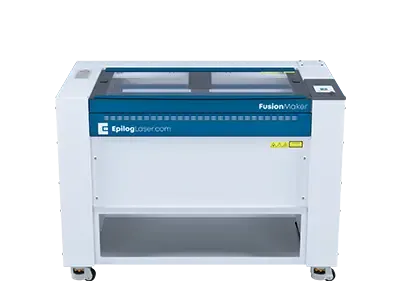
FUSION MAKER 36
Starter SeriesWork Area36″ x 24″
(915 x 610mm)TypeCO2
WattageCO2: 40-50
The largest in the Fusion Maker Laser Series, the Fusion Maker 36 features a 36” x 24” workspace and 40 or 50 watt configuration options. All of the Fusion Maker systems include our IRIS Camera System and 60 inches per second engraving speeds. -

Fusion Edge 12
Business SeriesWork Area24″ x 12″
(610 x 305mm)TypeCO2, Fiber
WattageCO2: 50-60
Fiber: 30Our compact laser system available in several wattage configurations and features up to 120 IPS/3.05 m/s engraving speeds. Also available with a fiber laser source. -
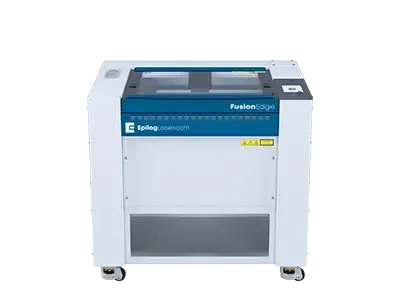
Fusion Edge 24
Business SeriesWork Area24″ x 24″
(610 x 610mm)TypeCO2
WattageCO2: 50-60
A mid-size system that includes Epilog’s IRIS Camera System. -
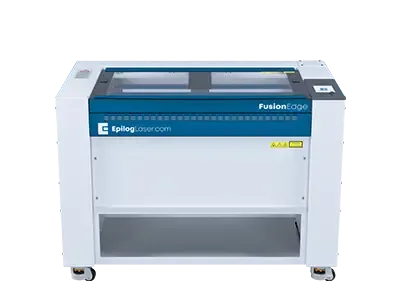
Fusion Edge 36
Business SeriesWork Area36″ x 24″
(914 x 610mm)TypeCO2
WattageCO2: 60-100
The largest system in the Fusion Edge Series, the Edge 36 offers a 36” x 24” (914 x 610 mm) engraving table and comes in a 60, 80, or 100 watt CO2 configuration. The Edge 36 features 120 IPS/3.05 m/s engraving speeds, and features built-in Ethernet, USB, and Wireless options for networking your laser. -
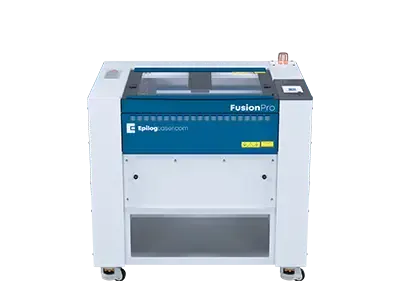
Fusion Pro 24
Industrial SeriesWork Area24″ x 24″
(610 x 610mm)TypeCO2, Fiber, Dual
WattageCO2: 60-100
Fiber: 30The smallest in our industrial Fusion Pro Laser Series, the Pro 24 is available in 60, 80, or 100 watts and can be configured as a dual-source system with both CO2 and fiber laser capabilities. -
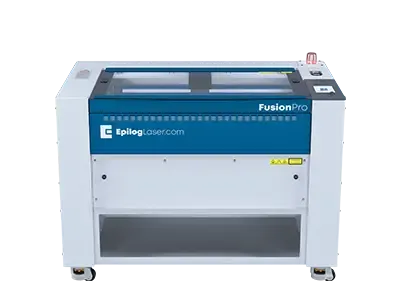
Fusion Pro 36
Industrial SeriesWork Area36″ x 24″
(914 x 610mm)TypeCO2, Dual
WattageCO2: 60-200
Fiber: 30-60Like all systems in the Fusion Pro Laser Series, the Pro 36 includes Epilog’s IRIS Camera System, along with engraving speeds up to 165 inches per second (4.2 m/s). -
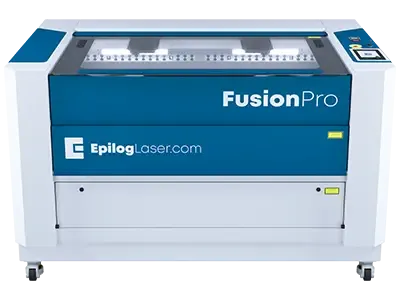
Fusion Pro 48
Industrial SeriesWork Area48″ x 36″
(1219 x 914mm)TypeCO2, Dual
WattageCO2: 80-200
Fiber: 60The largest of the Fusion Pros, this industrial system is available in 80, 100, 120, and 200 watt configurations, as a dual-source system, and can be networked via built-in Ethernet, USB or wirelessly.
