Laser Cut Christmas Cards
Holidays, Paper
Introduction
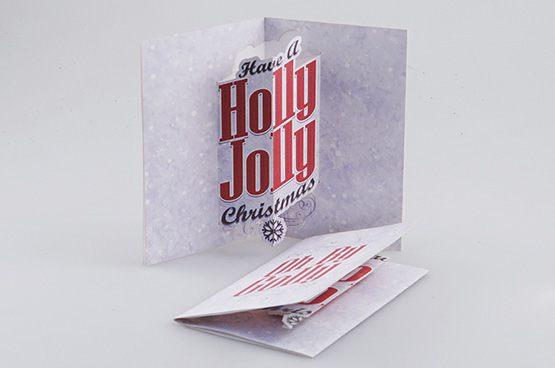
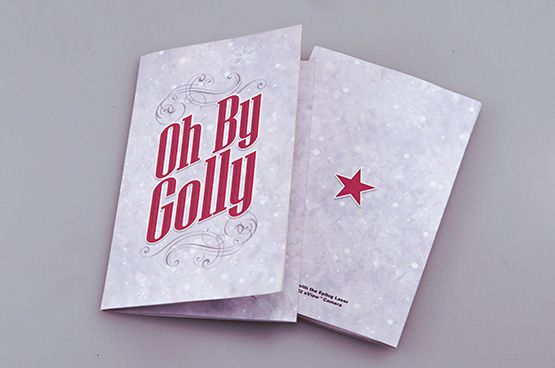
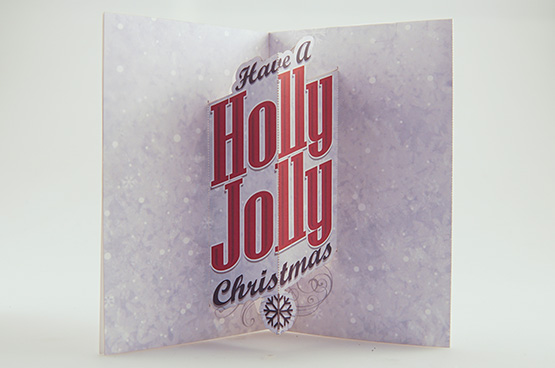
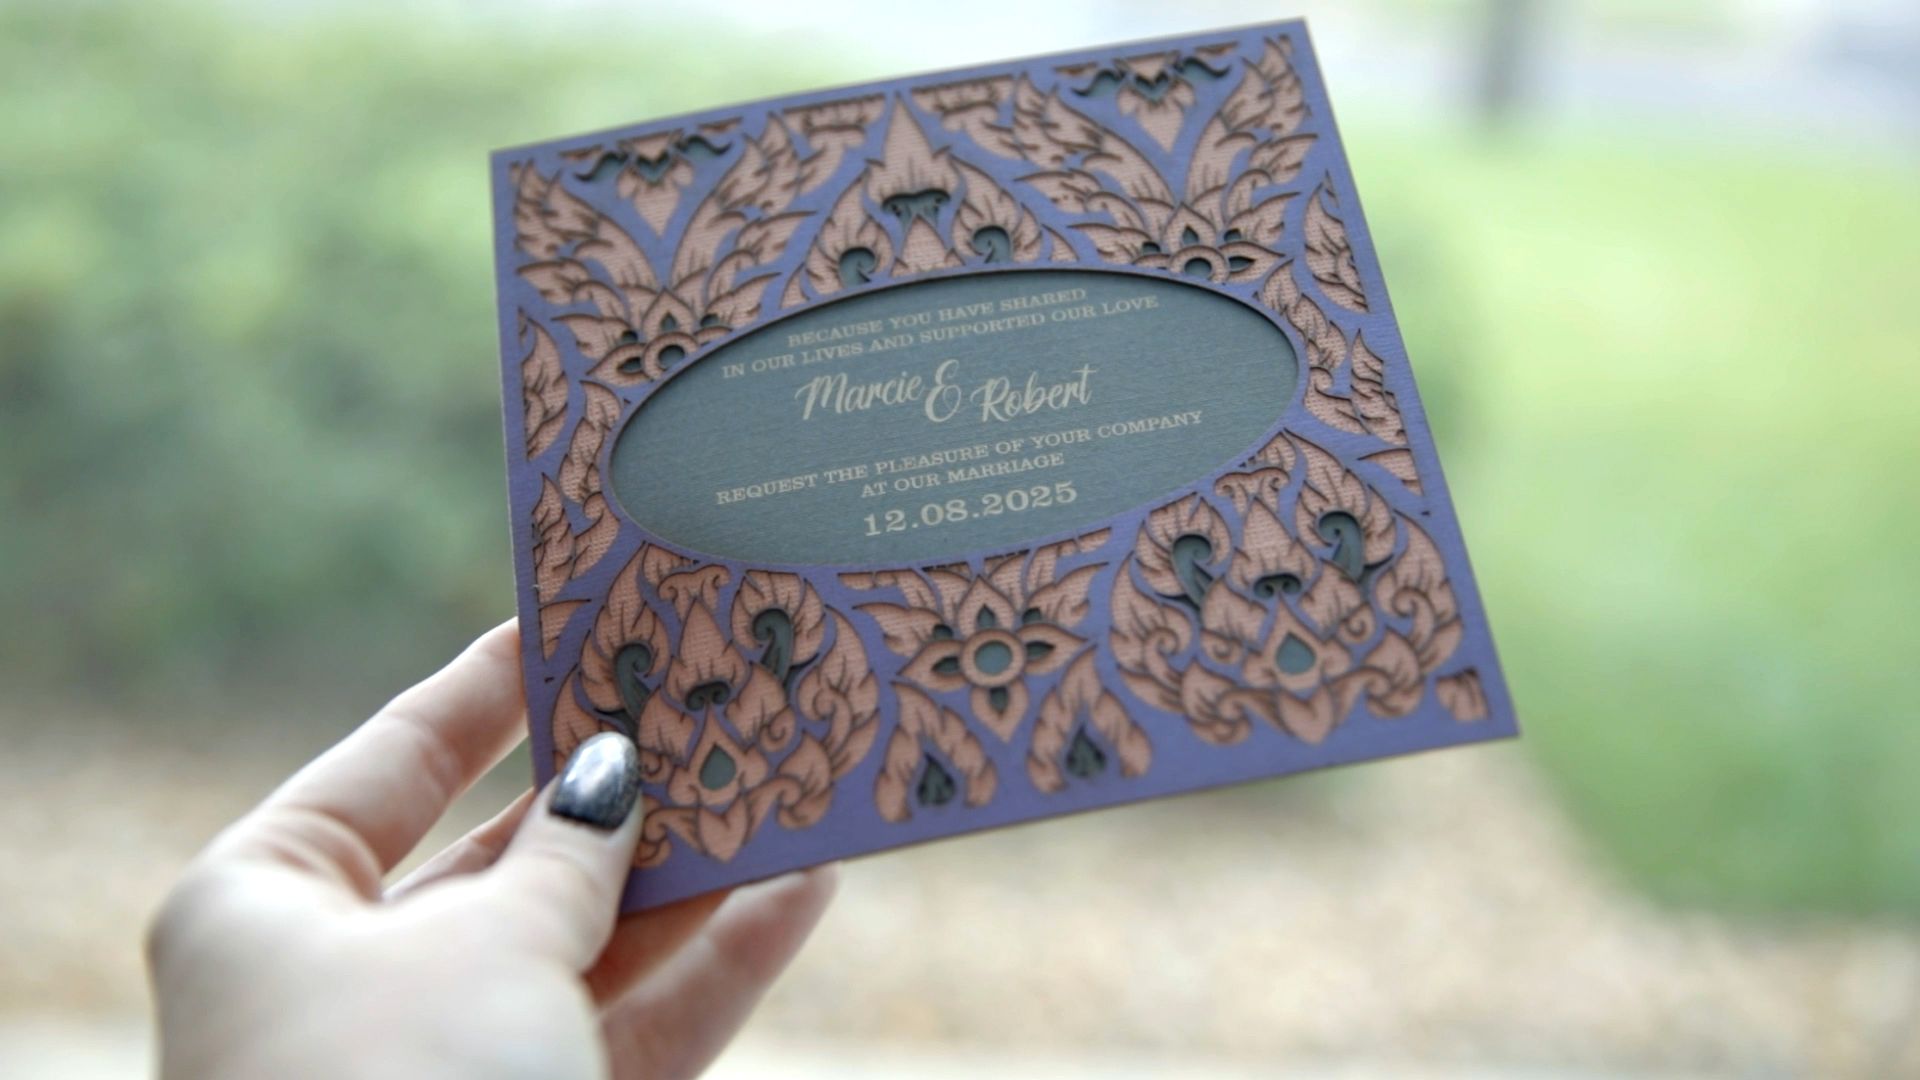
With so many styles of laser-friendly paper and cardstock available, it’s no wonder laser-cut pop-up cards are becoming very popular.
The following Sample Club project utilizes Epilog’s new eView Camera Module to create colorful and festive holiday cards. Read on to learn how we did it!
Project Settings
-
Cardstock(Matte or semi-gloss paper works best)
Prepare the Artwork
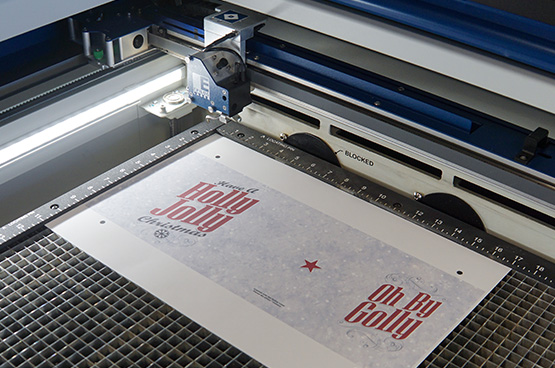
Click the “Download Now” button above. This will open a zipped folder that includes both the artwork files and the outline cutting files. Locate the artwork PDFs and print them on cardstock.
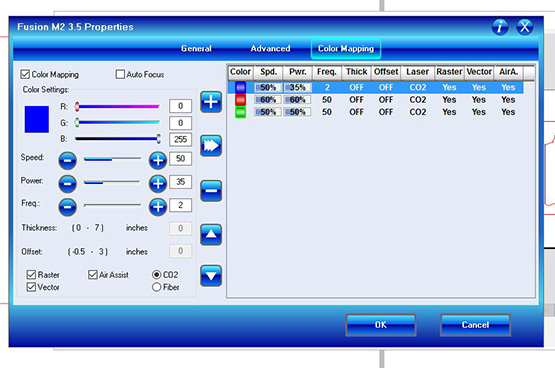
Adjust the print settings and send the job to Epilog’s Job Manager. Click color mapping to prioritize the laser actions. Settings for Blue will create the perforated scoring, the red will be recognized as areas to be die cut, and the green is used as registration marks for the camera system.
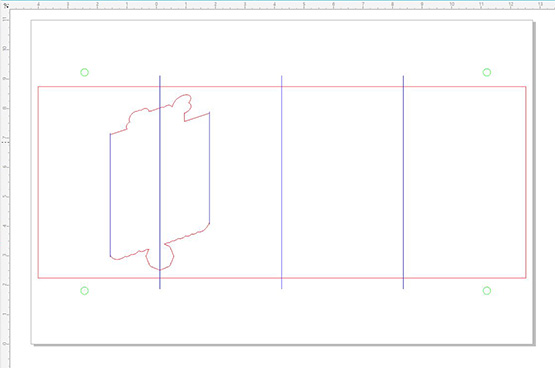
Register the Artwork
Register the artwork using the eView tab in the Job Manager. The overhead access door cameras provide a live preview while the camera on the lens assembly automatically locates registration marks.
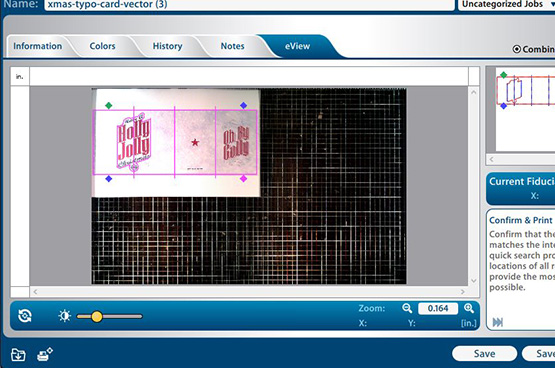
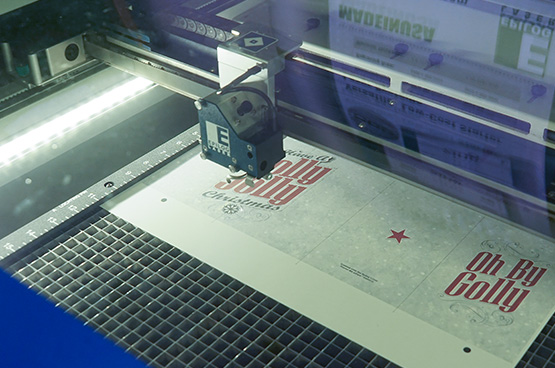
Once the registration is complete, press go and watch as the laser quickly and accurately die cuts the graphic.
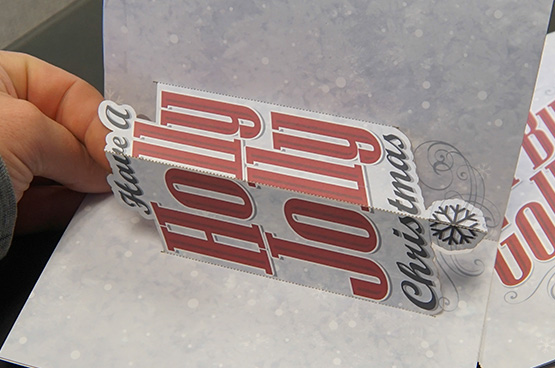
Fold the card while pushing out on the pop out section to create a fold in the opposite direction.
Don’t have an eView? No problem. Click the “download file” button at the top of the page. After the folder has downloaded, find the file name marked with “X”. Using the Red Dot Pointer, locate the small reference point in the center of the page and set that has your home position. Choose Center-Center engraving and, with the lid open and Red Dot Pointer on, run the vector job to ensure your card cuts exactly where it should.

Enjoy
