Laser Cutting Foam Letters
Foam
Introduction
Project Settings
-
We selected the quarter sheet size, which is 54″ (1371.6mm) by 24″ (609.6mm), and 1″ (25.4 mm) thick. Depending on your table size, you may need to manually cut the foam with a utility knife to fit within the laser, or request a custom size foam sheet.
-
Spray paint(optional)
-
Utility knife(optional)
Setup
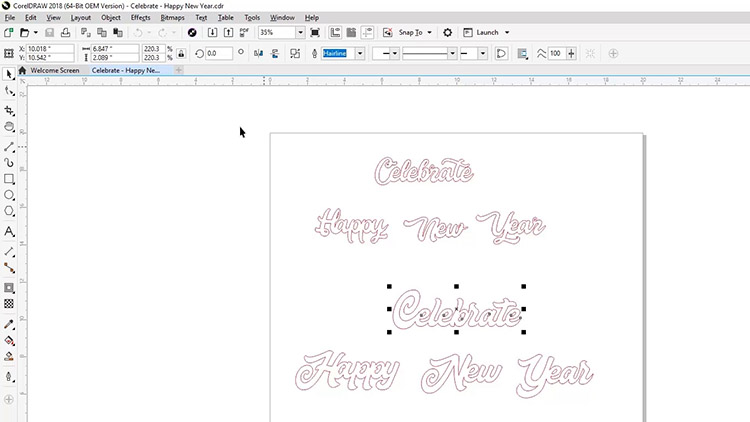
Open the artwork files and customize as necessary. If you opt for a different font, make sure it is thick enough to hold when moving and mounting/placing the letters. Thinner fonts can be more delicate, a thicker one will ensure less breakage.
Send to the Laser
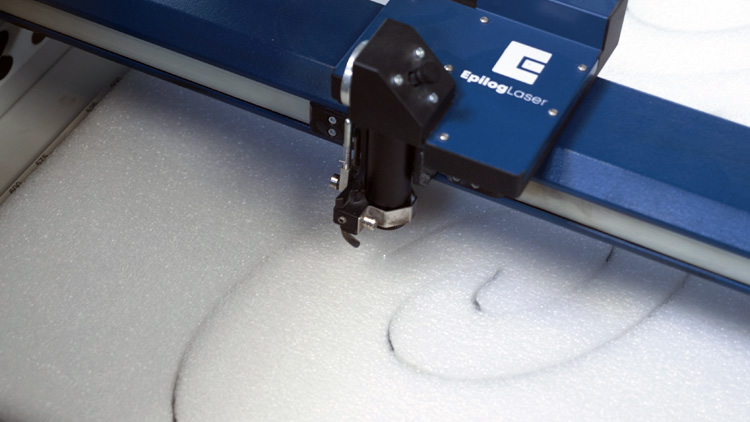
After you’ve modified the artwork to your liking, insert your foam piece into the laser and send the job over with the correct parameters for your machine. After you’ve focused, manually move the table up by .15″. This helps ensure the beam goes entirely through the foam. The foam isn’t very dense, so you likely will not need an abundant amount of power to cut through it, and you can always run it again if the laser doesn’t go completely through the first time.
Spray (paint) and display!
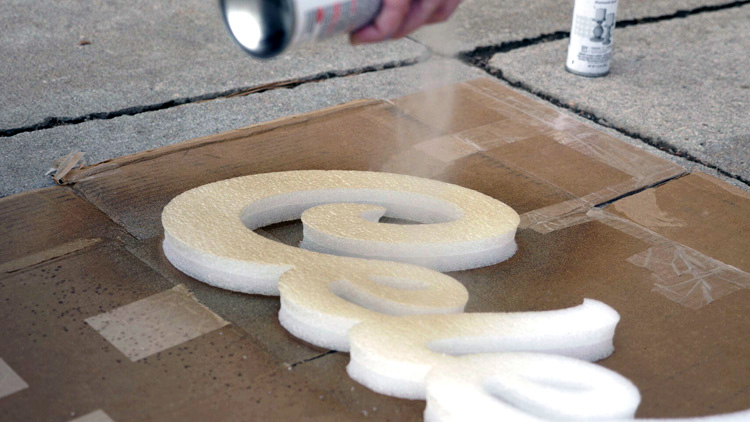
After your letters have been cut, apply a few coats of spray paint. After the paint has dried you are good to go!
Enjoy

Where can you sell laser engraved foam letters?
- For point of purchase displays
- Event signage
- As photobooth props
