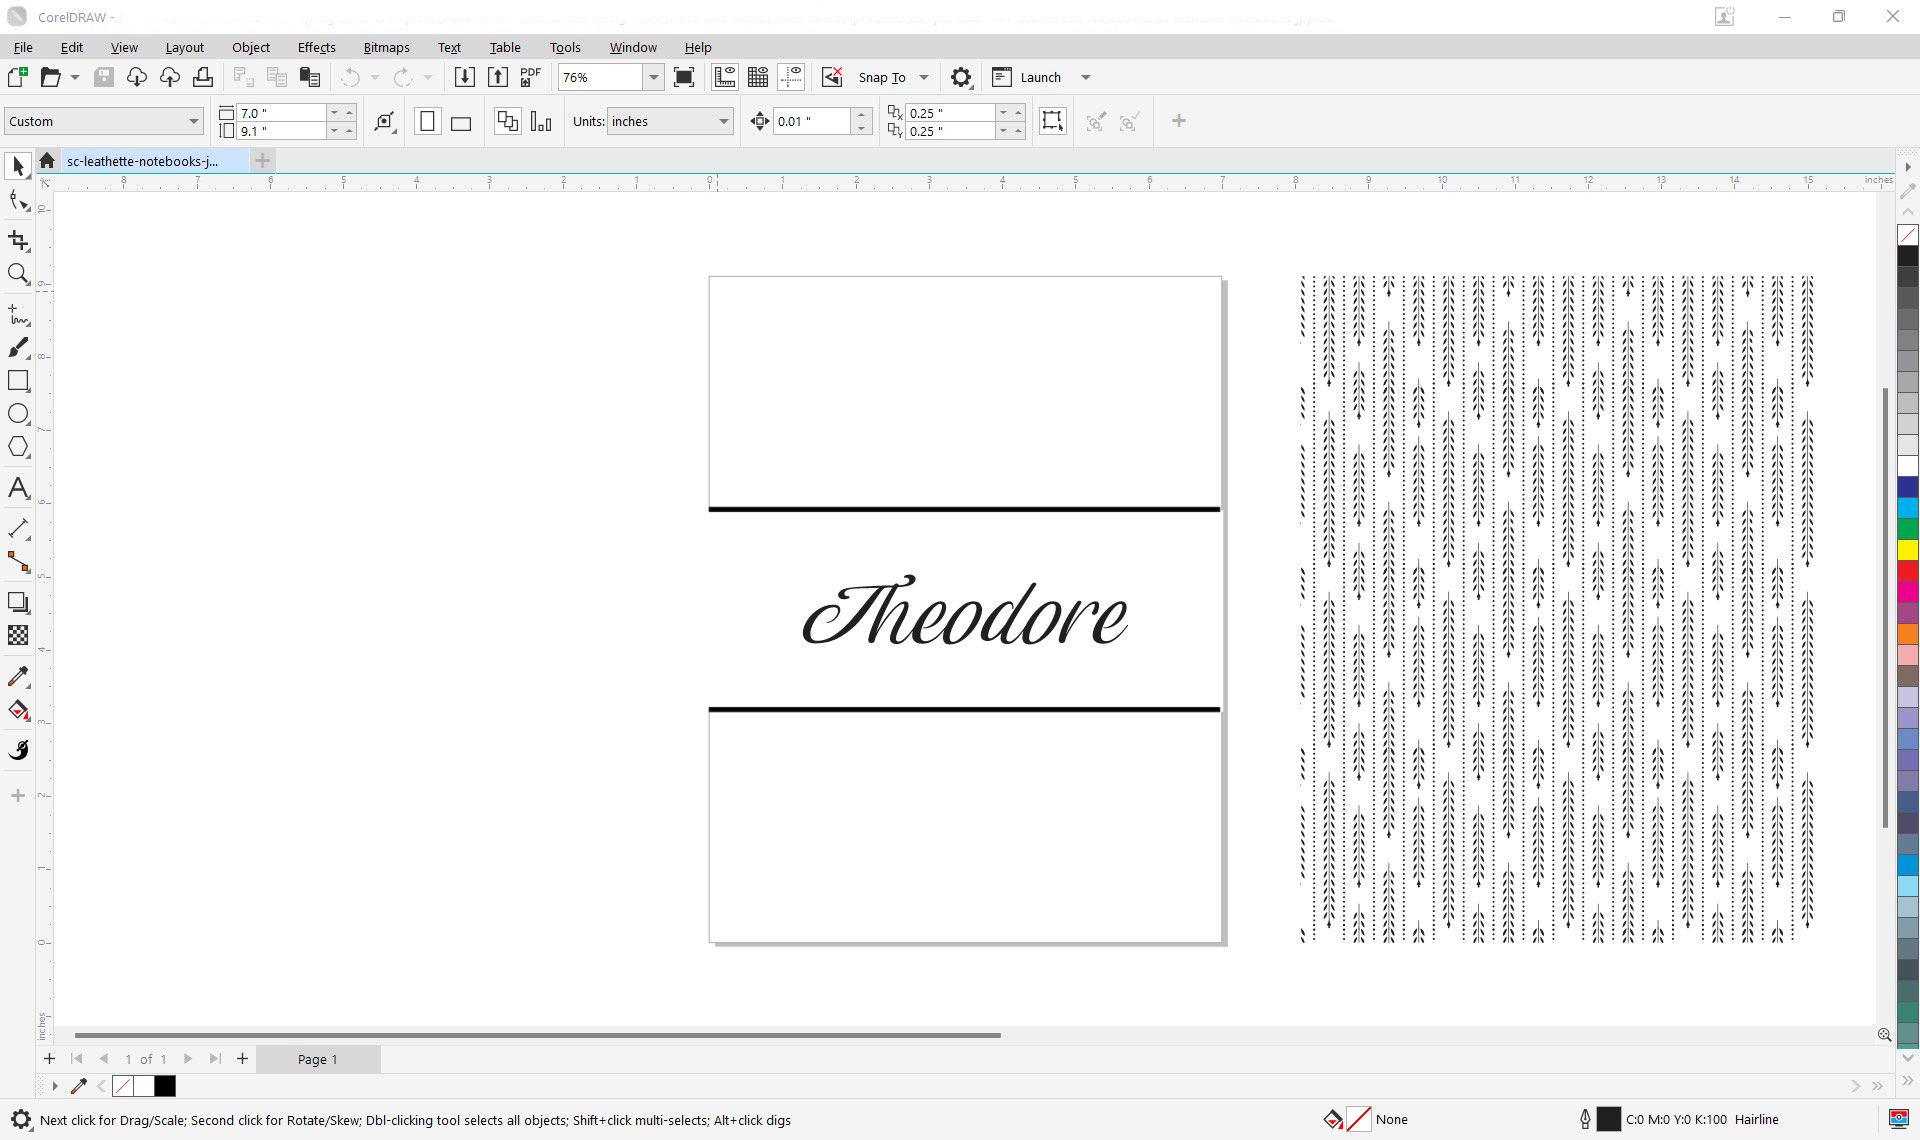
Step 1: Prepare Artwork
To start, in our design software we’ll select our first design. Print the file to the laser, “Selection Only”.
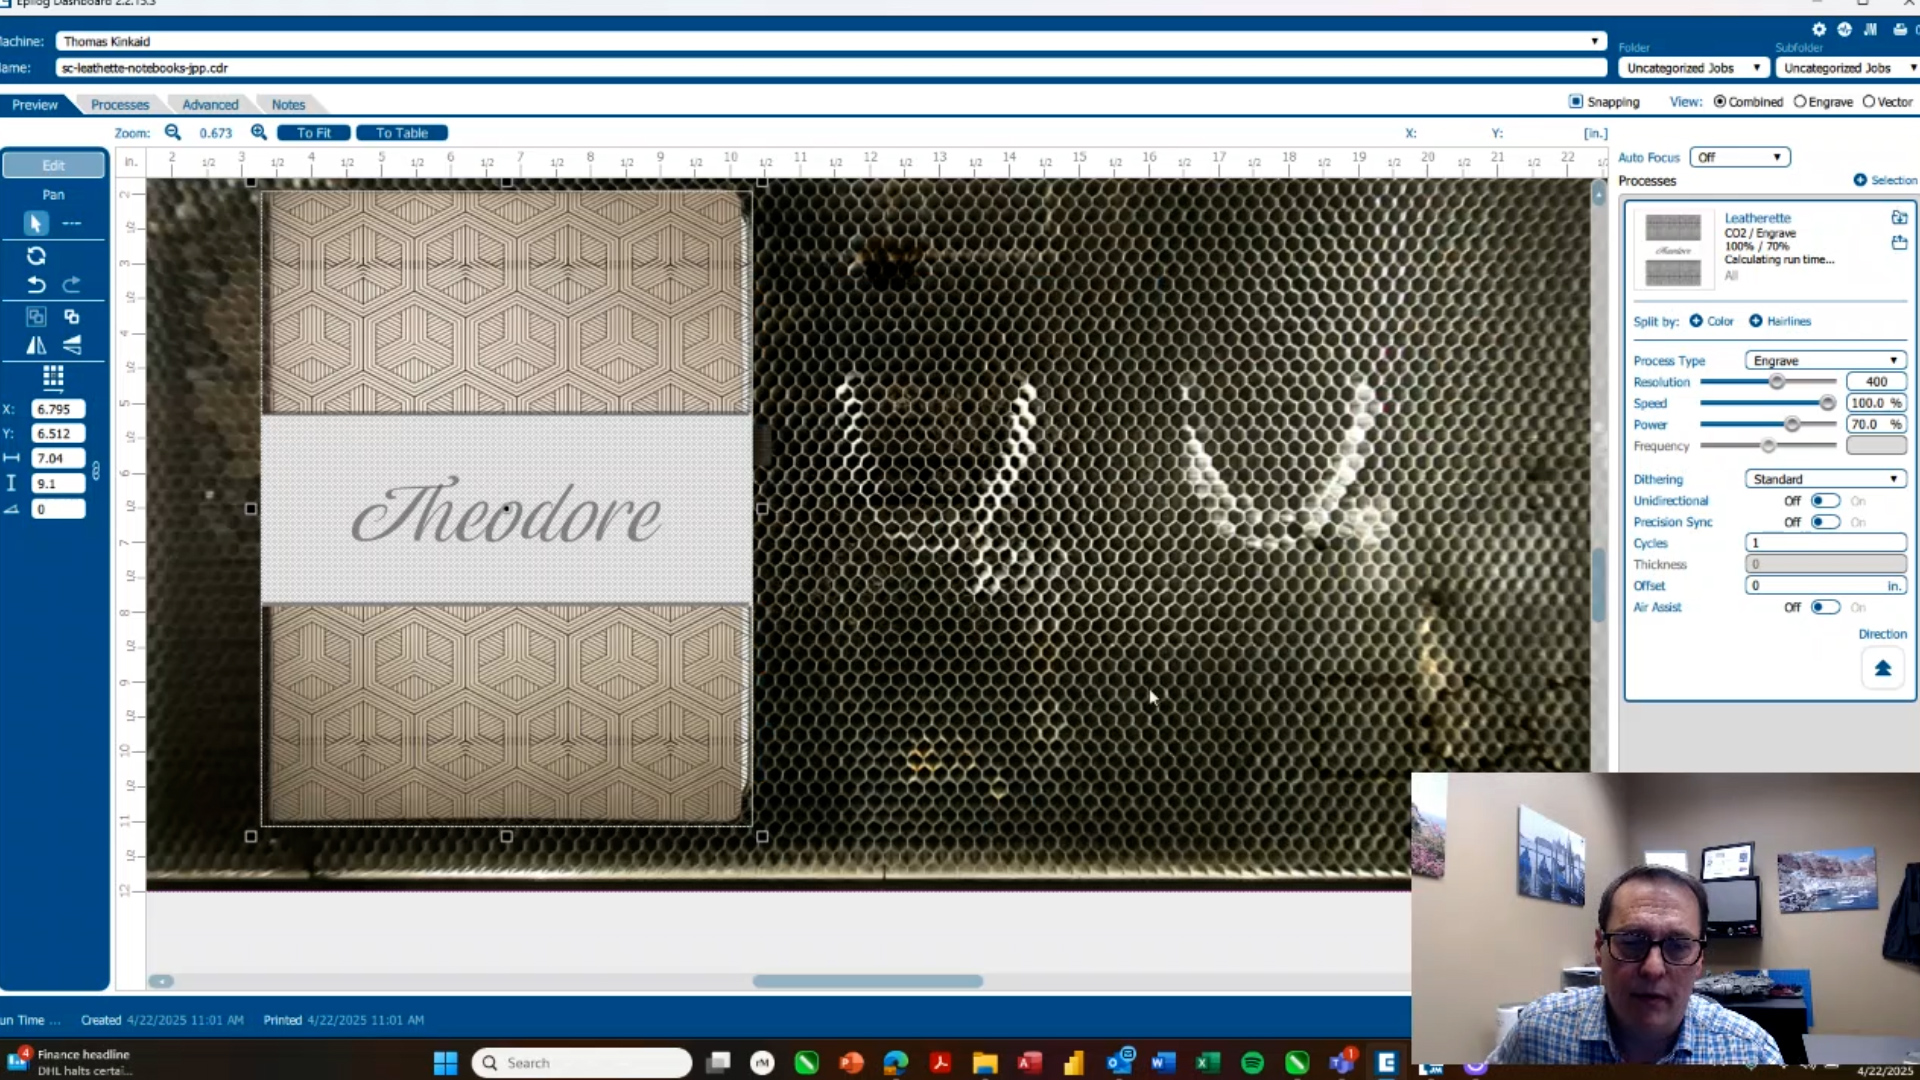
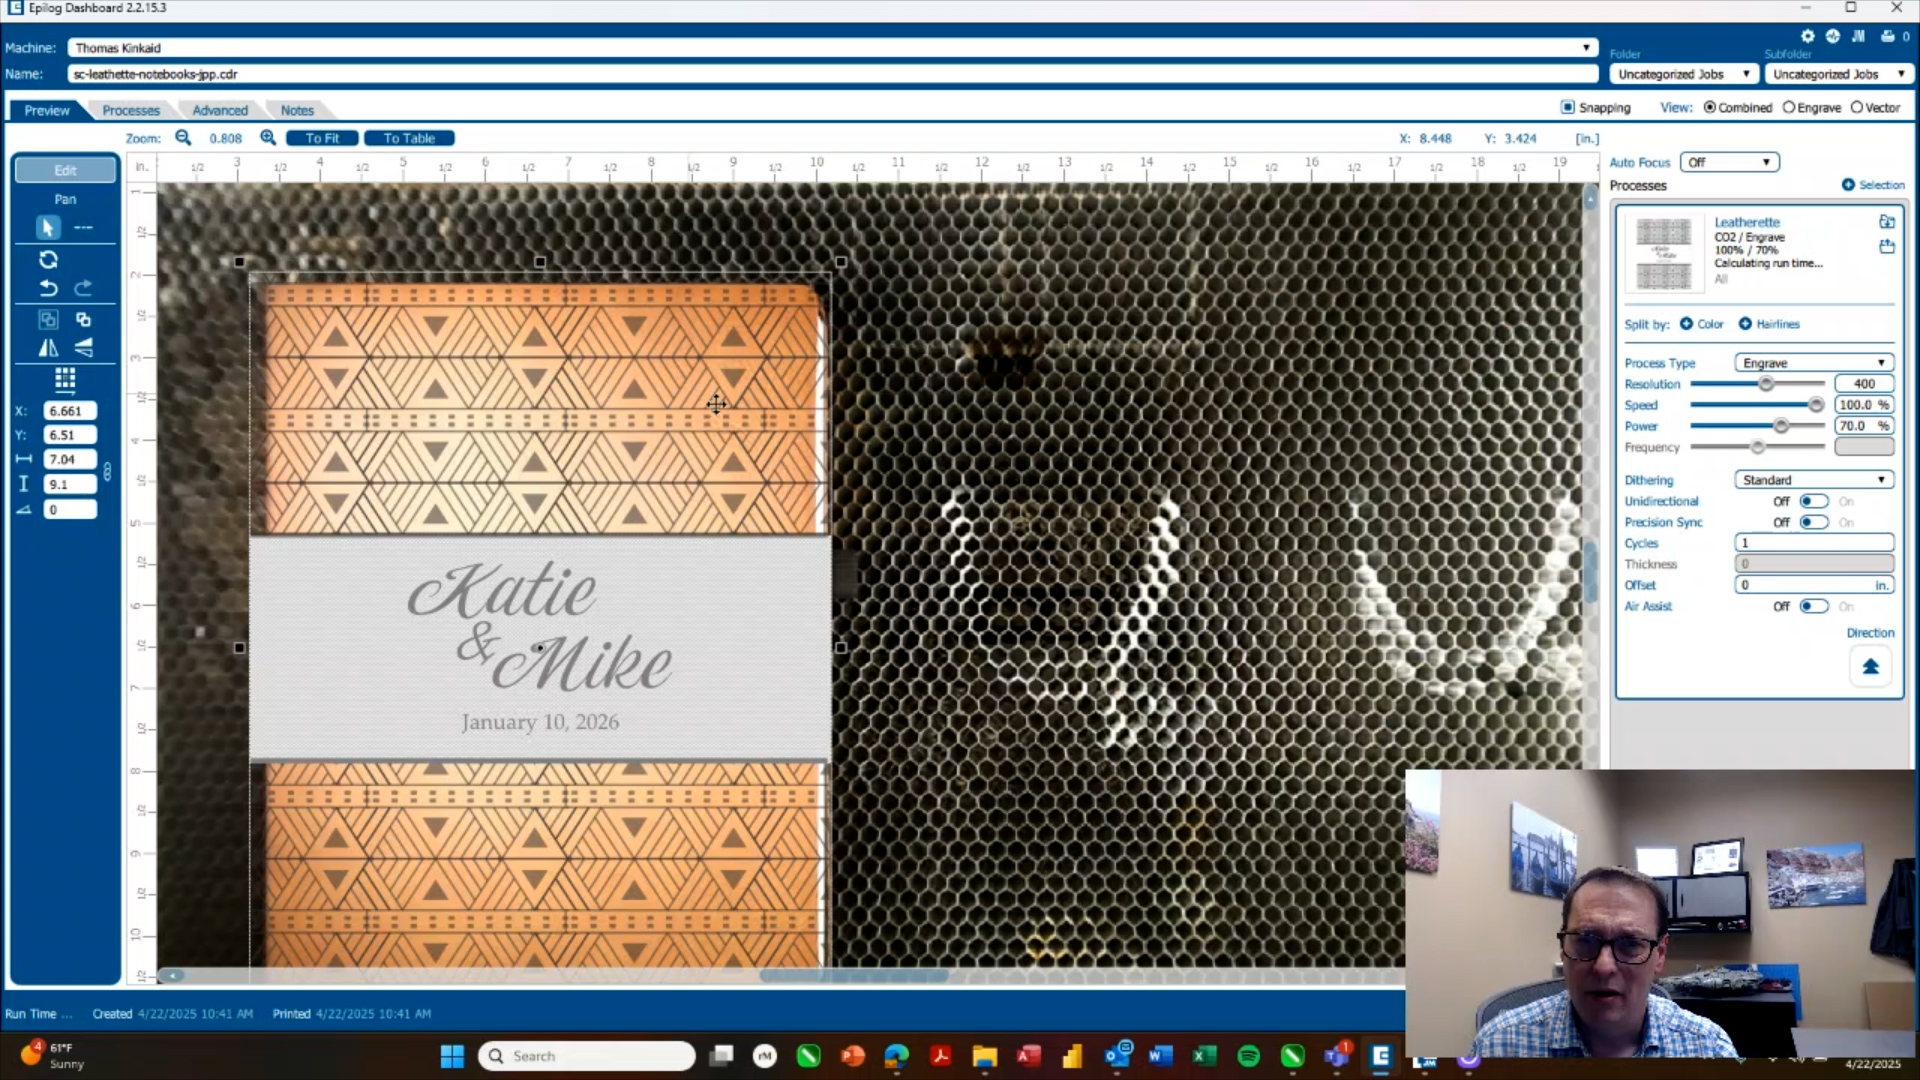
Step 2: Position Artwork in the Laser Dashboard
Using the camera, align your artwork over the notebook and resize it as needed. We’ve made the backgrounds larger than the notebook size so that it overlaps over the edges. We’re using a 60-watt Fusion Edge 12 today, so we’ll set our resolution to 400 dpi, our speed to 100%, and power to 70%. Set the dithering pattern to “Stucki”. And set the engraving direction from bottom-up. Print the file to the laser.
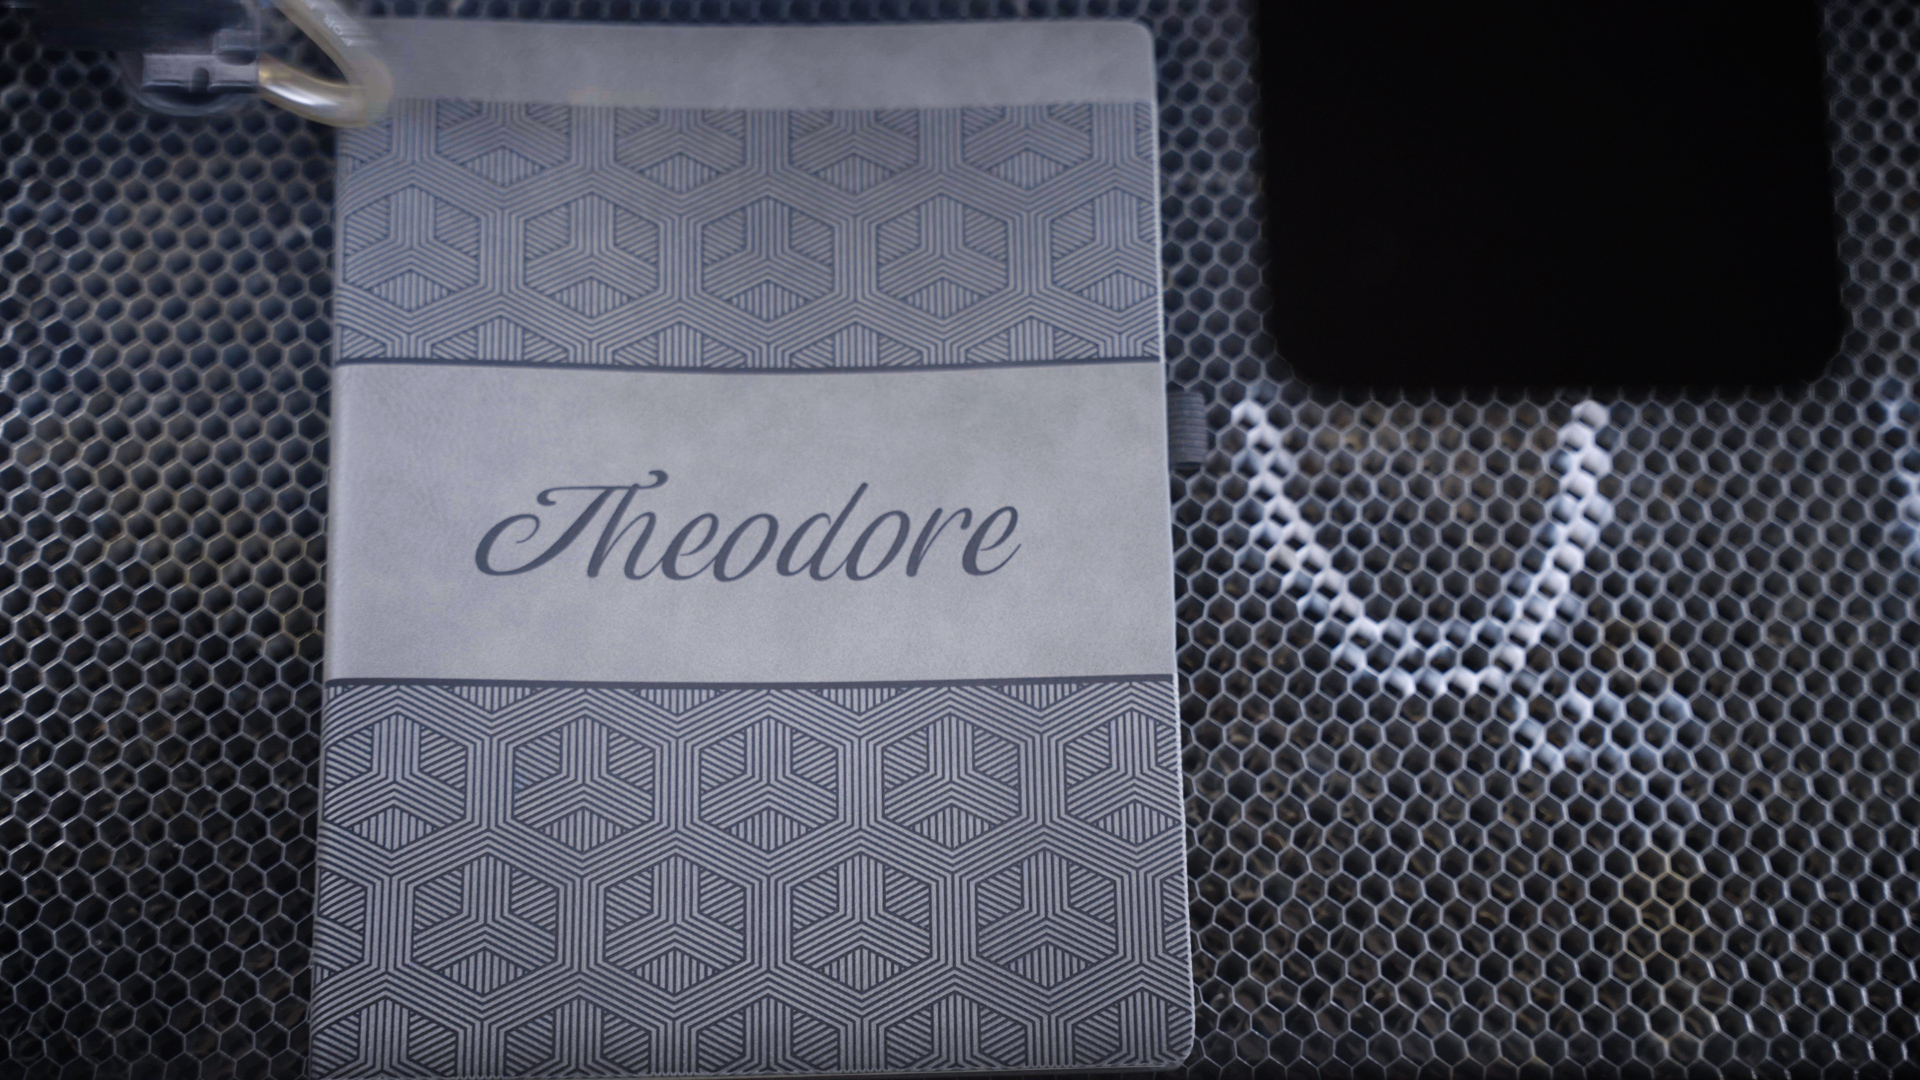
Pasul 3: Rulați primul Design
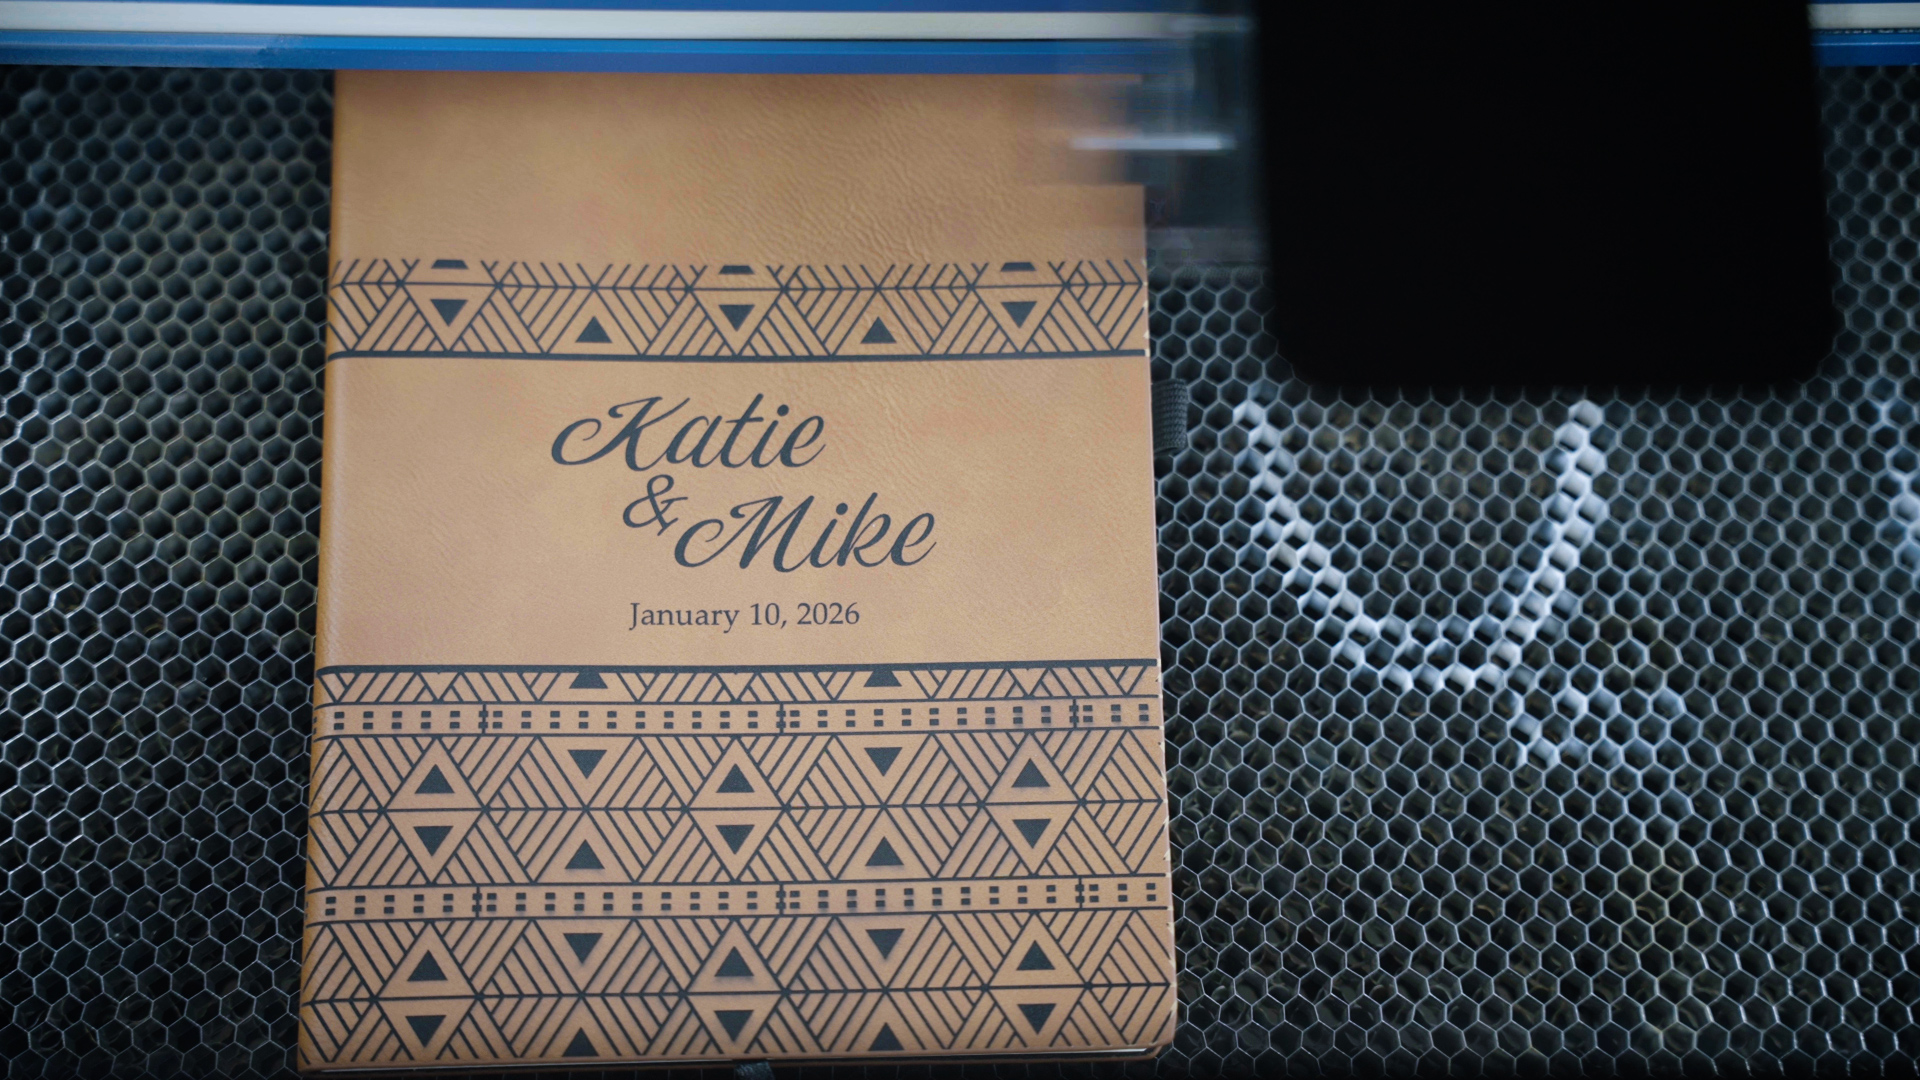
At the laser, select the file and press the start button to begin engraving. We’re looking for a nice solid black mark, if your first settings are a bit off, you can always run a second pass.
Pasul 4: Repetați procesul după cum doriți
Now we’ll repeat the process on another journal using our second graphic. Print the file to the laser. Align the artwork with the camera. You can even create a jig to engrave multiple journals at once to maximize productivity.
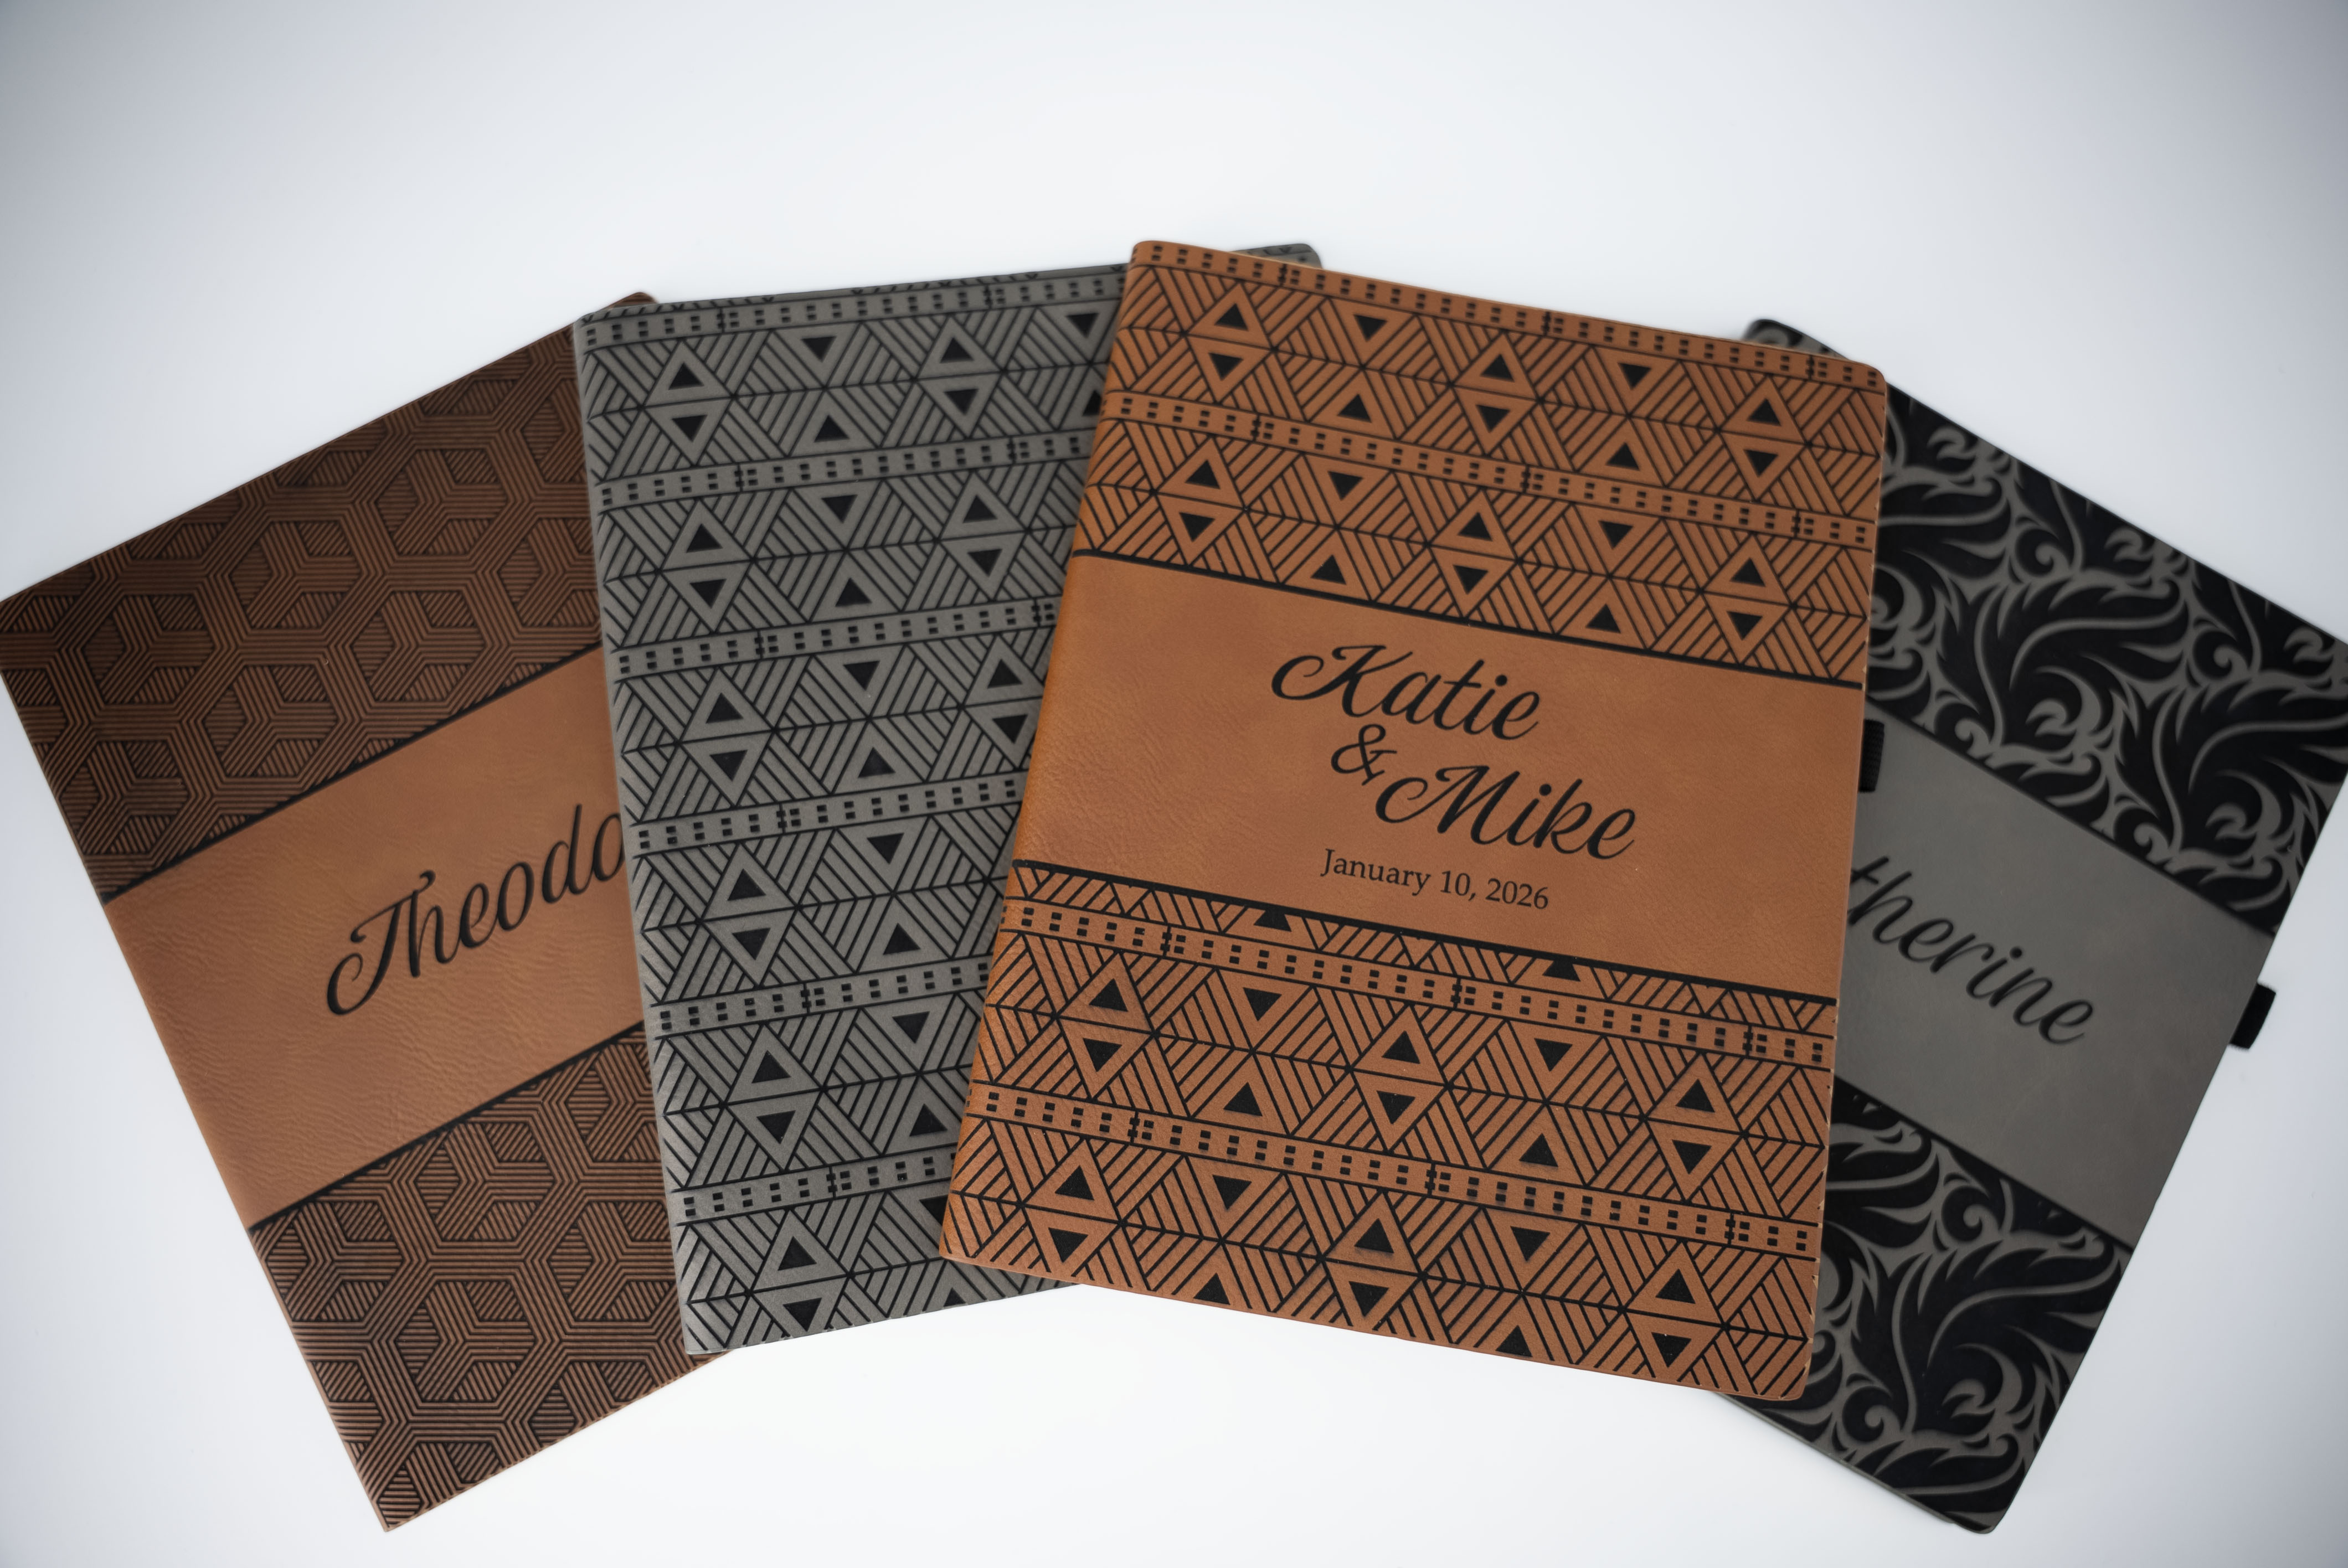
Once you’ve mastered customizing leatherette journals with your Epilog Laser, it’s time to turn your creativity into profit. Consider selling your personalized products on platforms like Etsy, Amazon Handmade, and Shopify, where customers actively seek unique, custom items. You can also reach local buyers through craft fairs, farmers markets, and boutique gift shops, or offer your services for corporate gifts and branded merchandise. With the right marketing and a standout product, your laser-engraved journals can quickly find a loyal customer base.