Step 1: Create Map
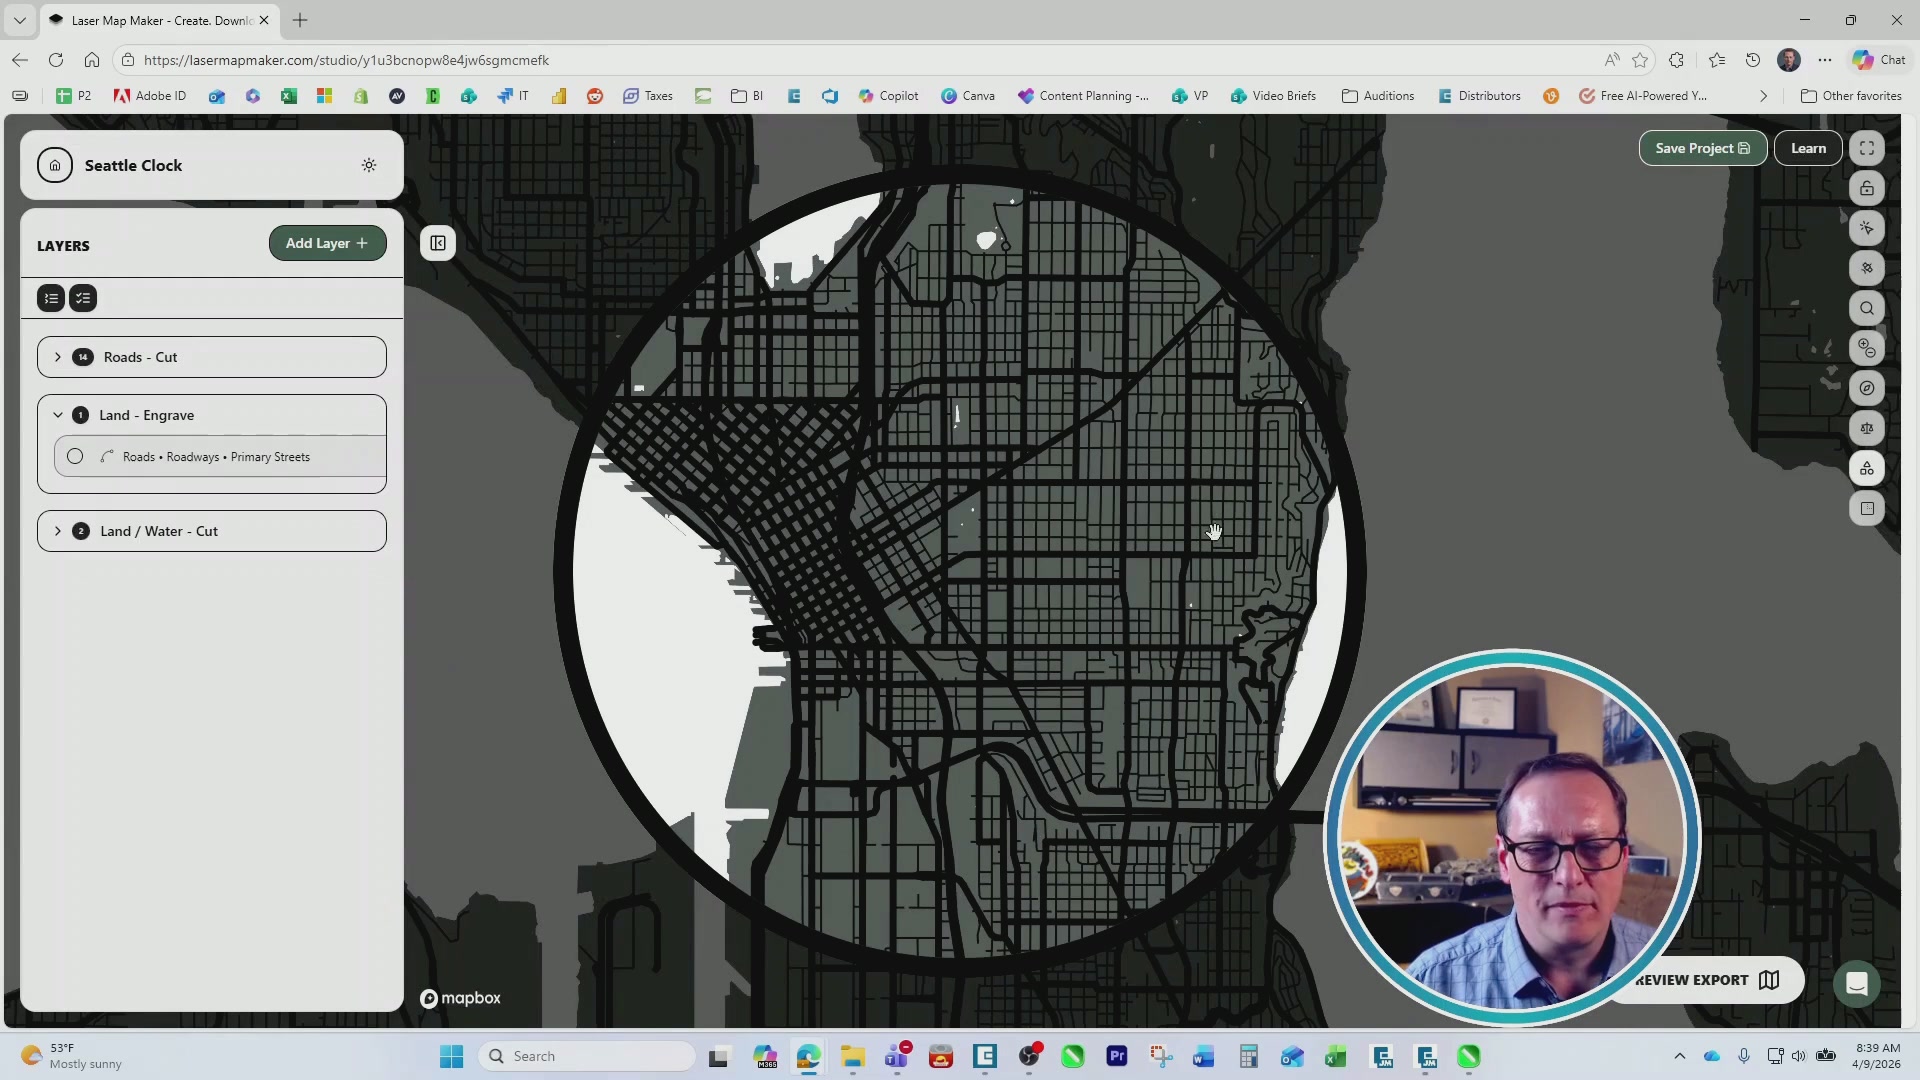
To create your own map you can use Laser Map Maker. If you prefer to use our free Sample Club file, skip to the next step. On Laser Map Maker you can sign up for a free subscription and get three free exports. Click “New Project”, then select “Basic City Map” and pick the city you’d like to engrave. Under “Map Shape” change the shape to a circle, and select the area of the map that looks best to you.
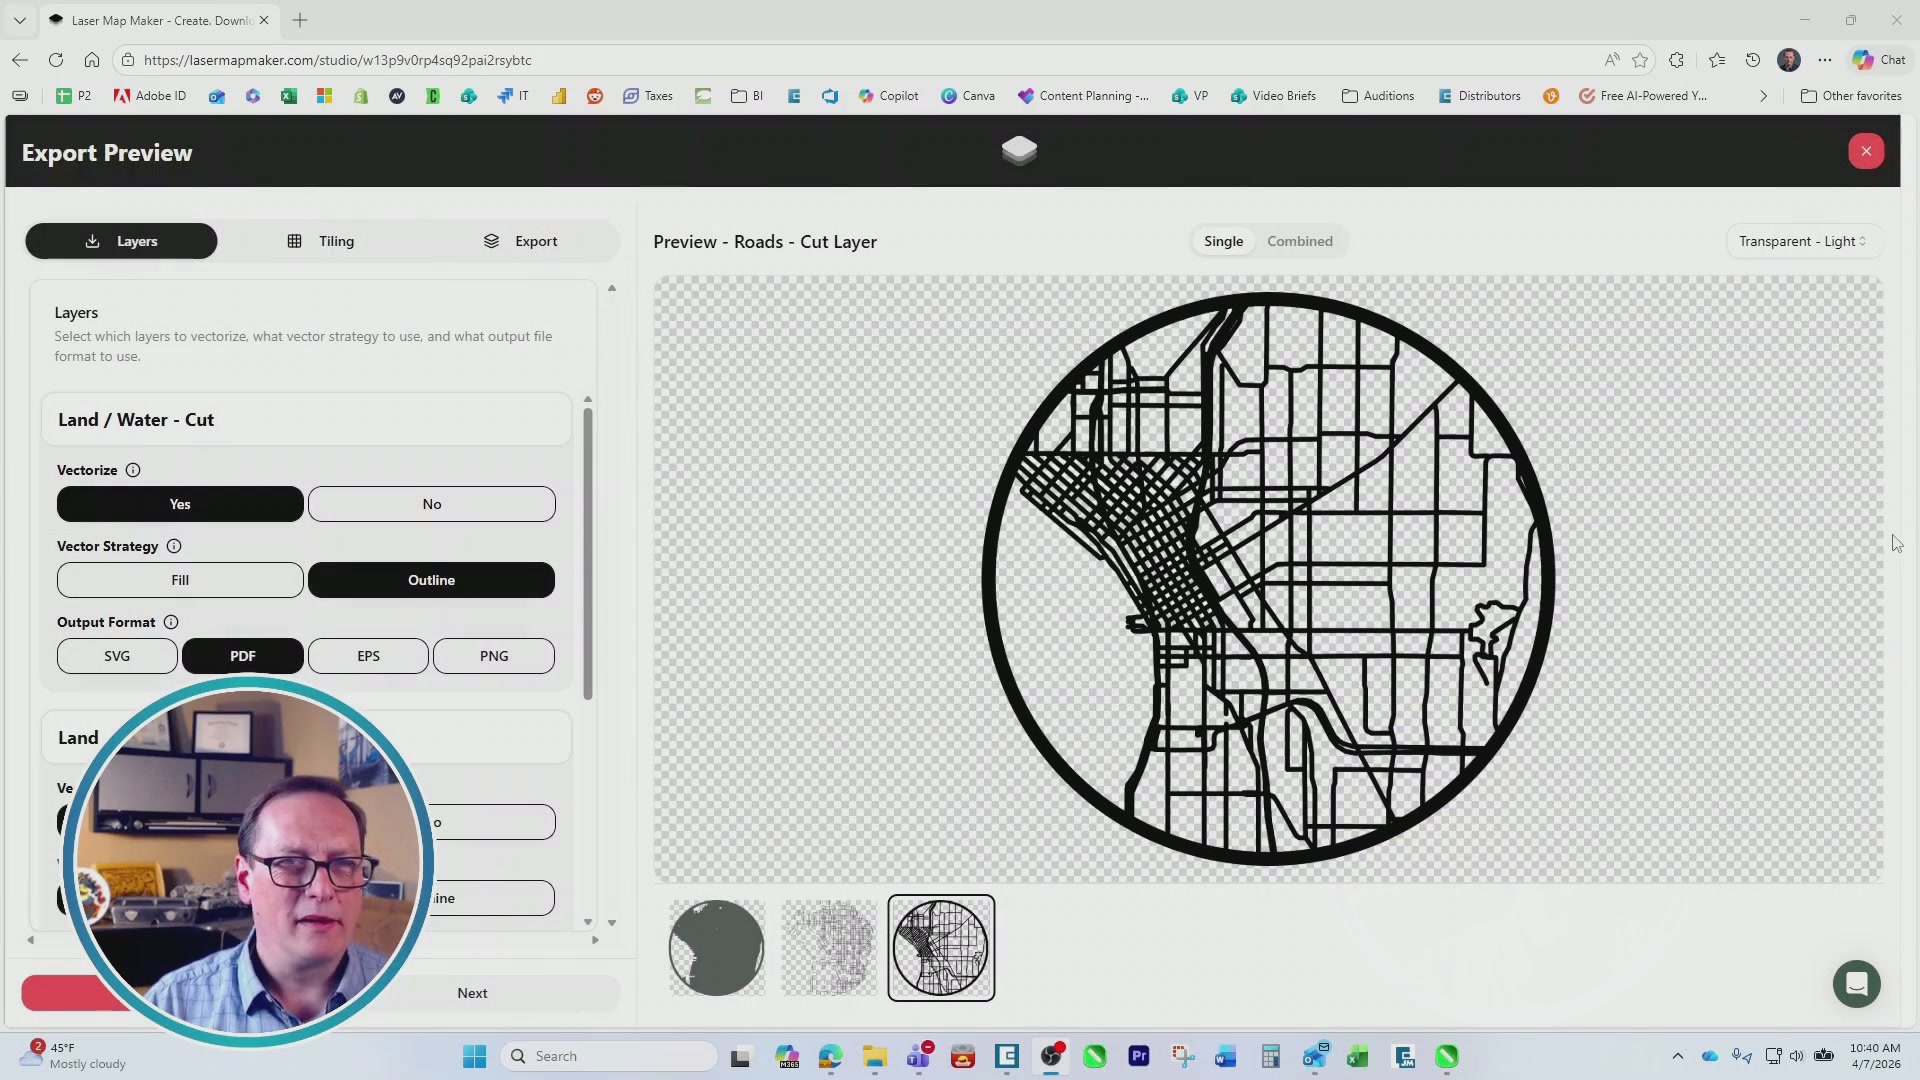
Check the settings of each layer. Change the output format to PDF for each layer, and make sure the border color matches the color of the roads. Once you’re happy with your map settings, select “Preview Export”. Export the map after reviewing the settings. Once the export is finished generating, download all of the layers.
Step 2: Prepare Artwork
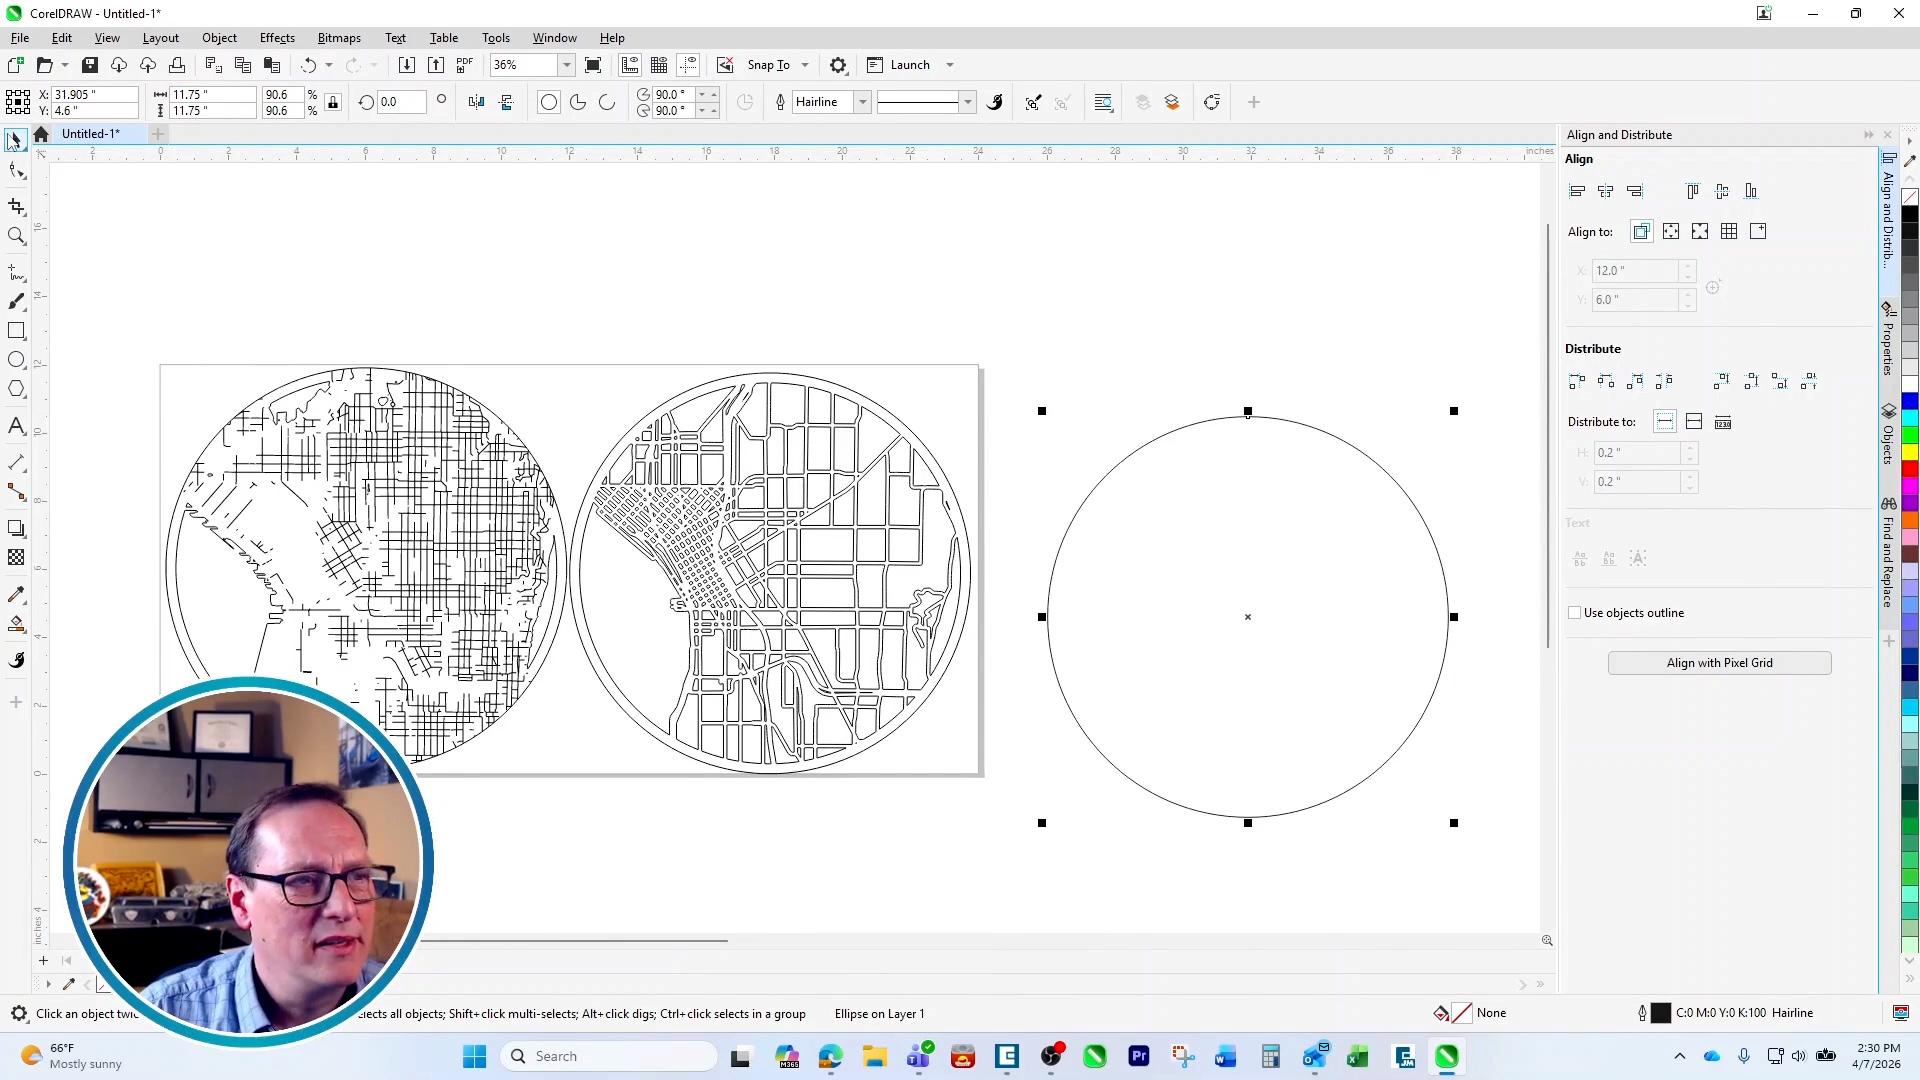
Import the map layers into the design software of your choice. Resize the layers to the size of your choice, for this project we chose 11.75″. Ungroup each cutting layer to delete the bounding boxes around each circle, then regroup them.
For the engraving layer, create a circle that is the same size as your other layers, and power clip the roads engraving layer inside the circle you created to remove any outer borders. Now align the roads engraving layer with your land and water cut layer.
Create one more circle for the base of your clock, including a circle in the center that will fit your clock piece, ours measured to .3″. Depending on your map layout, you may need to create a boundary space for the clock on your road cutting layer as well.
Once your artwork is ready, print it to the Laser Dashboard.
Step 3: Laser Dashboard Setup
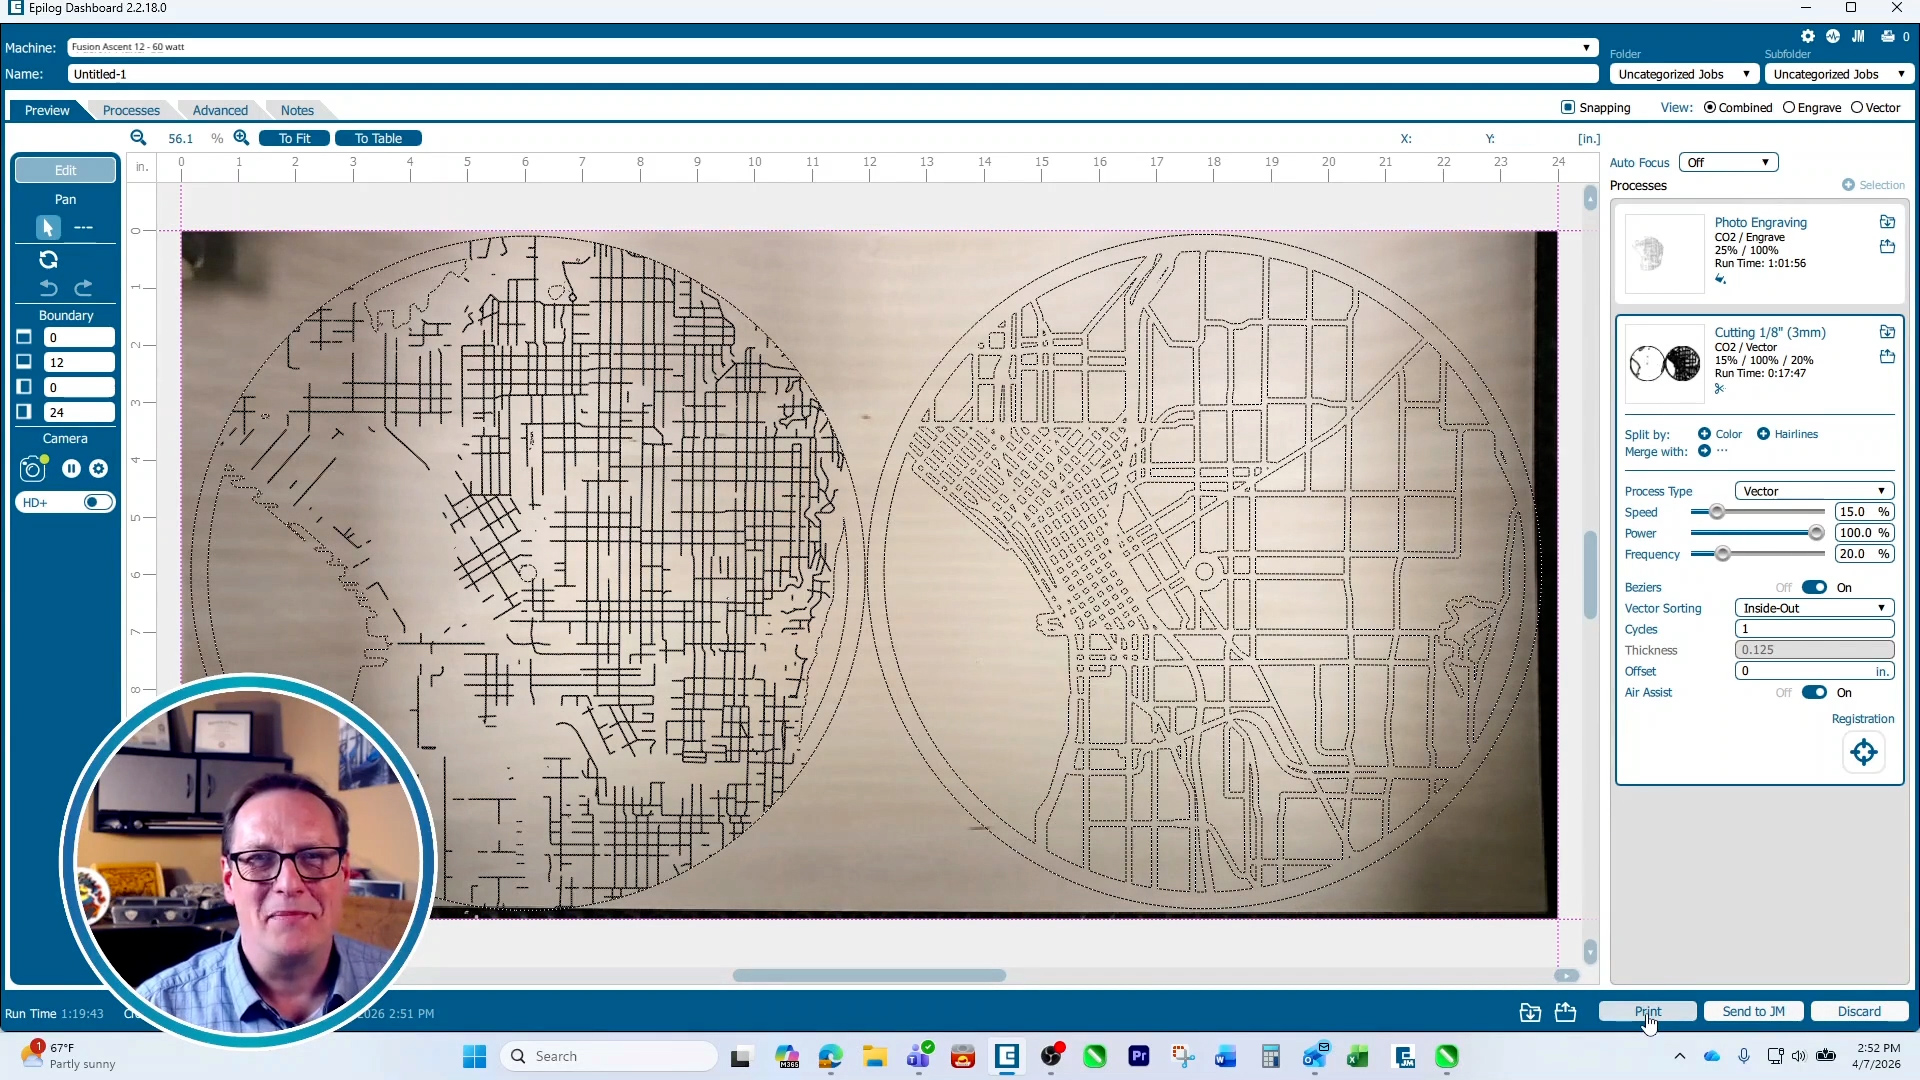
In the Epilog dashboard, position your artwork and input your engraving settings. On an 60-watt Fusion Ascent 12 we used 25% Speed, 100% Power, 500 DPI and bottom-up engraving. For the vector portions we used 15% Speed 100% Power and 20% Frequency. Now print the job to the laser.
Step 4: Run the Job
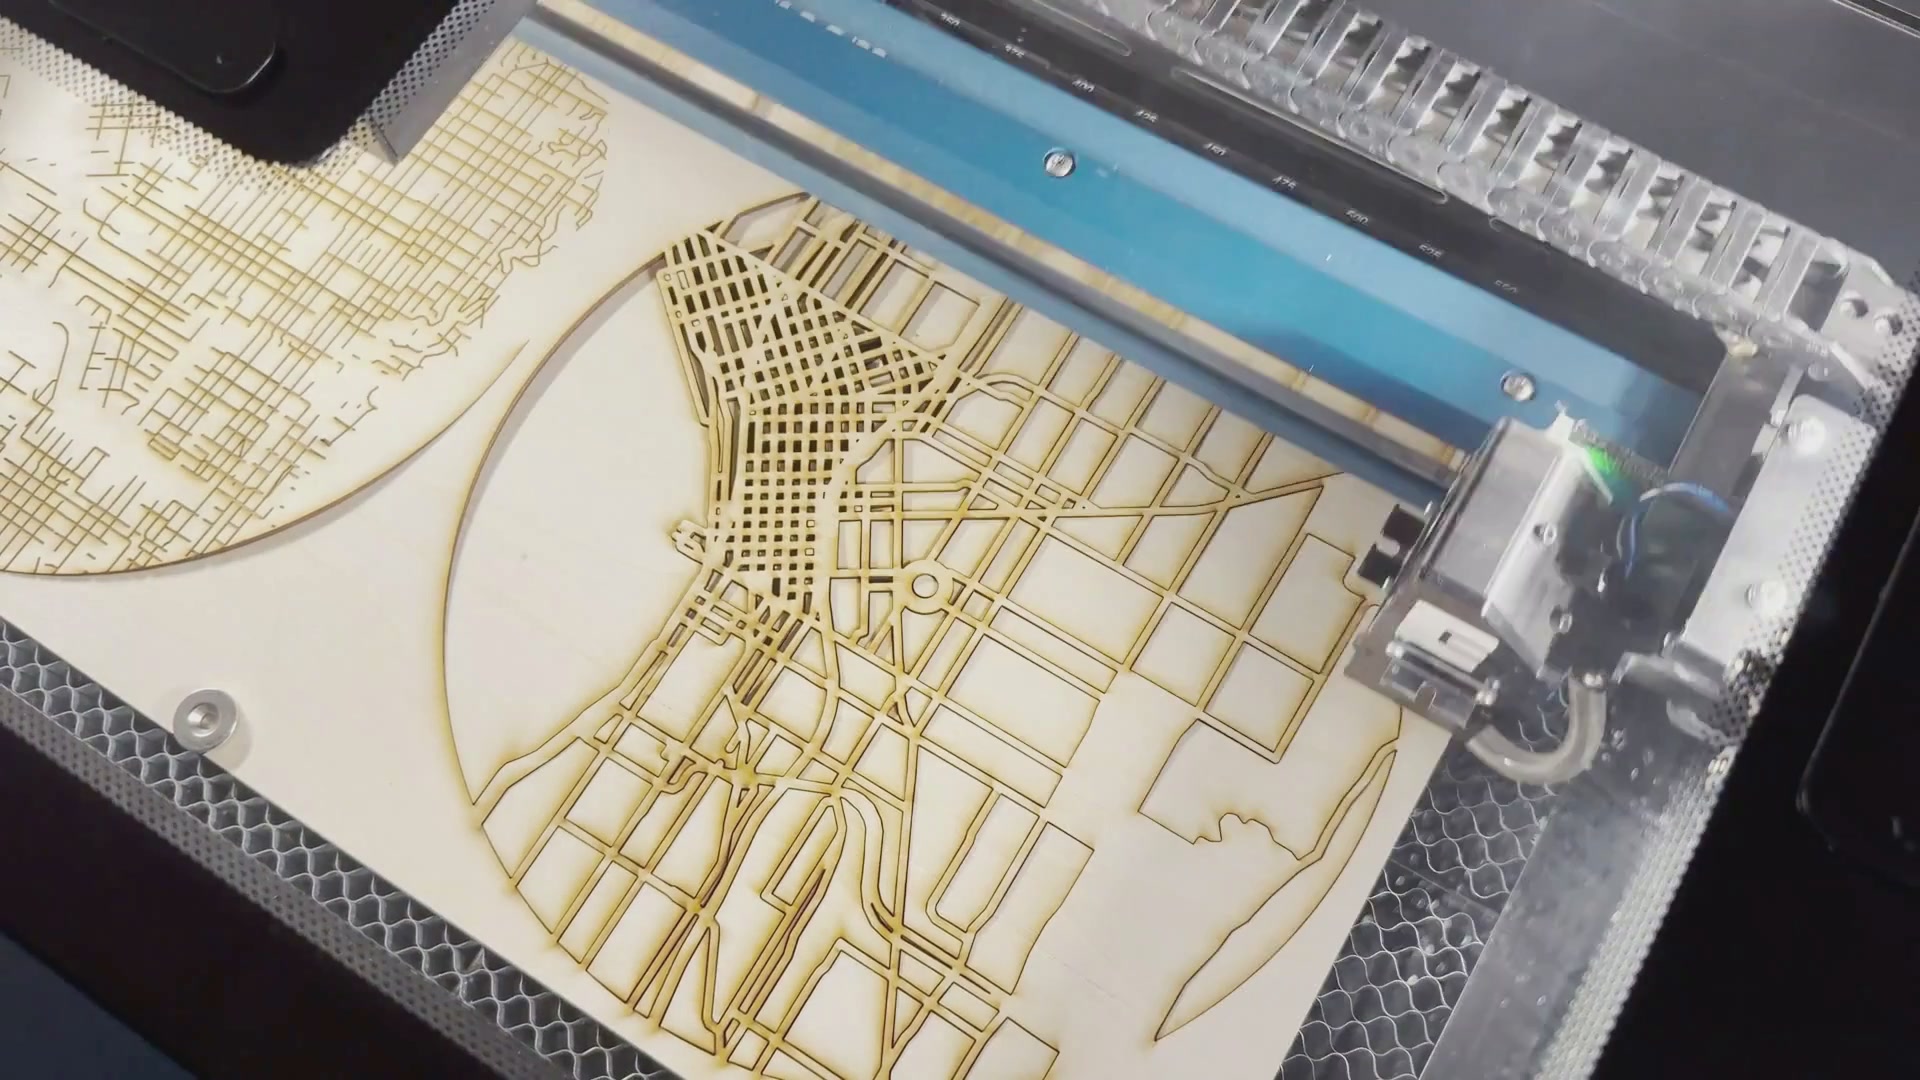
Once you’ve sent your job to the laser, select the job and press go!
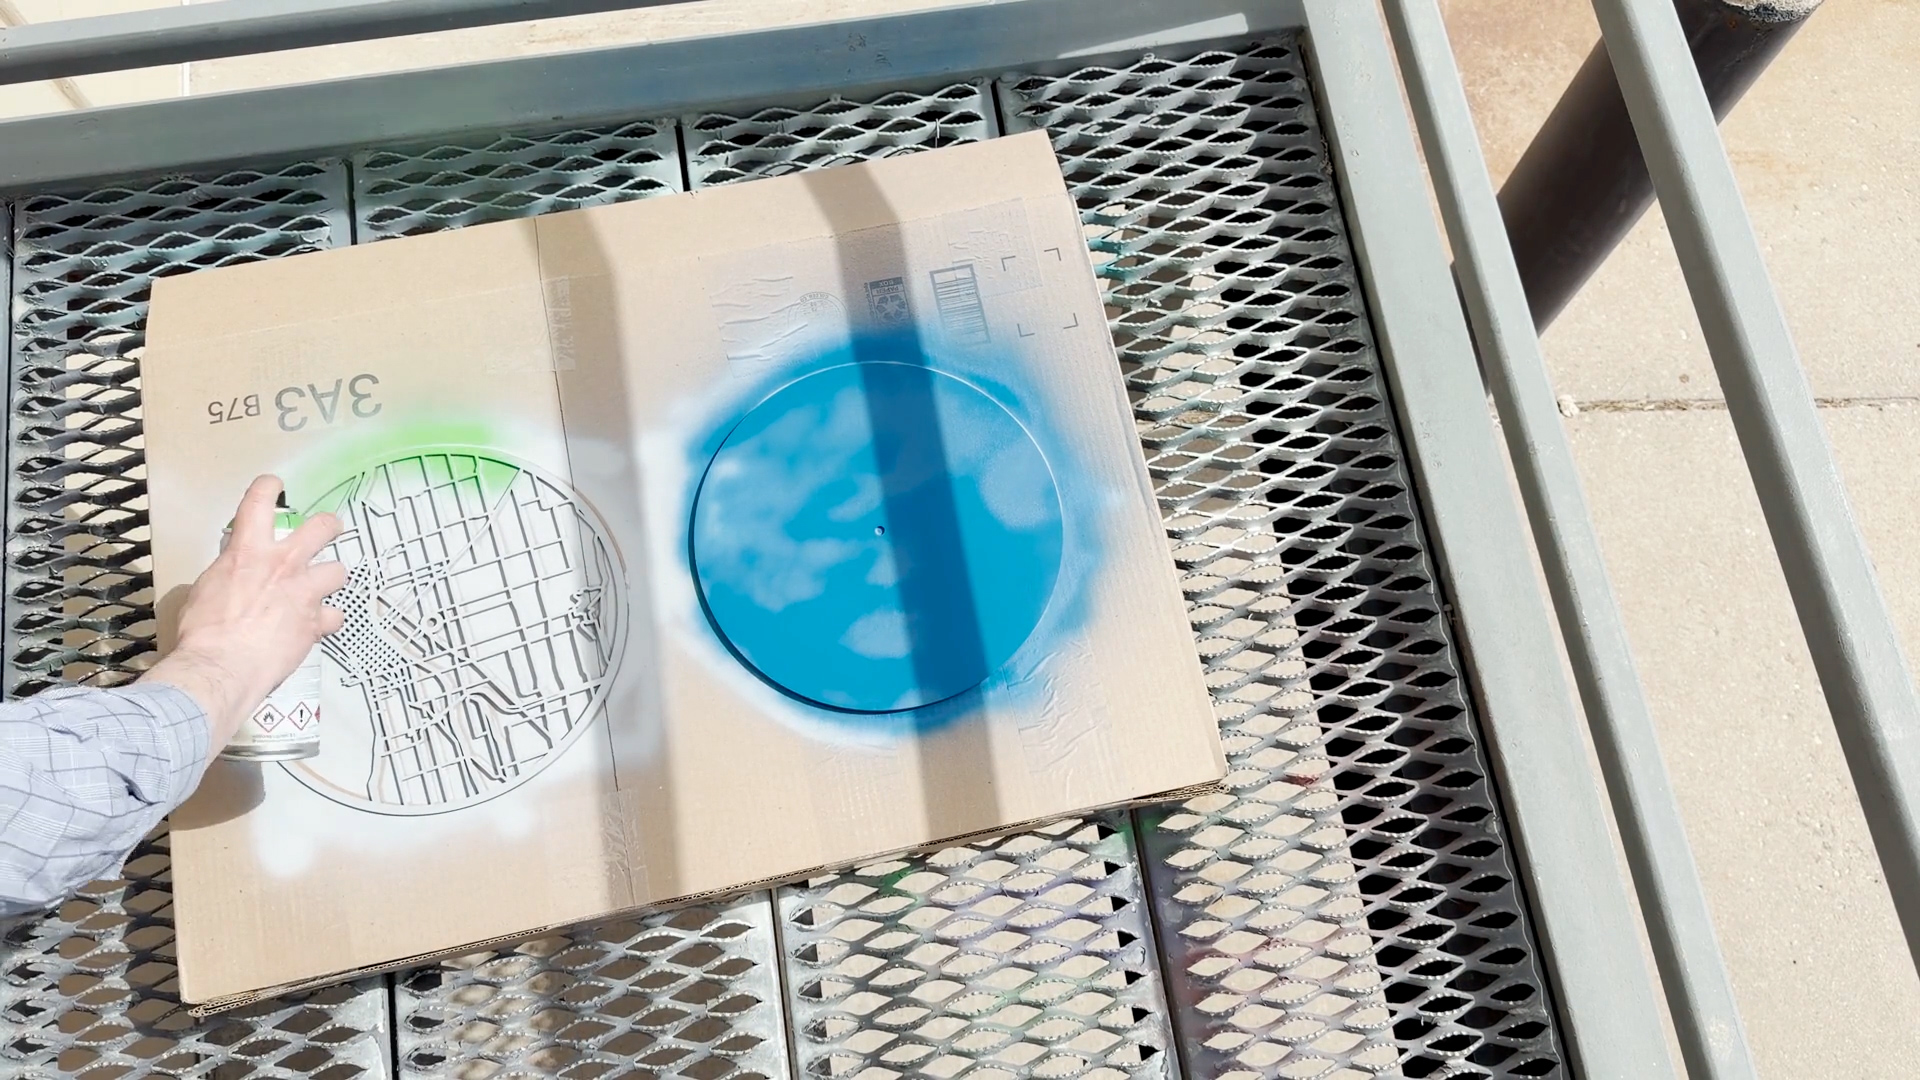
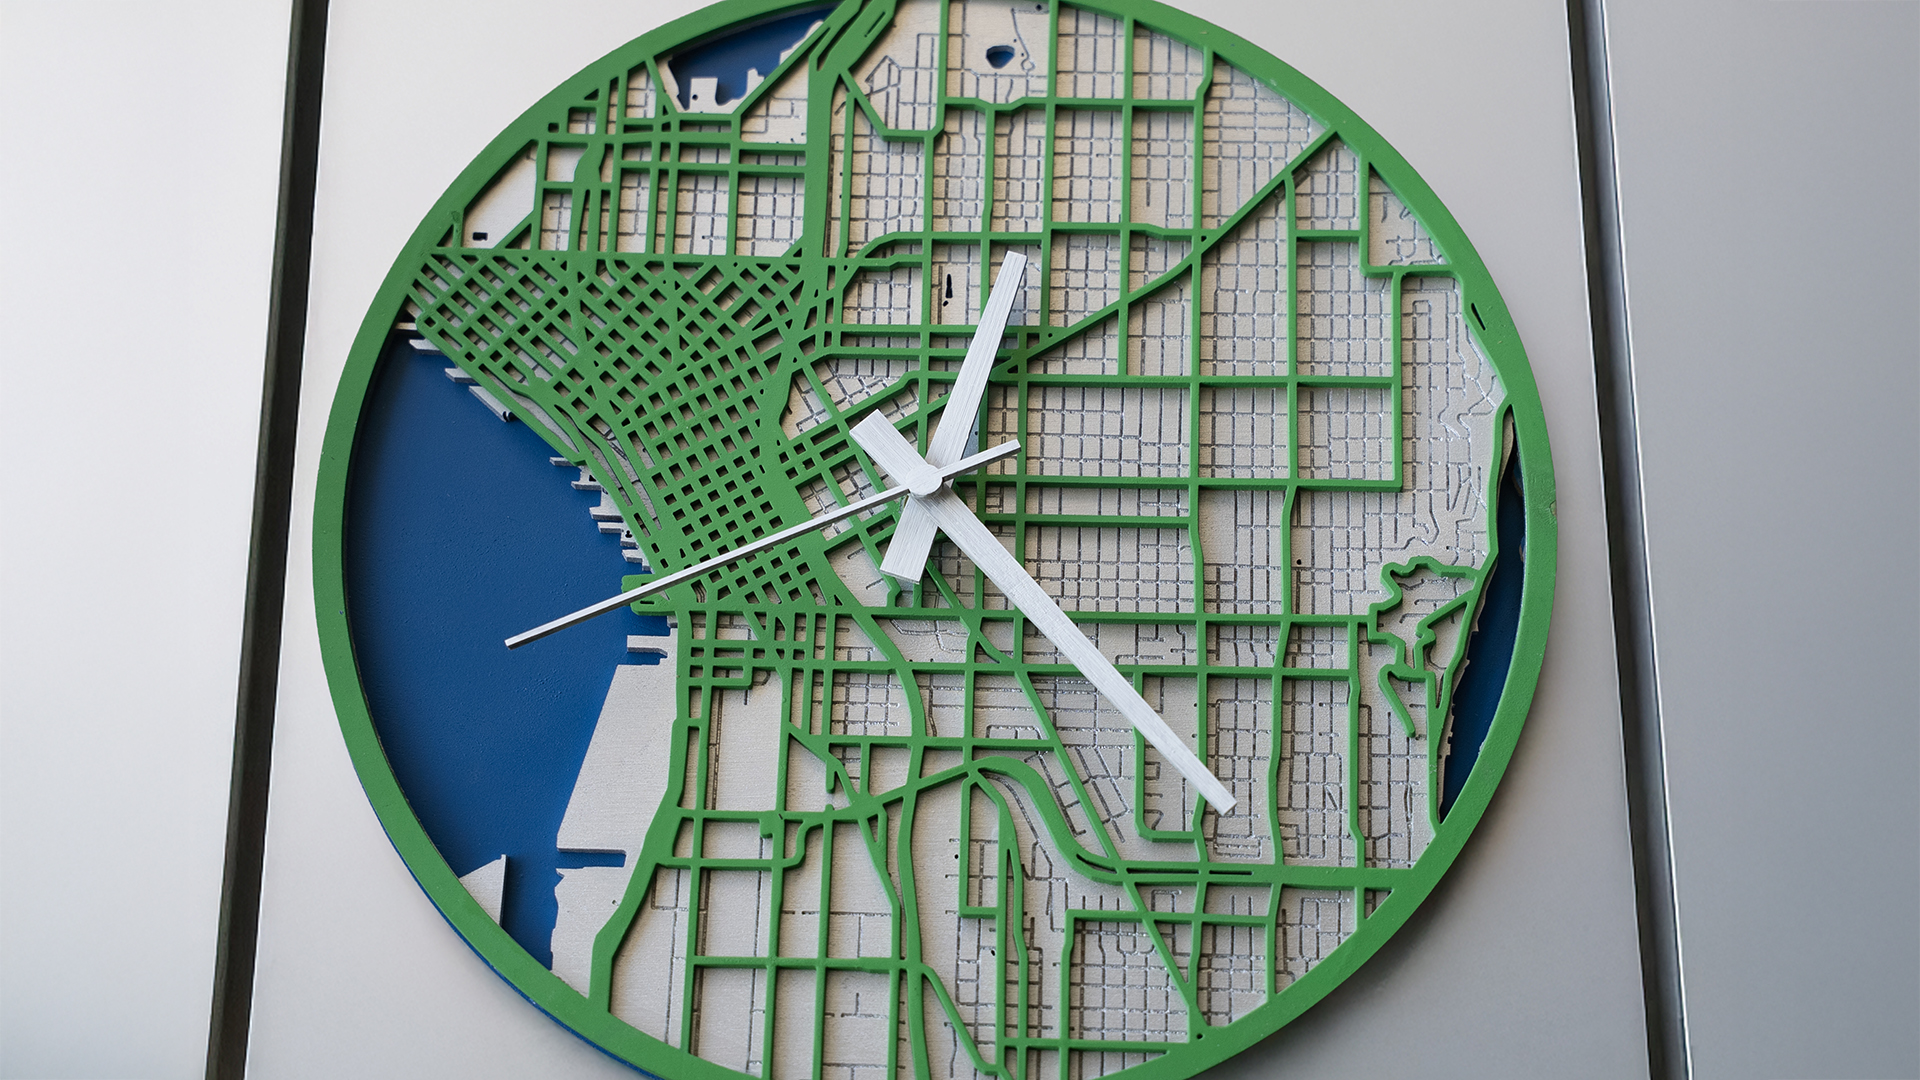
Step 5: Paint and Assemble Clock
Once it’s finished, wipe off any residue. Coat the top and bottom layer with primer and paint, and the middle engraved layer with only paint to avoid washing out any engraving lines.
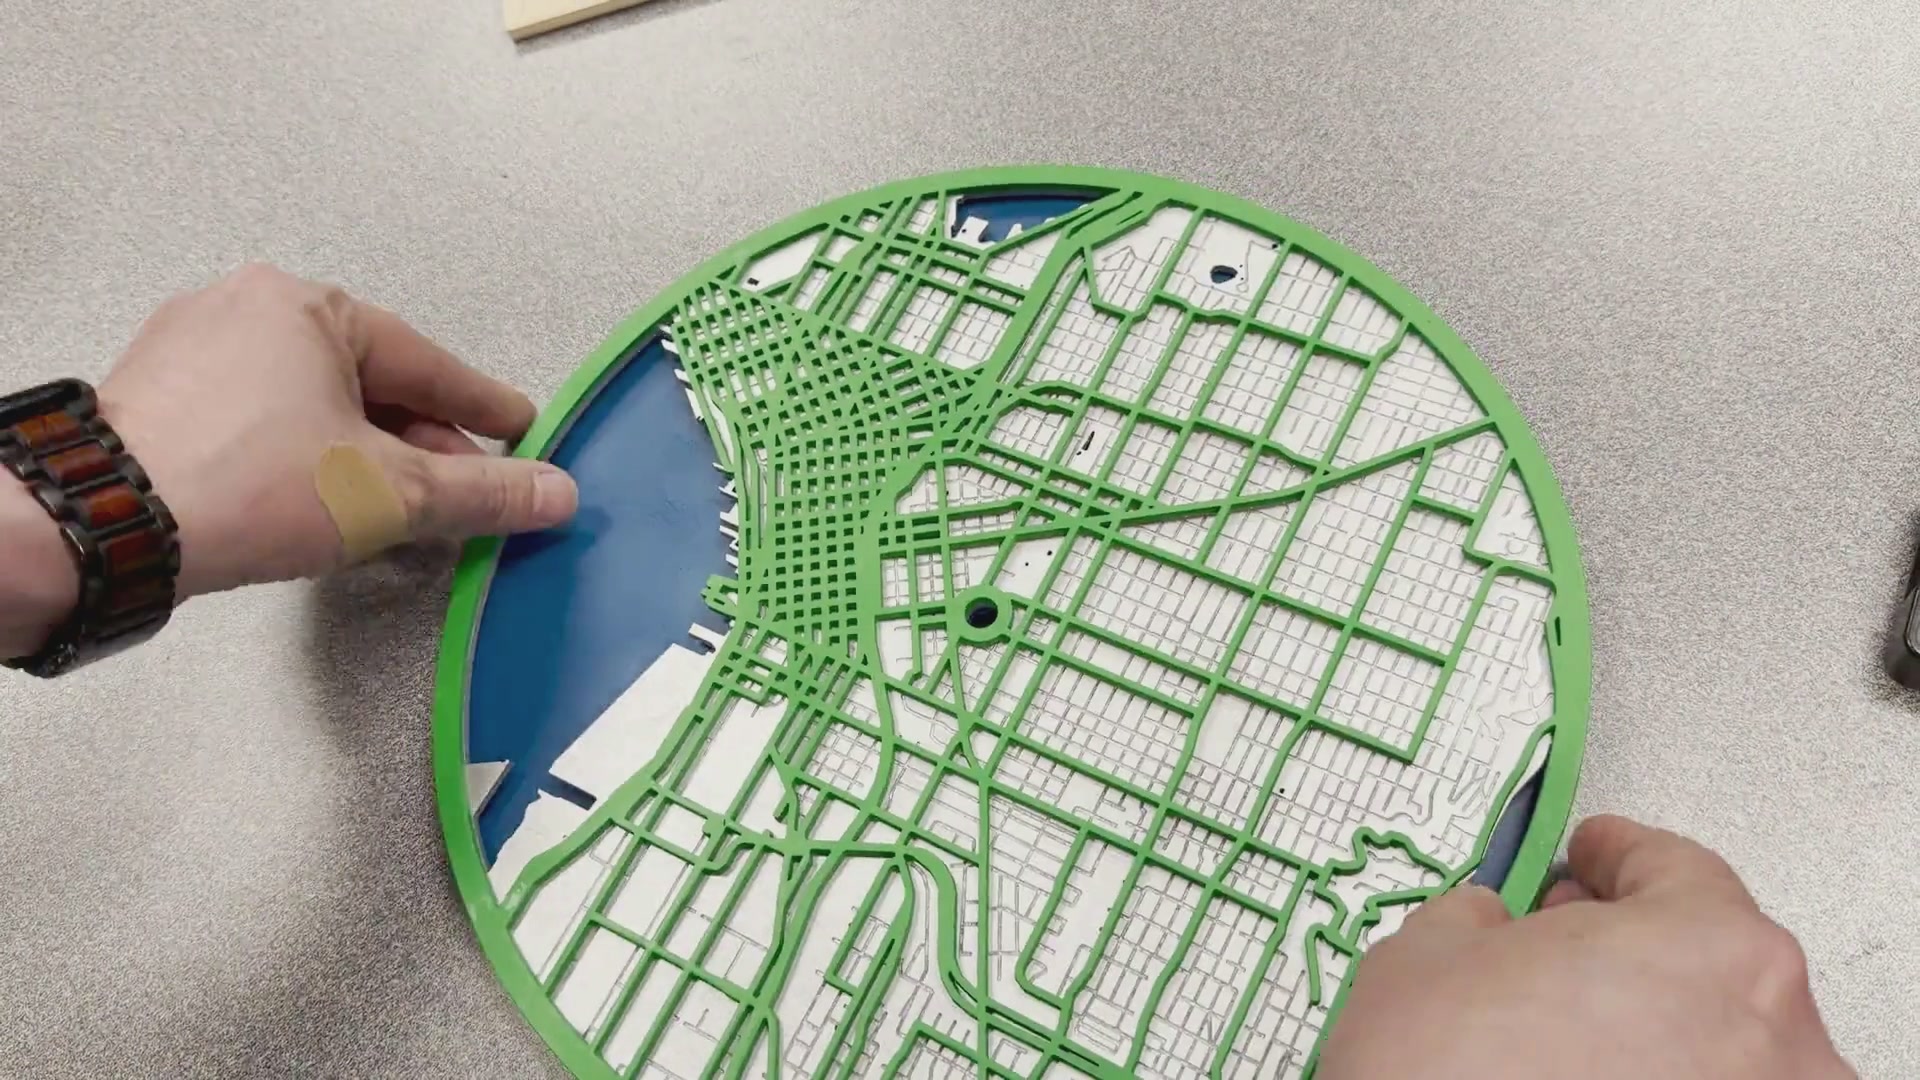
Once the paint is finished drying, glue your layers together one at a time. Once the layers are dry you can assemble the clock kit to your clock. Now you have a custom 3D laser cut city map clock!
Where can you sell custom city map clocks?
- Etsy
- Amazon Handmade
- Your own website
- Facebook Marketplace / Instagram / TikTok Shop
- Craft fairs & maker markets
- Local gift shops and boutiques
- Local retail shops & galleries
- Corporate & custom orders