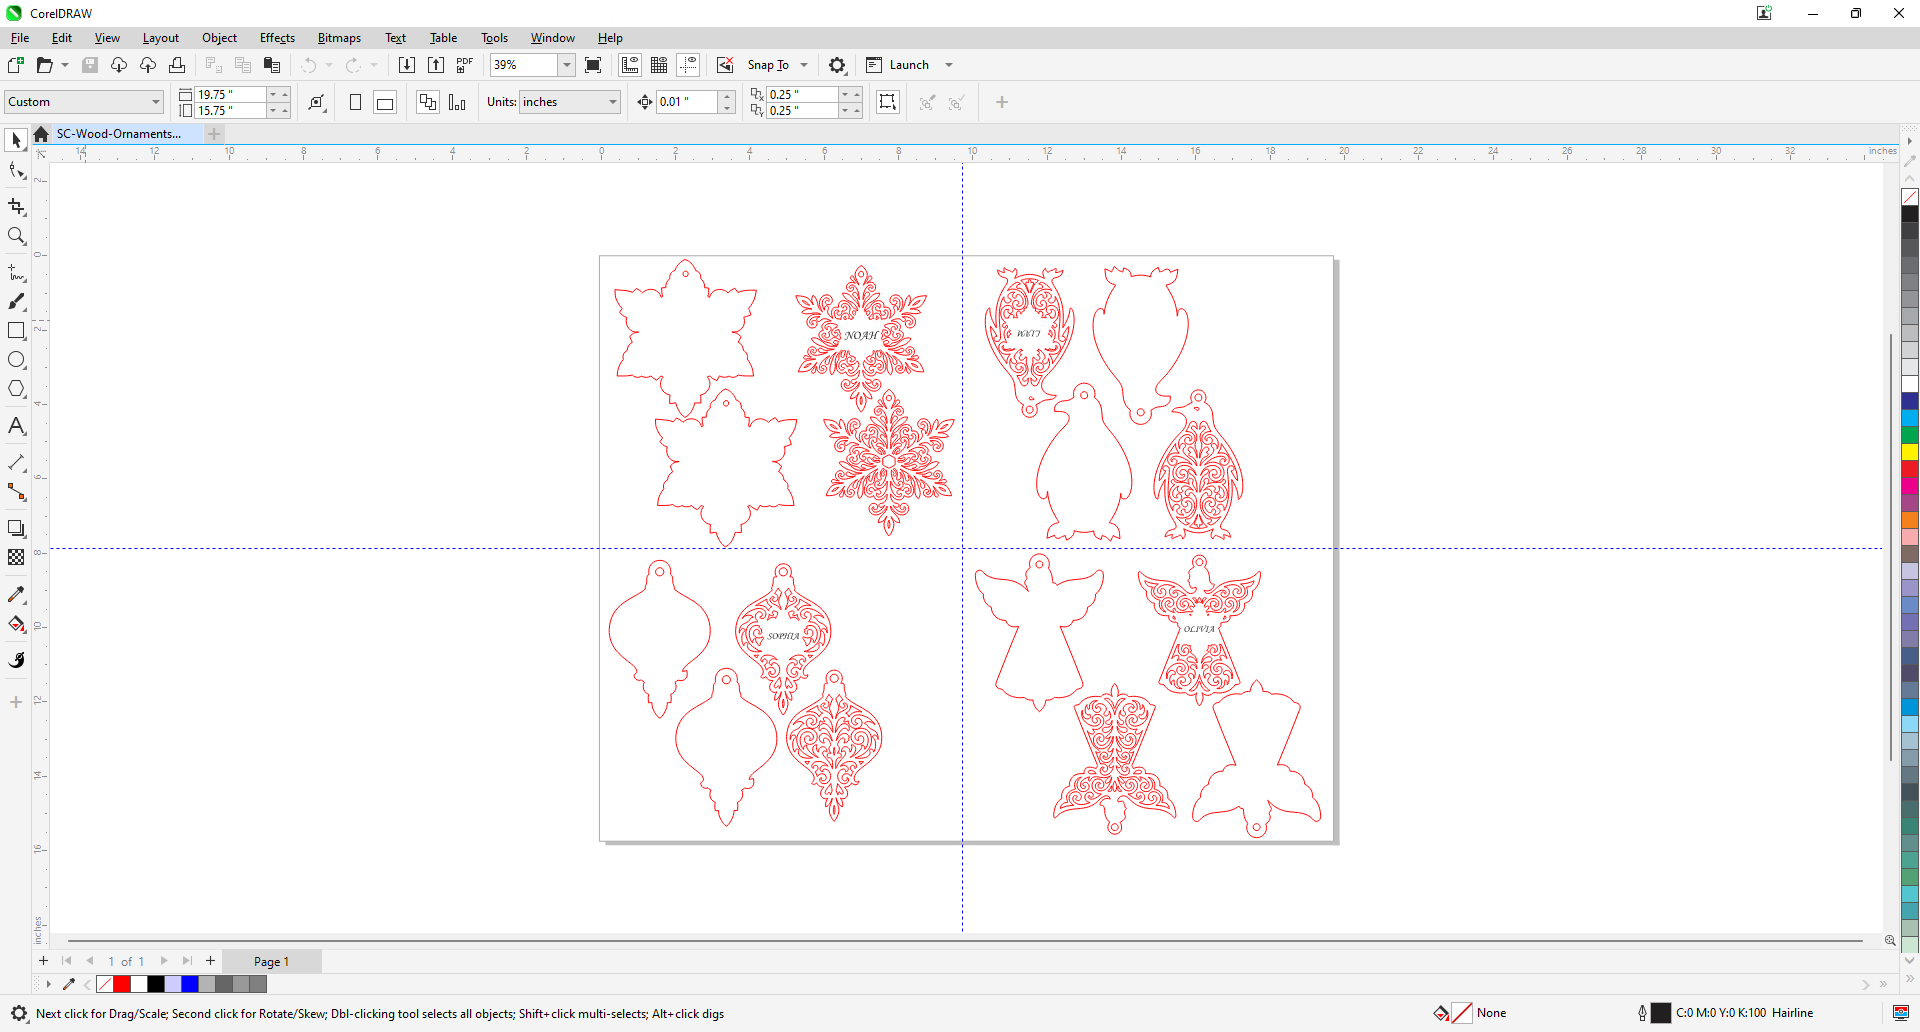
Step 1: Prepare Artwork
In your design software, make any adjustments to the names in the design as needed, then print to the Laser Dashboard.
Step 2: Set Parameters in the Laser Dashboard
In the Epilog dashboard, input your engraving settings. On an 80-watt Fusion Edge 24 we used 80% speed, 100% power, 500 DPI, and Bottom-Up engraving. For the cutting settings we used 40% speed, 100% power, and 20% frequency. Print the jobs to the laser.

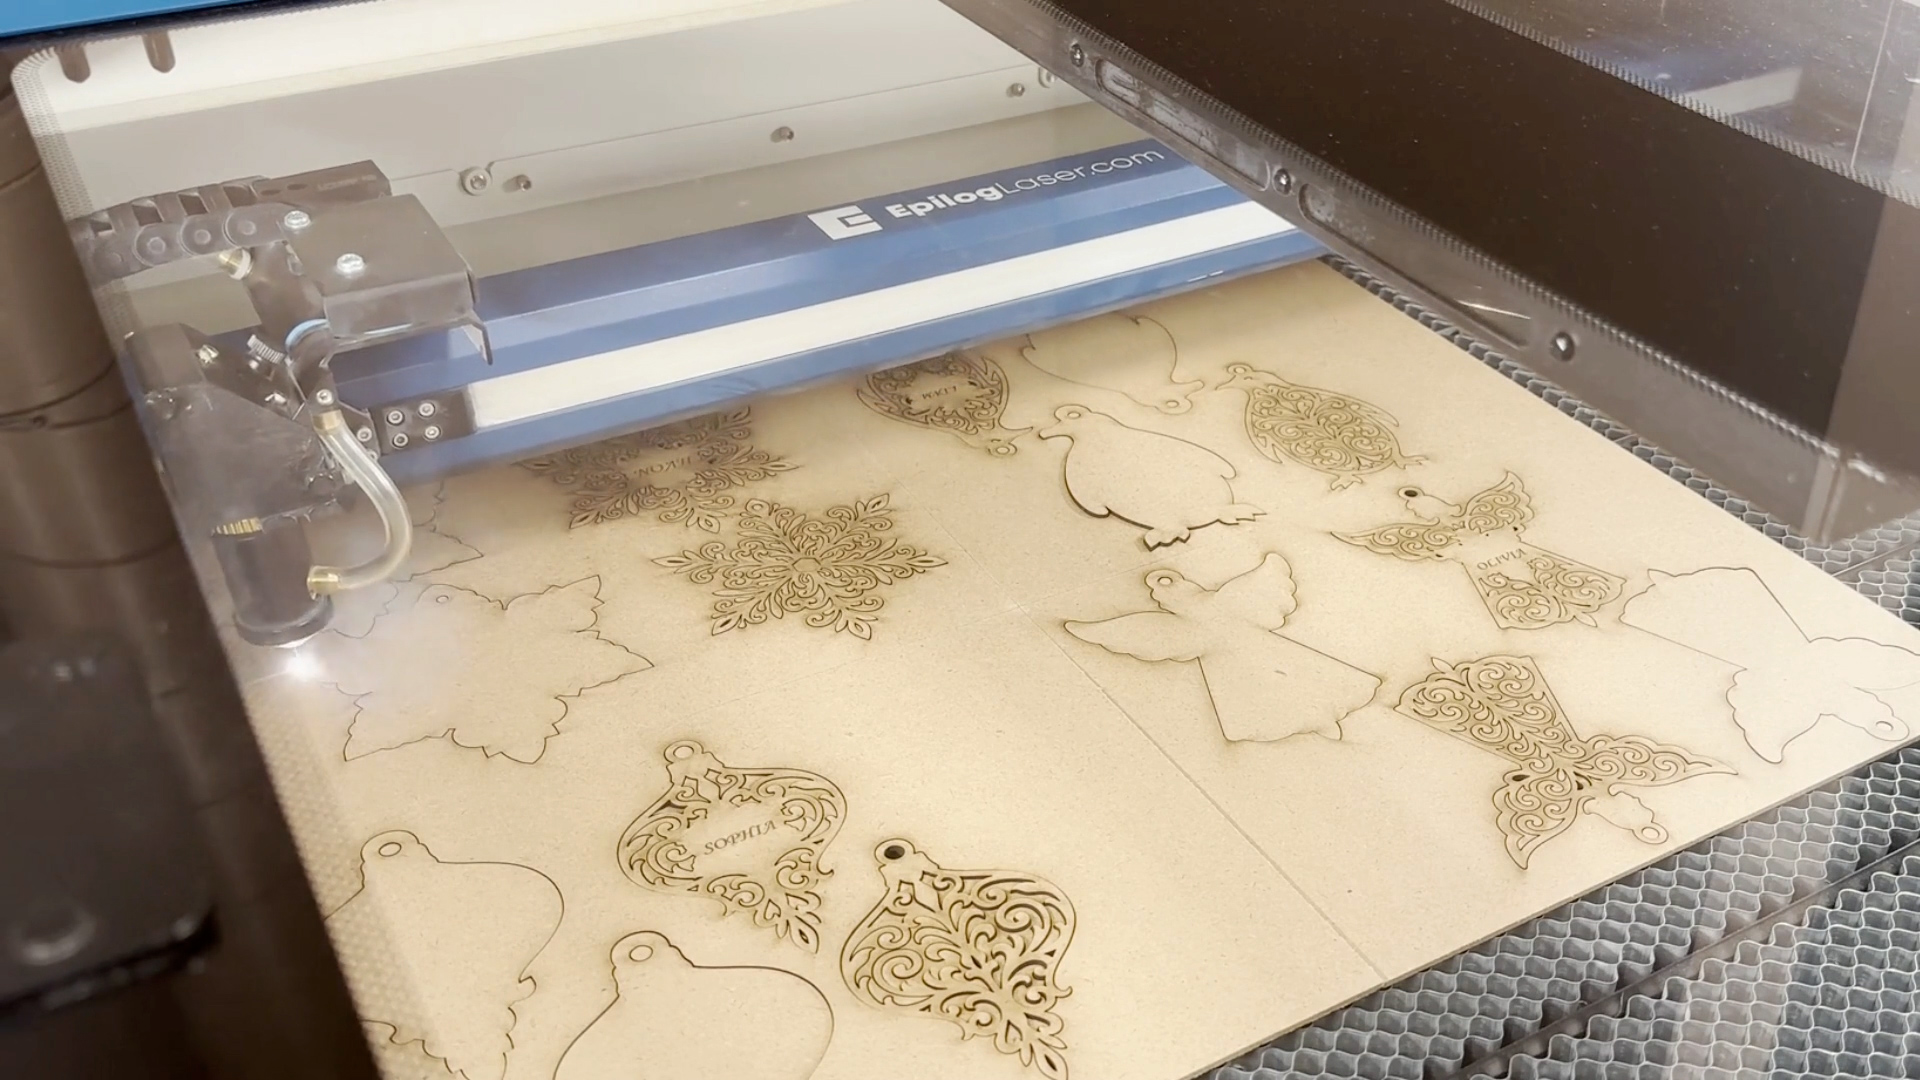
Step 3: Run the Job
At the laser, select the job and press go to start cutting the wood.
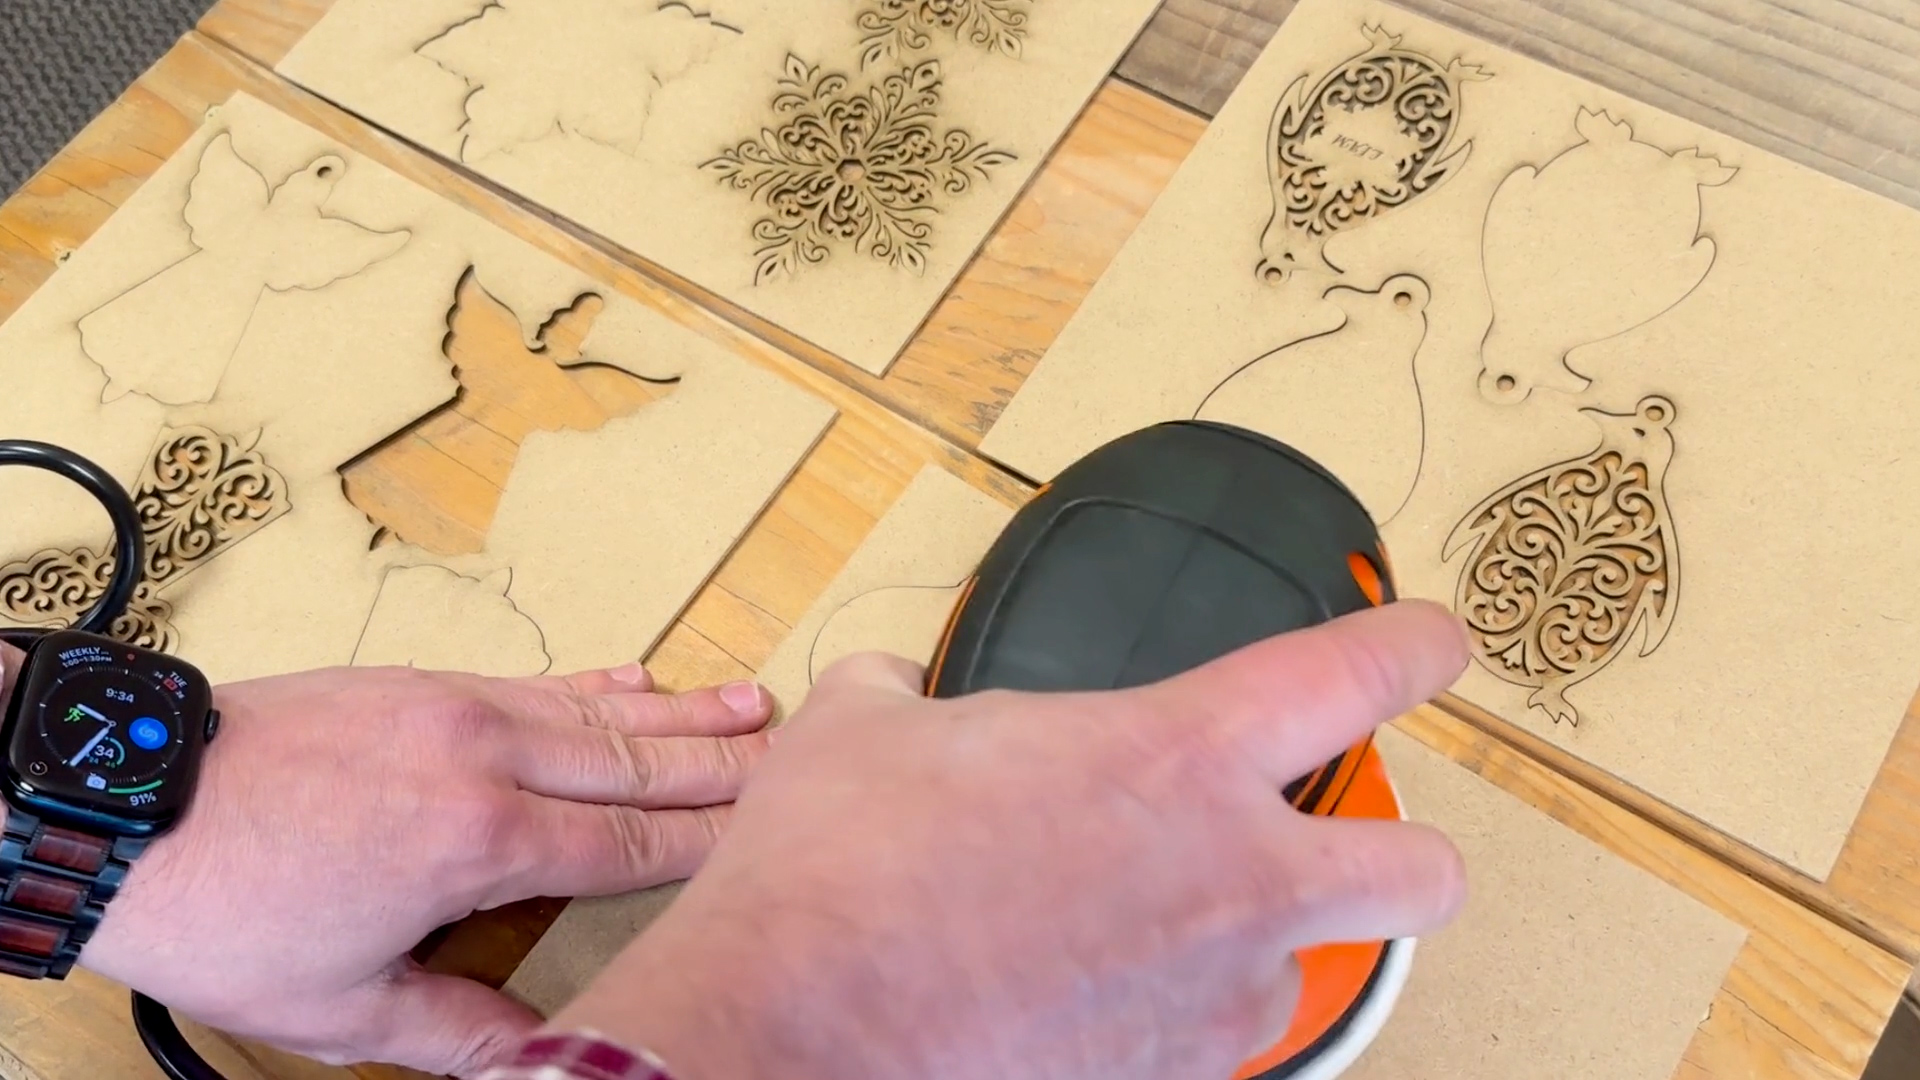
Step 4: Sand the ornaments
Using a small rotary sander at 100% speed, gently sand off any burn marks left on the ornaments. Clean off any debris to prepare them for painting.
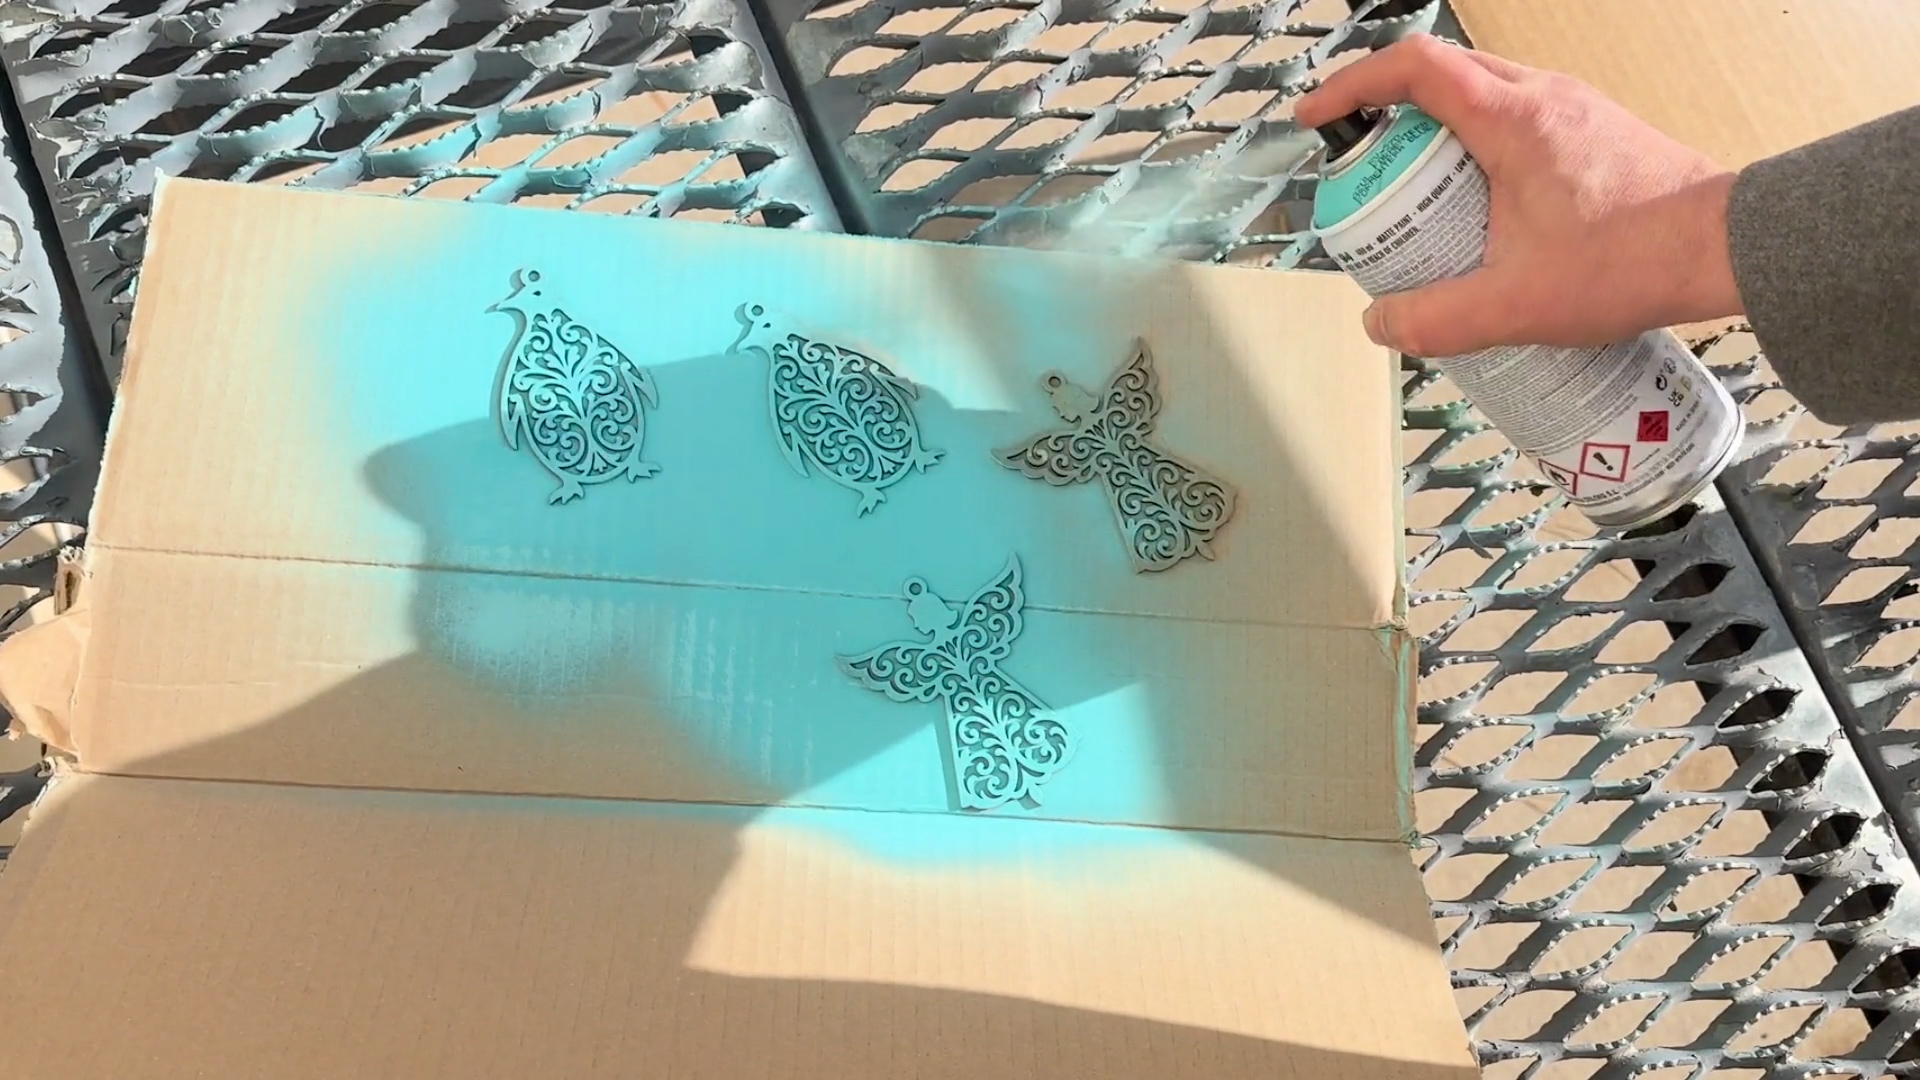
Step 5: Paint the Ornaments
Once the ornaments are cleaned up, you can paint them however you like, for this project we used MTN 94 spray paint.
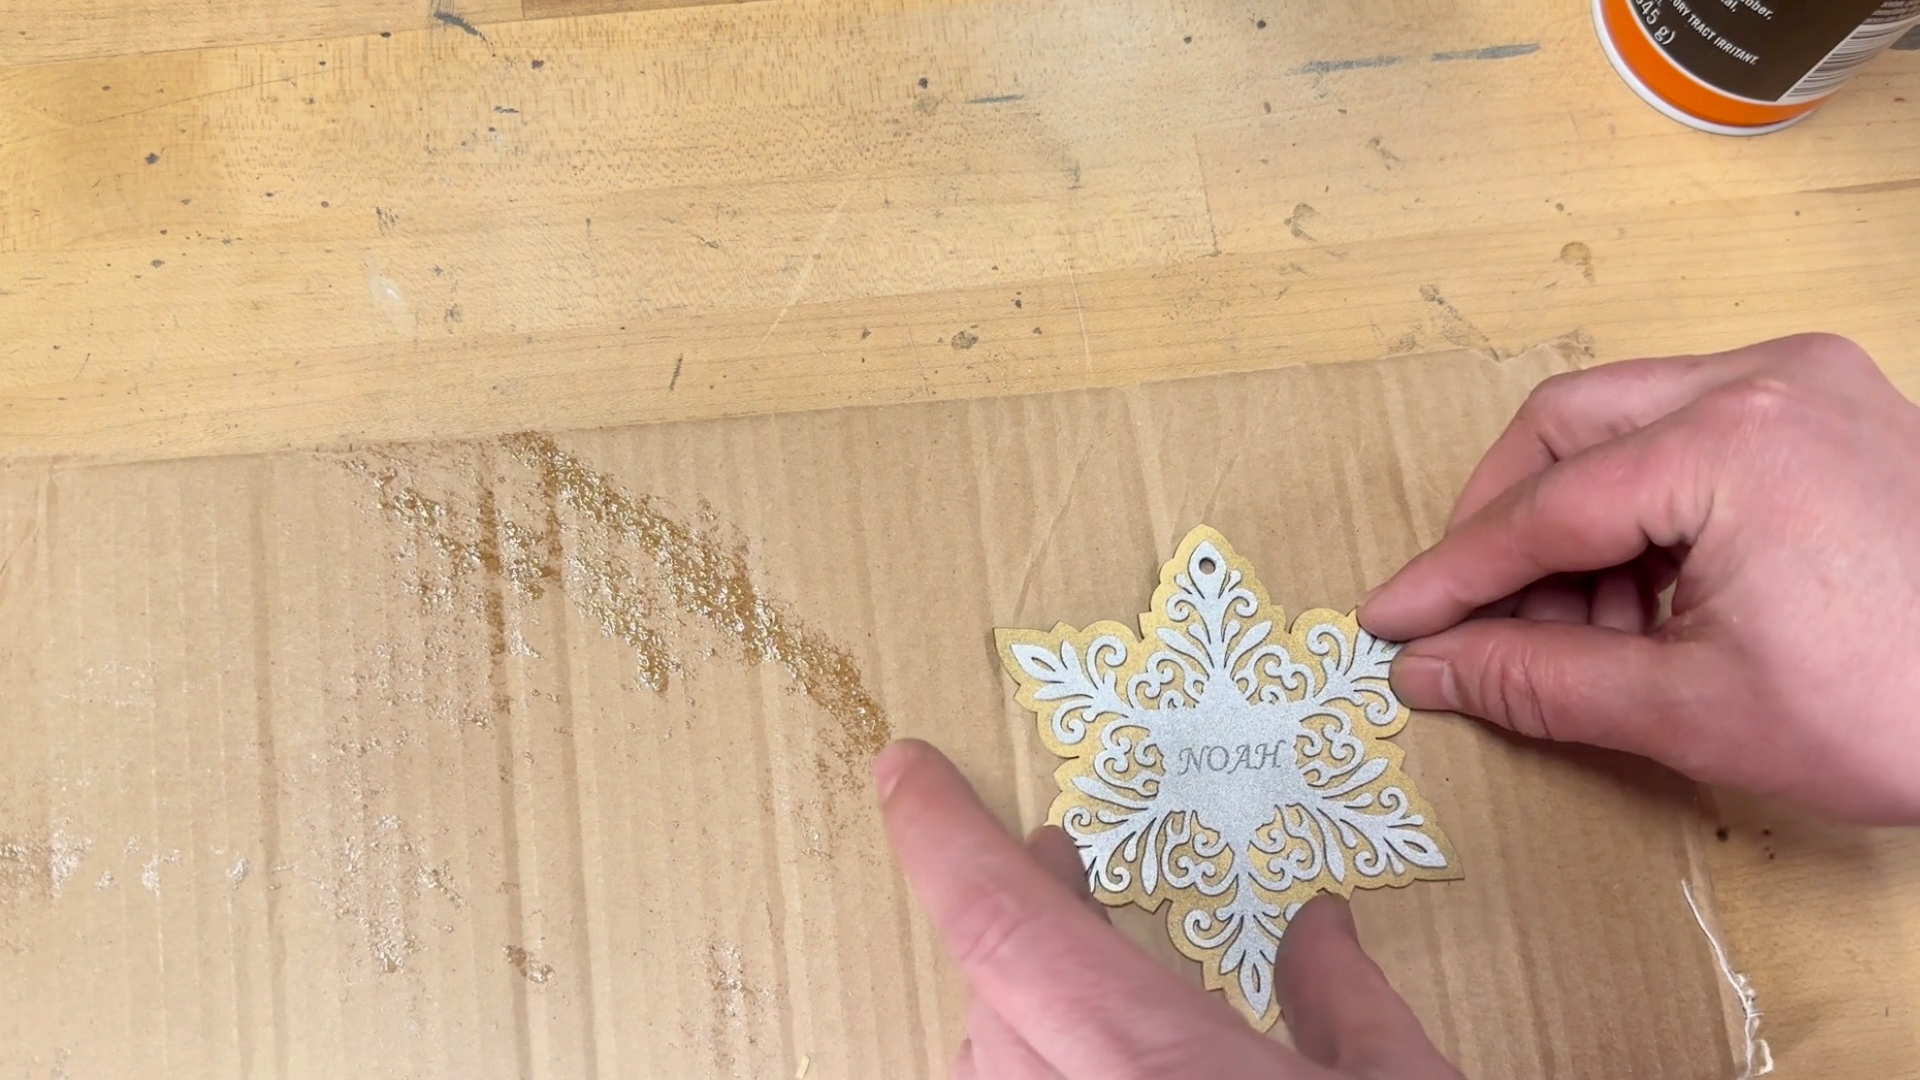
Step 6: Ornament Assembly
Assemble your multi-layered ornaments using an adhesive of your choice. We used Gorilla Ultimate Contact Adhesive, which has an adjustable spray nozzle, on the lowest setting.
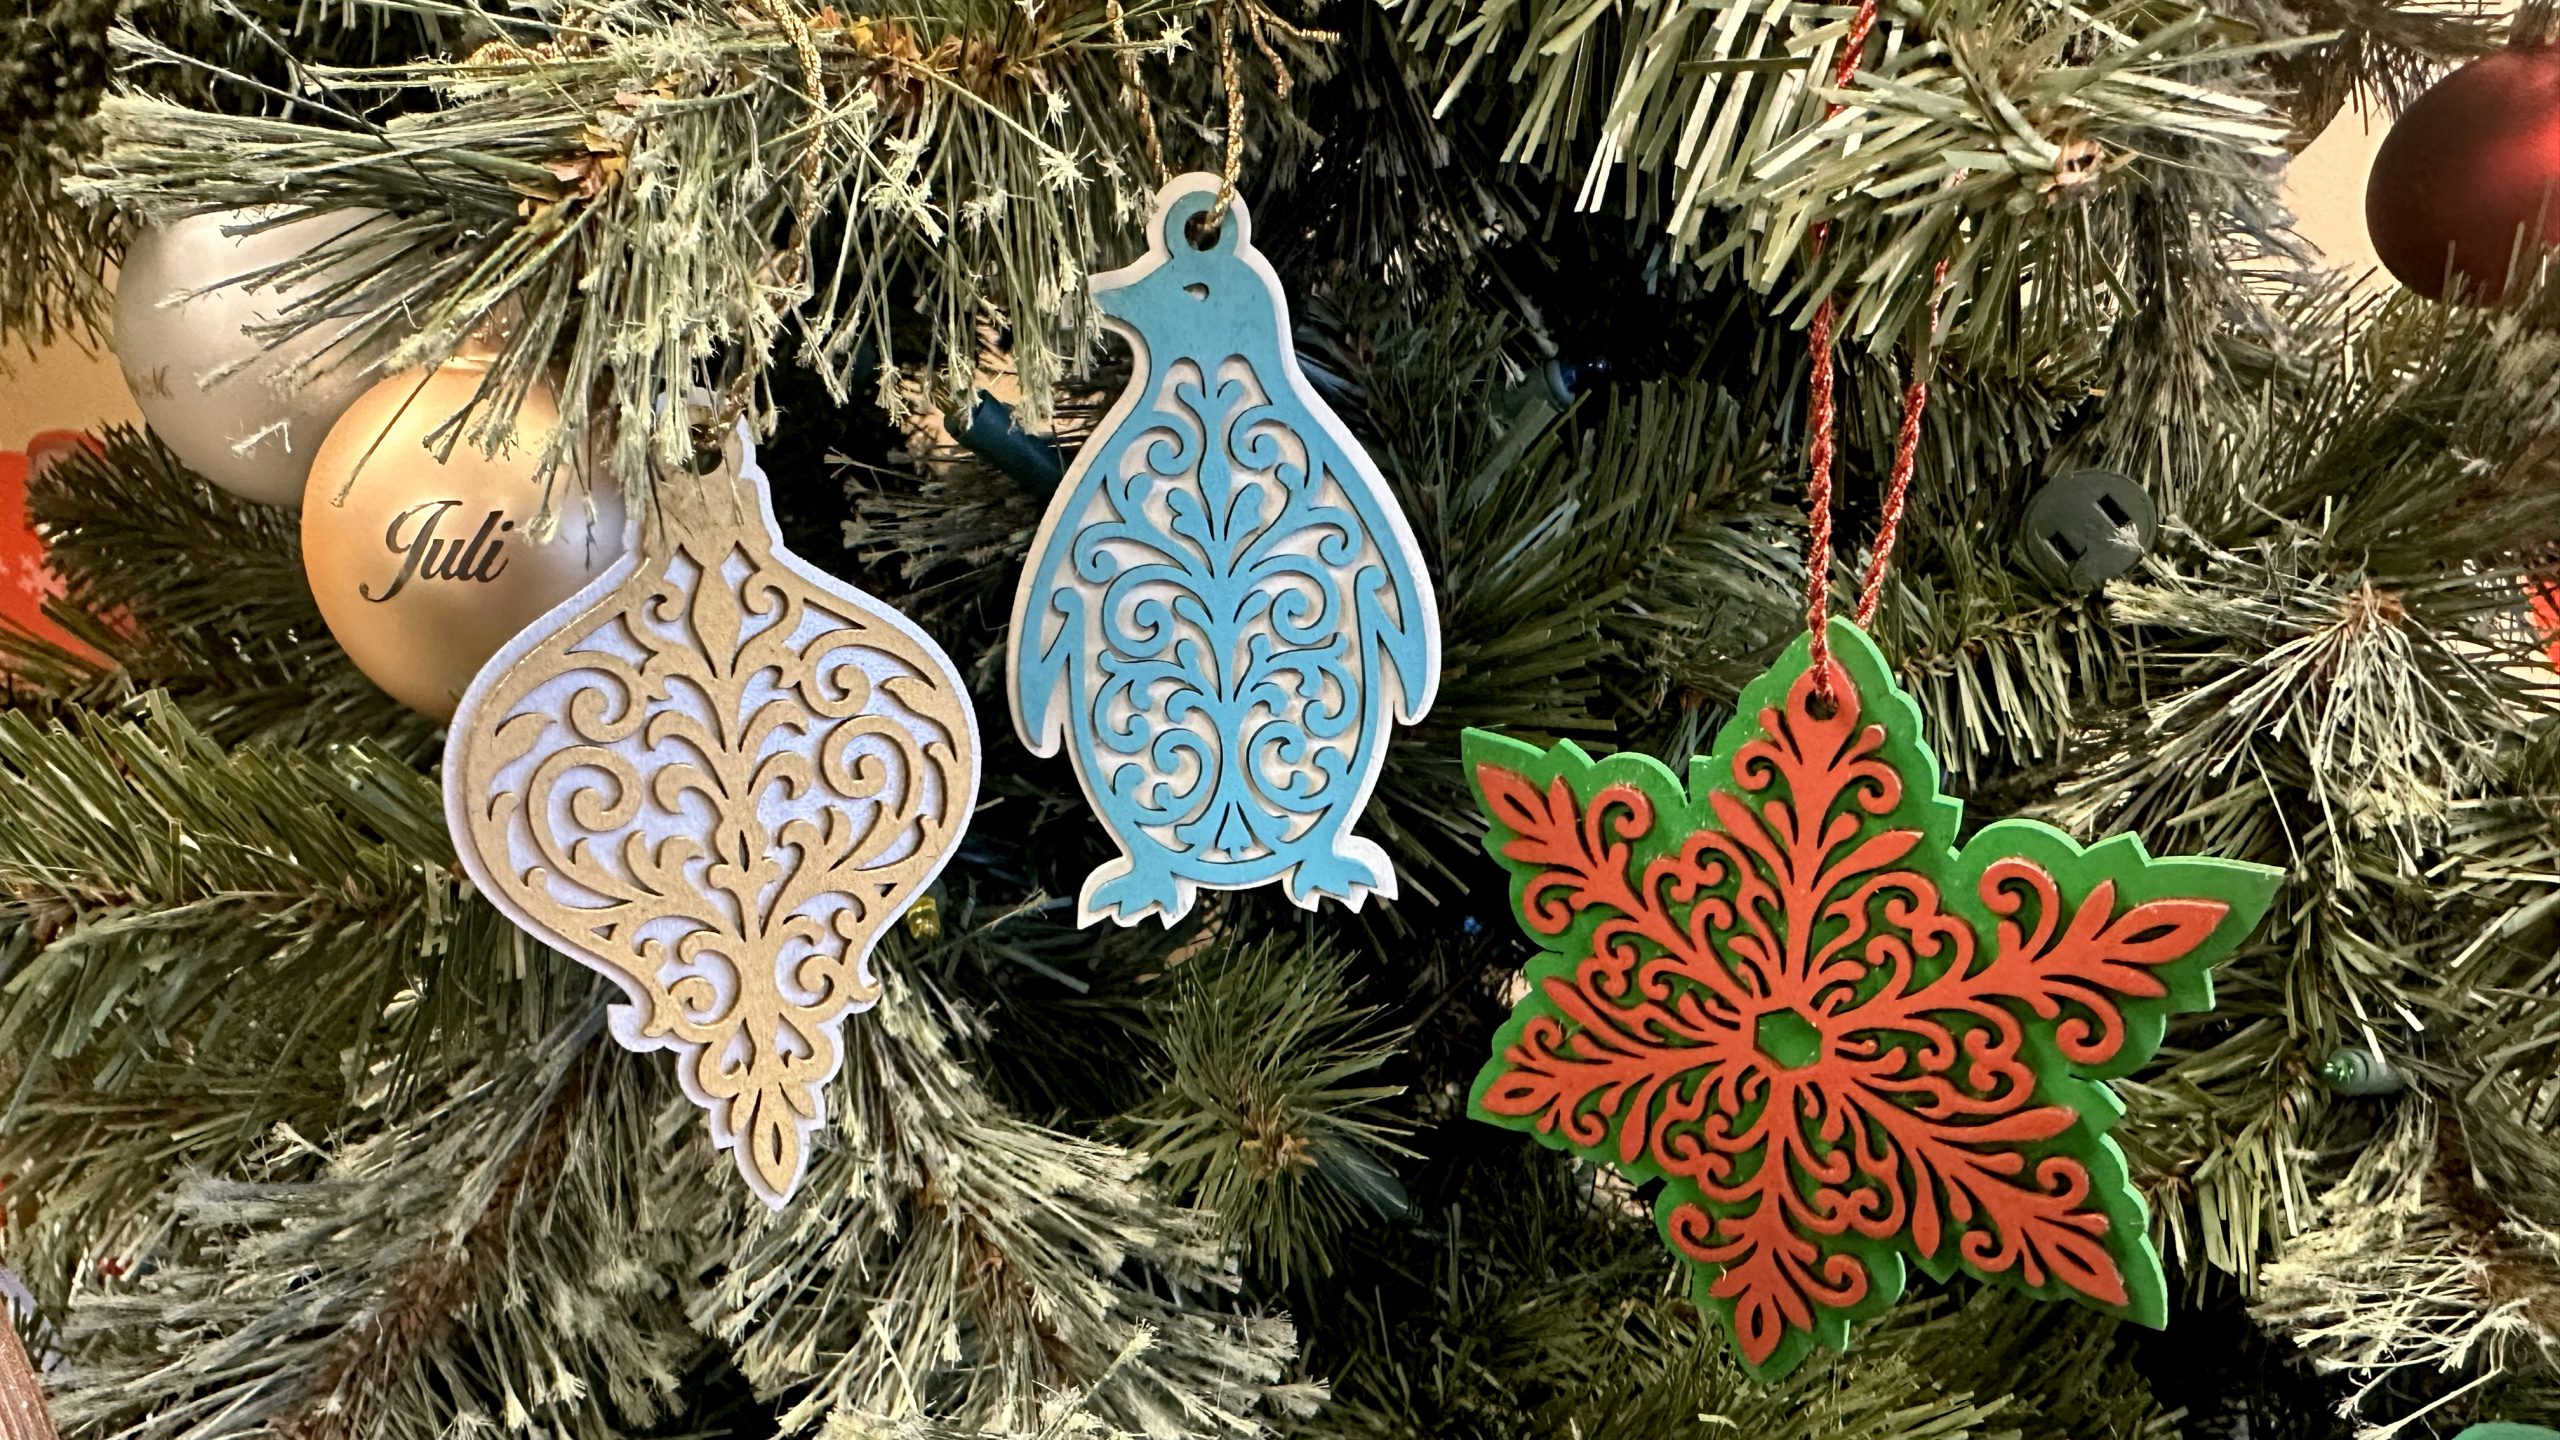
Once dry, your multi-layered ornaments are ready to decorate your Christmas tree!
Target Markets
Where can I market layered wooden ornaments?
- Online marketplaces like Etsy, Amazon Handmade, or eBay
- Social media outlets such as Pinterest, Instagram, or TikTok
- Local and community channels such as craft fairs and Christmas markets