Laser Engraving and Cutting Frosted Acrylic Ornaments
Acrylic, Holidays
Introduction
Project Settings
Additional Settings:
Raster Engraving:Blue Process
Power55%
DPI500
DitheringNone
DirectionTop-Down
Raster Engraving: Black Process
Power20%
DPI500
DitheringNone
DirectionTop-Down
Vector Cutting: Light Blue Process
Power20%
Frequency100%
Vector Cutting: Black Process
Power100%
Frequency100%
Step 1: Adhesive Backing
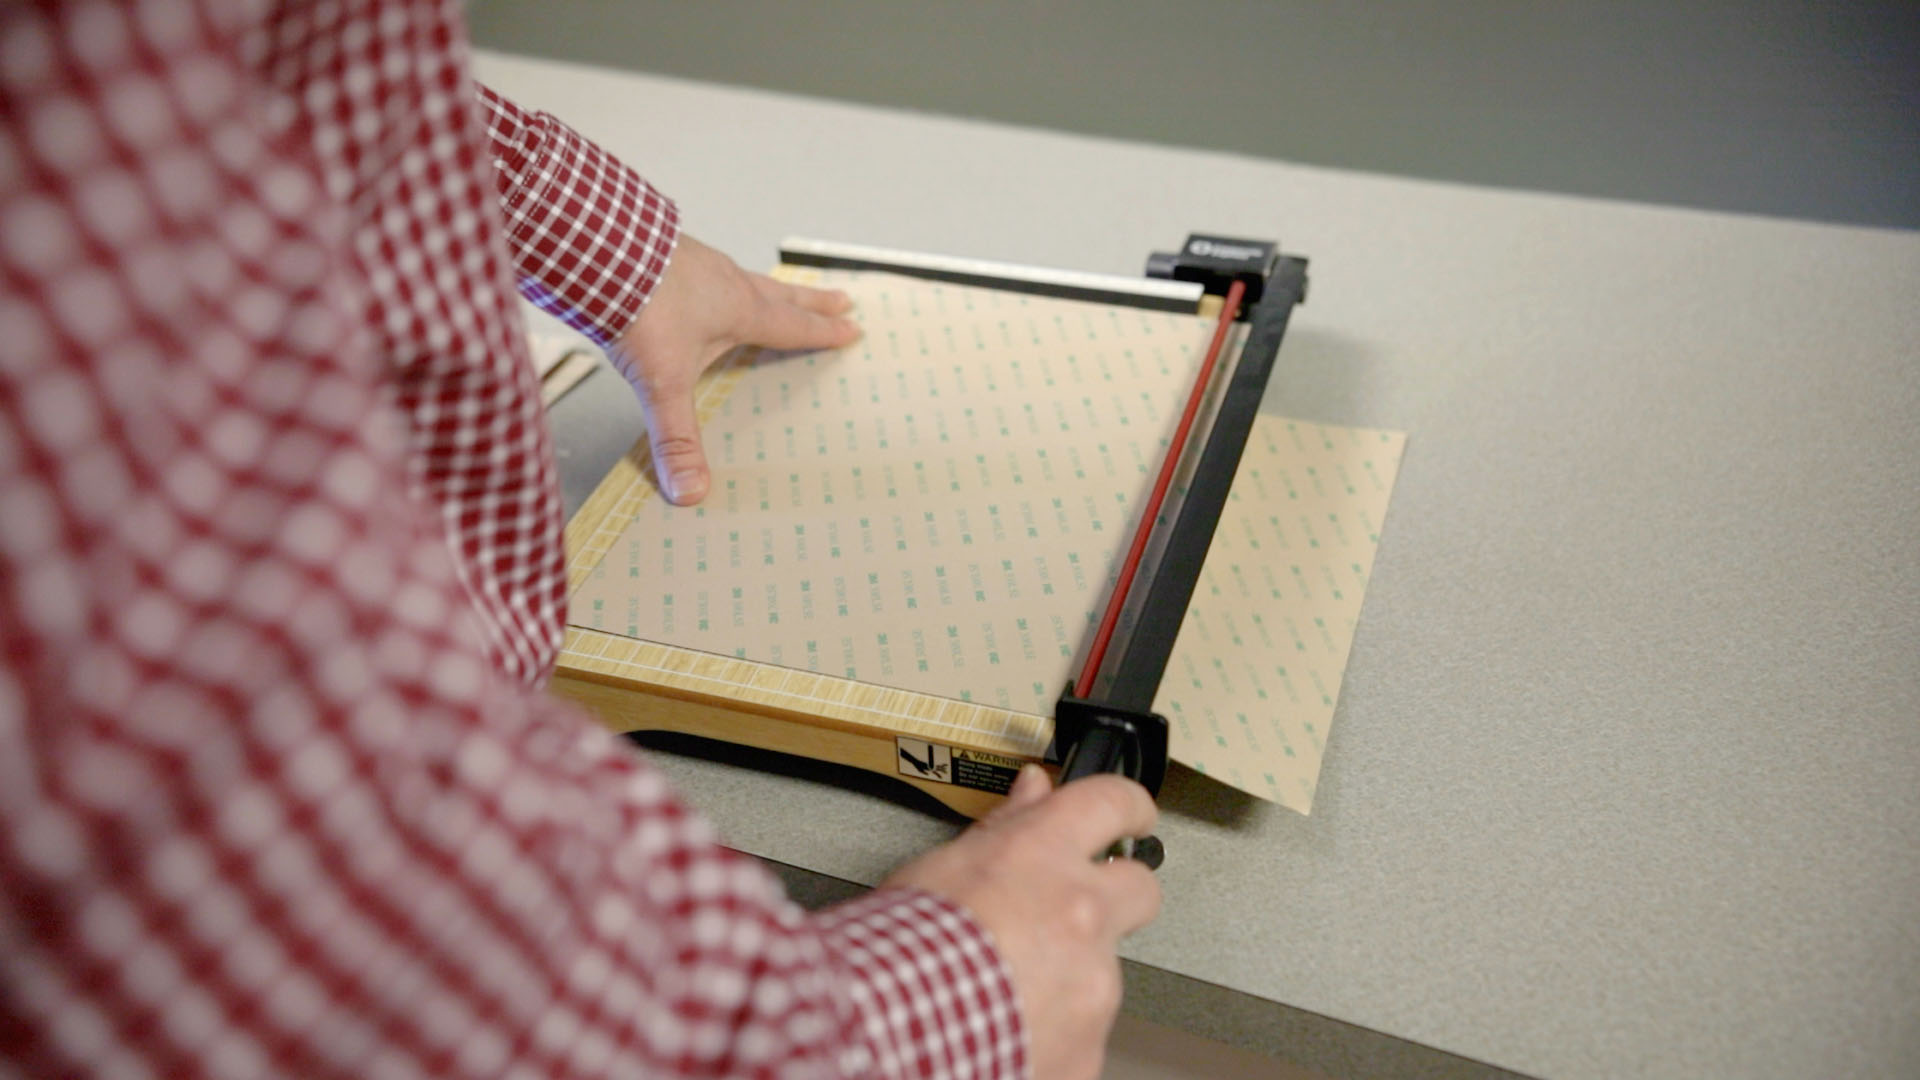
Cut three pieces of the 3M 300LSE adhesive backing: 9”, 8.5”, and 6”. We found the 300LSE is the best adhesive to apply to frosted acrylic without it showing through each layer. Using your 9” piece, remove the unprinted liner on the backing and apply to one side of the red acrylic sheet. Repeat with the 8.5” backing on one side of the white acrylic, and the 6” backing on one side of one of the pieces of the green acrylic.
Step 2: Navigating the File
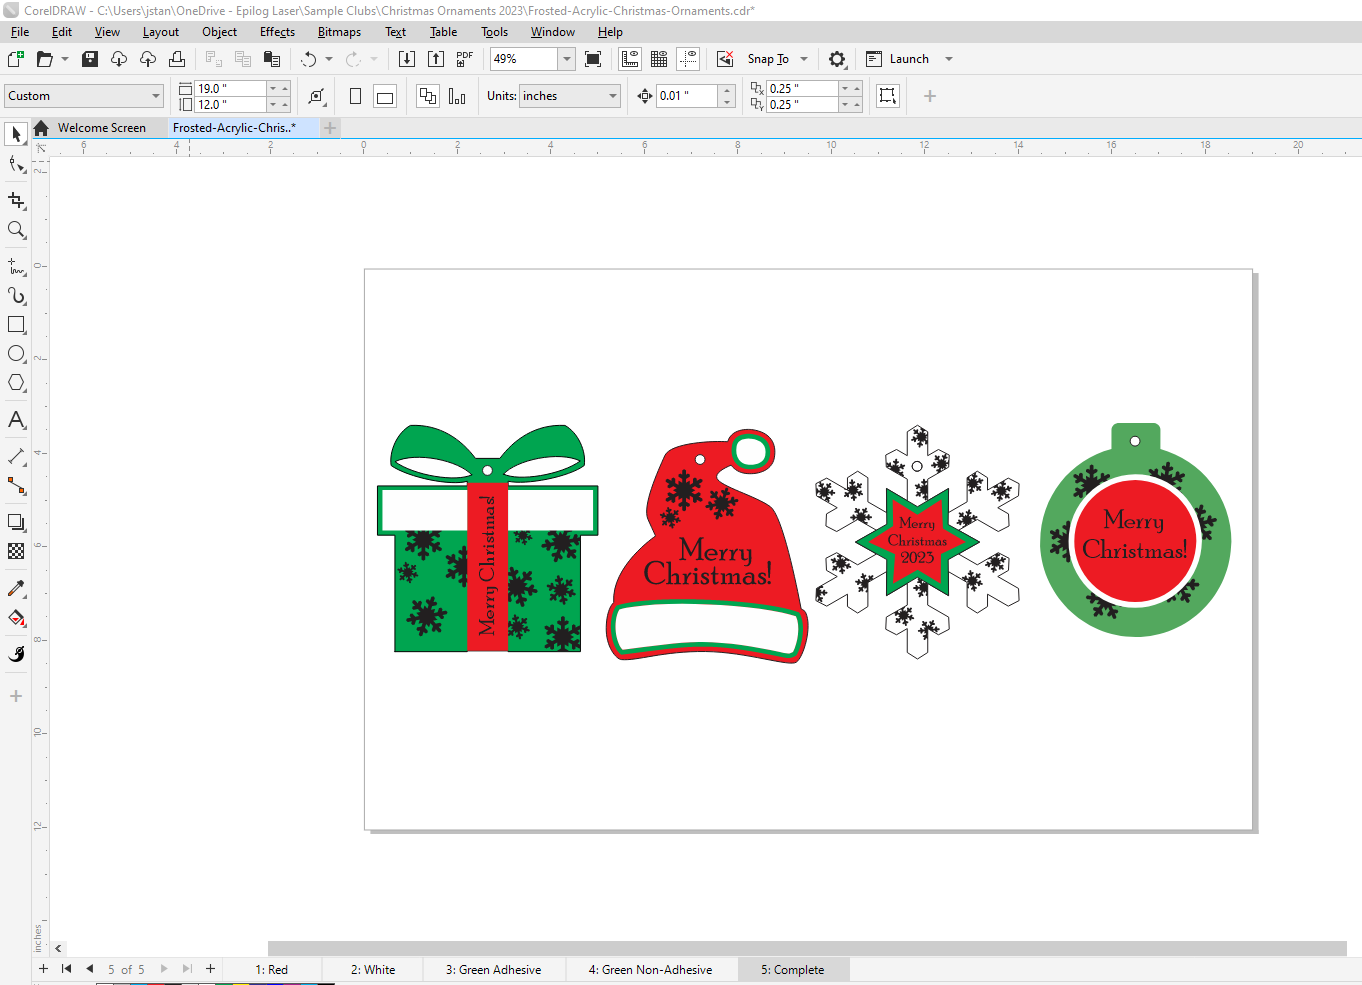
There are five tabs at the bottom of the file. The first four tabs correspond to the acrylic piece you are working with. One of the tabs is for the green acrylic with the adhesive backing, the other for the non-adhesive sheet. The final tab shows how the completed ornament is assembled.
Step 3: Engraving and Cutting the Red Acrylic
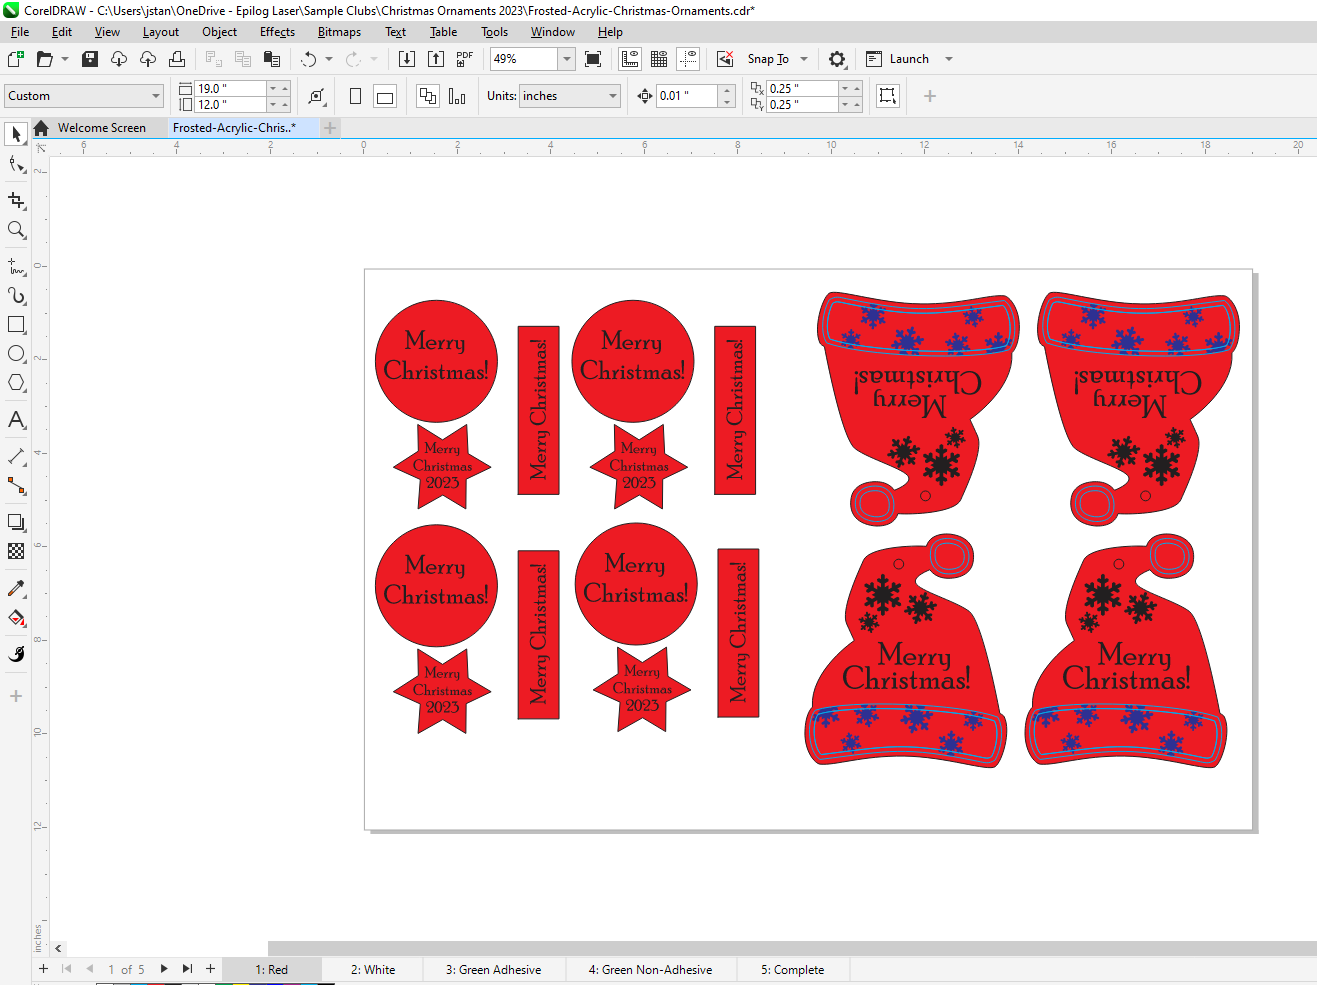
Select the Red tab. The items on the left side of the page will be cut out of the adhesive portion of the acrylic and the right side santa hats are on the non-adhesive portion of the acrylic.
Step 4: Print the file to the laser
Print the file selecting “Current Page”. If you don’t do this, all of the tabs will go to the Laser Dashboard at one time.

Step 5: Apply Your Engraving Settings
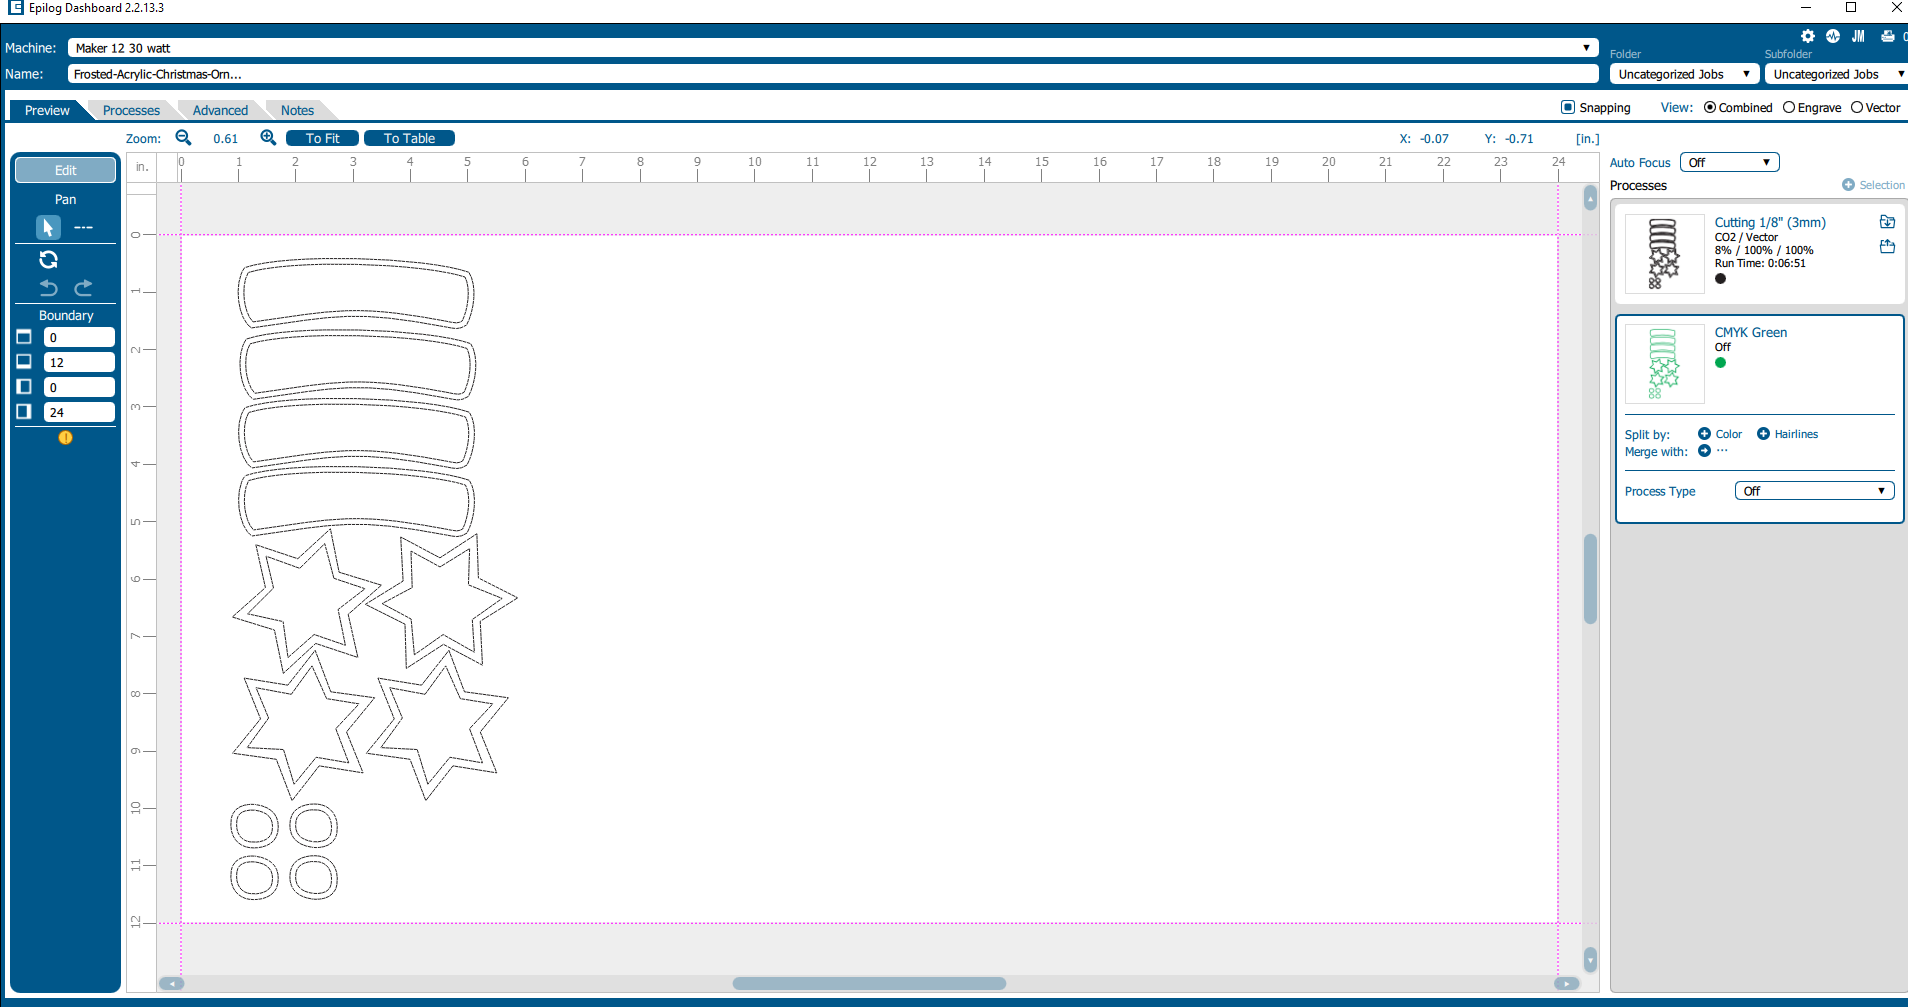
The camera view will help to ensure the items that need adhesive backing are placed over the adhesive sheet we previously placed. Split the Engrave process by color so the black and blue layers are separated into two processes. For the blue layer we want a deeper engraving because it will be under an additional layer of acrylic. Choose the Text/Clipart Engraving 500 DPI setting in the Laser Dashboard. The black process will be lightly engraved to create the frosted effect, so reduce the power to about 1/3 of the previous setting. Once you’ve dialed in this setting you can save it as a custom Frosted Acrylic Etch setting in the Dashboard. Turn off the Red layer process that we won’t need.

Step 6: Apply Your Vector Cutting Settings
Split the Vector process by color so the light blue lines and black lines are in two separate processes. The light blue will be lightly marked on the surface of the acrylic to help with placement of the additional layer, and the black process will be cut through. For the light vector etch we used 100% speed, 20% power, and 100% frequency. When you have dialed in this setting you can save it as a custom material setting as Acrylic Light Vector Etch. For the process with the black vector lines, we used the Acrylic Cutting 1/8” material setting. Print the file to the laser.

Step 7: Preparing the White Acrylic Sheet
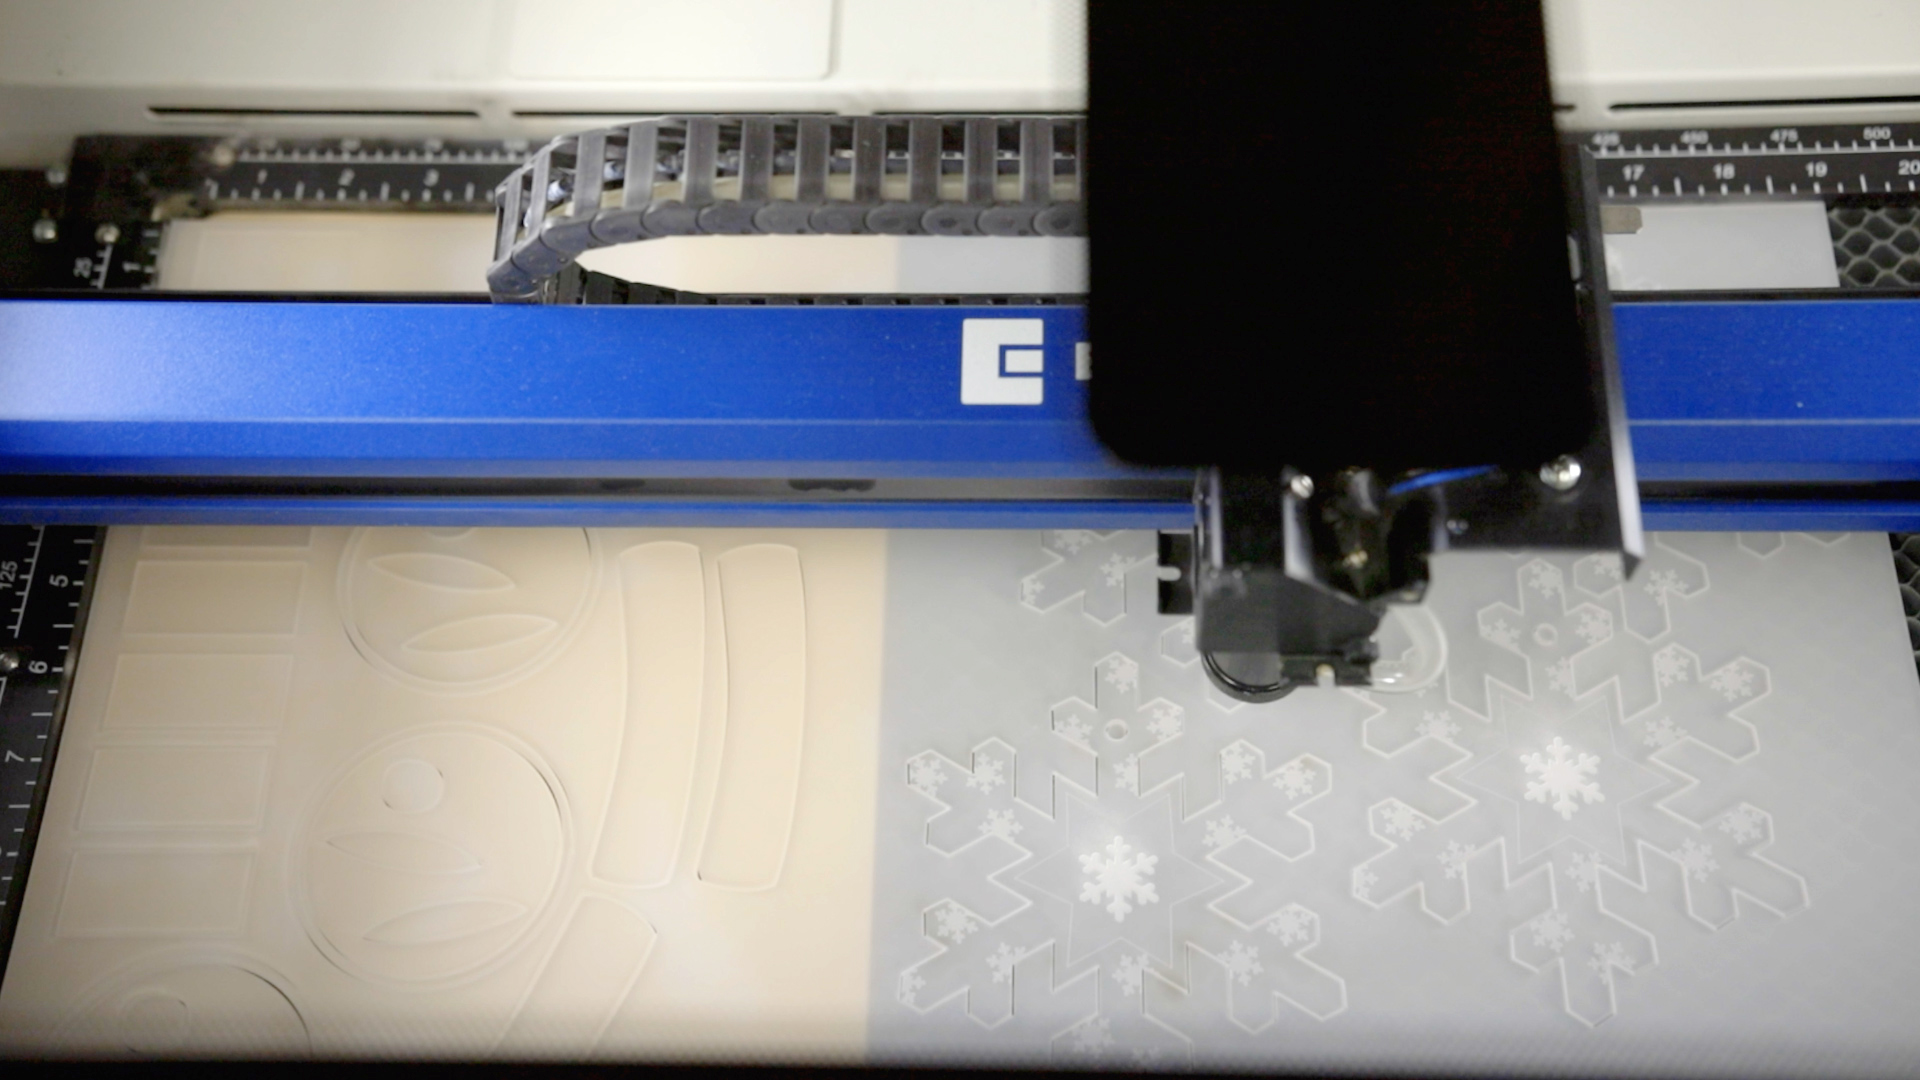
Select the White tab in the file, print to the Laser Dashboard, and repeat steps 5 and 6 to separate the processes and select your material settings, then print the current page to the laser.
Step 8: Preparing the Green Acrylic Sheet
There are two tabs for the green acrylic, one for the sheet with the adhesive backing and one for the sheet with no backing. Send the Green Adhesive tab file to the laser, choosing current page, and separate by color. Turn off the green process and use the Acrylic Cutting 1/8” material setting. There are no other processes needed for this file. Next open the Green Non-Adhesive tab and repeat steps 5-6 to separate the processes by color and choose your material settings.
Step 9: Assemble the Ornaments
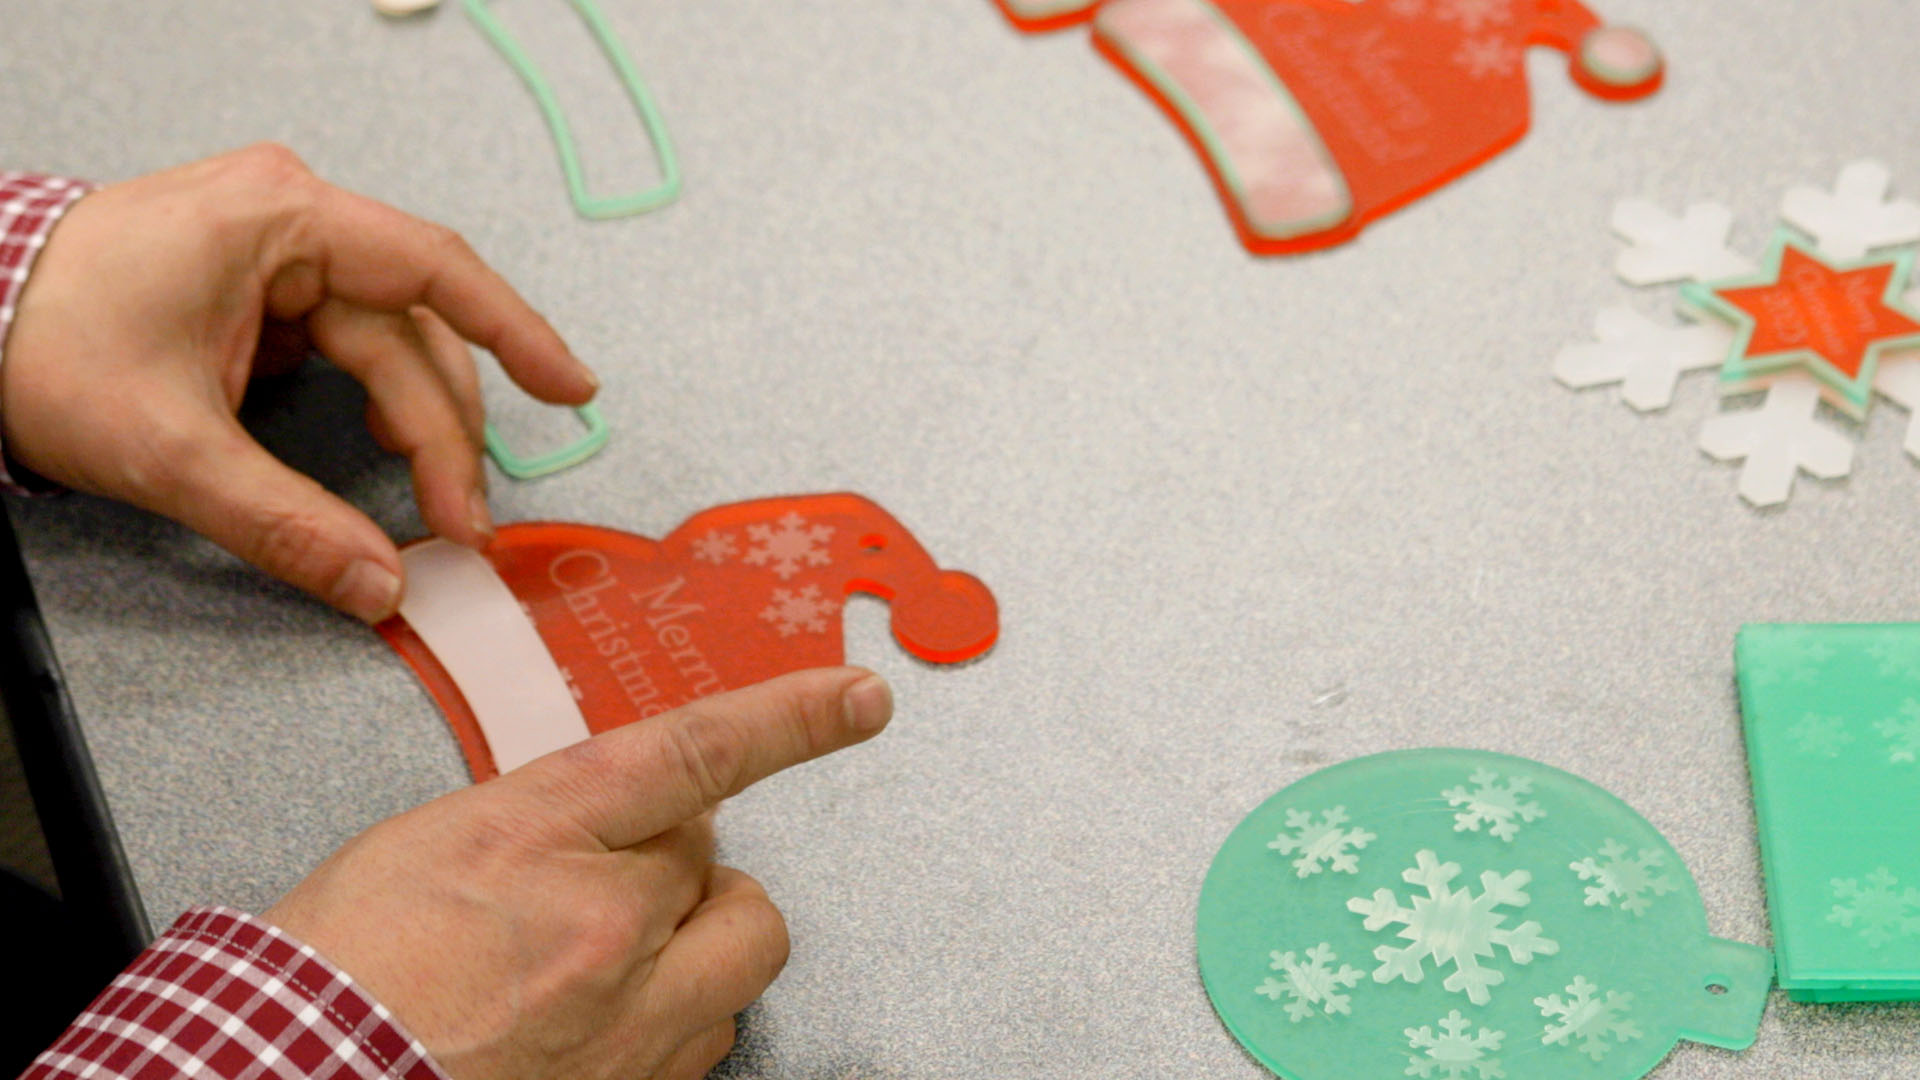
Remove the adhesive backing from the pieces to apply them to the proper ornament. You can use the Complete tab to see how the finished ornaments are assembled and the light vector lines to line up each piece.
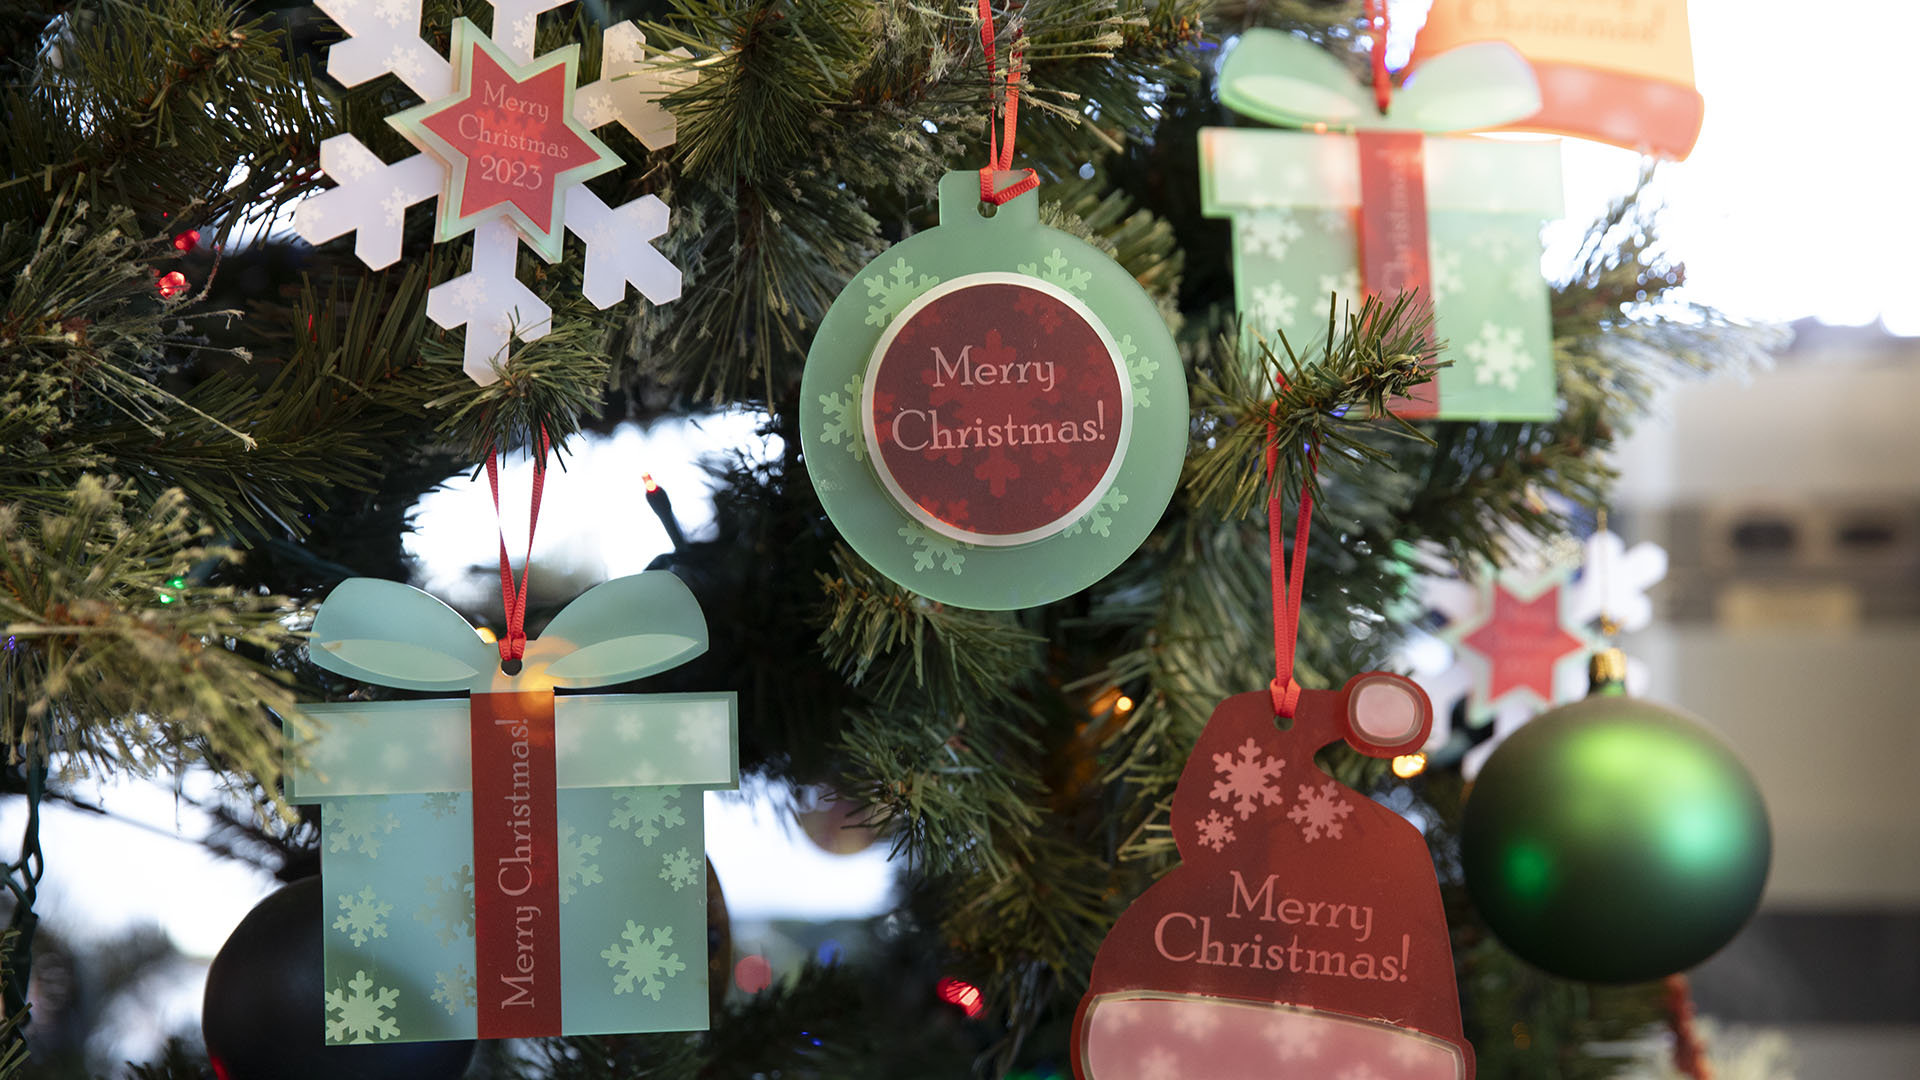
Now you’re ready to use your custom laser cut acrylic ornaments!
Marketing acrylic ornaments can target various audiences, depending on the design, theme, and style of your ornaments. Here are some potential target markets to consider:
Holiday Shoppers:
- Position your acrylic ornaments as festive decorations for holidays like Christmas, Hanukkah, Thanksgiving, and more.
- Highlight unique and personalized designs that can serve as meaningful gifts.
Event Planners:
- Target professionals or individuals planning events such as parties, or corporate gatherings.
- Offer customizable or themed acrylic ornaments that can be used as event decor or favors.
Gift Shops:
- Partner with local or online gift shops to feature your acrylic ornaments as unique and customizable gifts.
- Consider offering bulk discounts for retailers.
Corporate Gifts:
- Position your acrylic ornaments as ideal corporate gifts for clients, employees, or business partners, especially during the holiday season.
- Offer customization options with company logos or personalized messages.
Online Marketplaces:
- Utilize online platforms such as Etsy, Amazon, or your own e-commerce website to reach a broader audience.
- Leverage social media to showcase your products and engage with potential customers.
Schools and Educational Institutions:
- Target schools or educational institutions for fundraising events or as decorative items for classrooms.
- Offer bulk pricing for larger orders.
