Laser Cutting a 3D Layered Acrylic Sign with an Epilog Laser
Acrylic
Introduction
Hello and welcome again to the Epilog studio! In this project we’re going to make a layered acrylic sign using different colors of acrylic sheets. Watch the video above or follow the project below to learn about our workflow for cutting out a series of layers and how to kiss-cut adhesive paper applied to acrylic.
An Epilog Laser machine excels at rapidly cutting complex shapes out of sheets of material. This project demonstrates a simple but effective way to take those shapes and create depth that really makes a piece stand out.
Project Settings
-
(inkjet friendly)
Getting Started
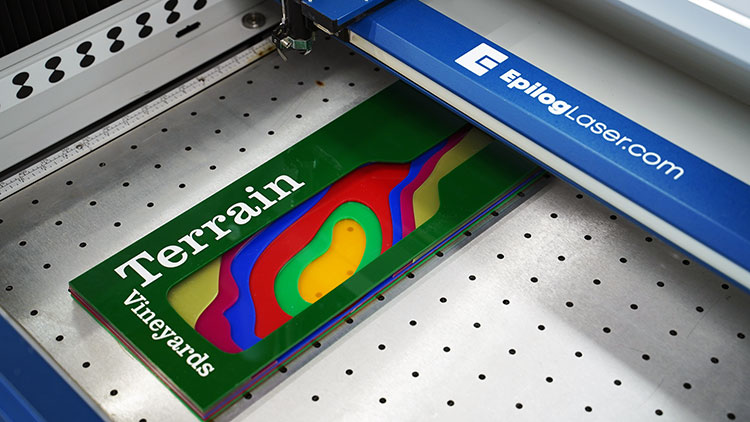
For this project, we’ll be using the Fusion Pro 32 with an 80-watt laser tube, and the optional slat-style vector table, which is perfect for cutting large shapes out of acrylic sheets.
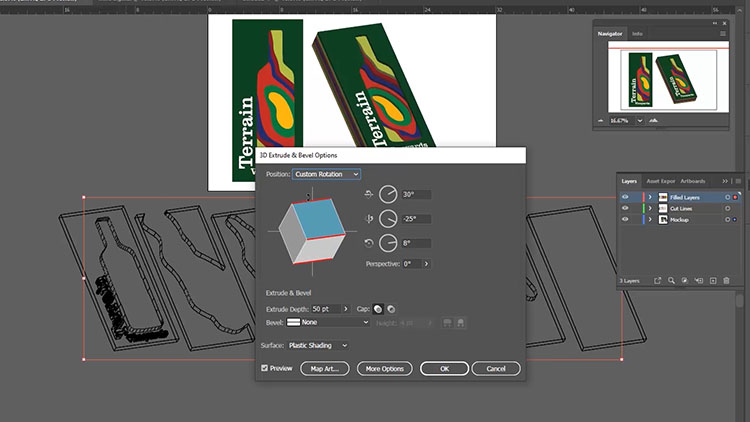
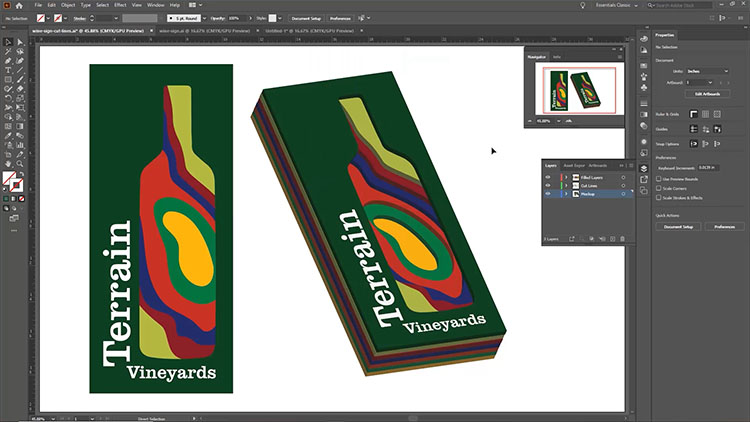
In Adobe Illustrator, we’ve mocked up a 3D example of what our final project will look like, using Illustrator’s 3D / Bevel and Extrude features. Creating a 3D digital mockup such as this is a great way to develop a proof of concept for your project. While not a necessary step, it allows you to visualize what your final piece will look like prior to moving on to the production phase at the laser.
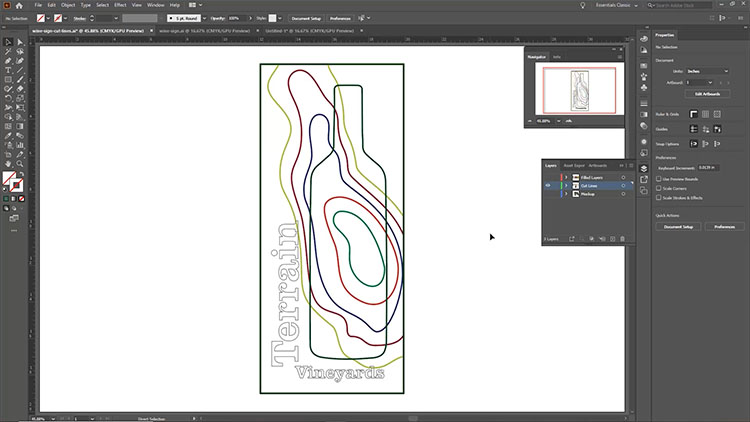
We have our layers prepped as cut lines, colored to match our sheets of acrylic. Before printing to the Epilog Software Suite, we’ll make sure we’ve turned off any layers in Adobe Illustrator that we don’t want to print. Then we’ll center all of our cut lines to the artboard. This will simplify the workflow once we’re in the Software Suite. Print the file to the Software Suite.
Establishing Settings and Workflow
We’ll start by importing the 1/8″ acrylic cutting settings from the Software Suite’s materials database. We’ll click on the “Import Material Settings” button within our Process, then select the “Cutting 1/8″ (3mm)” option from the Acrylic section in the Vector tab.
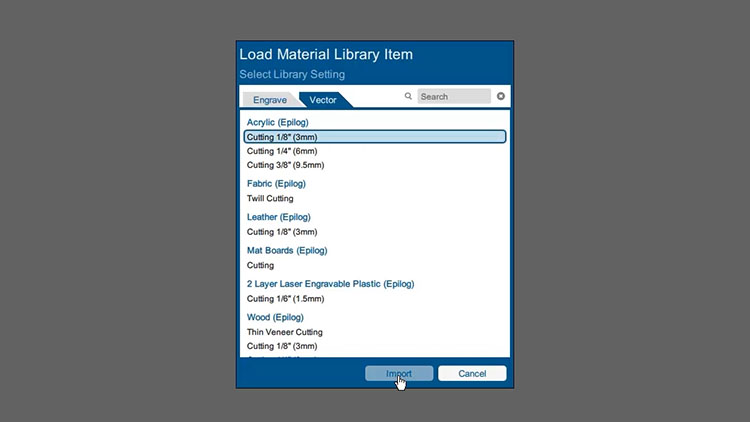
The Software Suite applies the settings to our Process.
Cutting Settings (Acrylic)
Machine: 80-Watt CO2 Fusion Pro
(Be sure to check the recommended materials settings in your machine’s manual.)
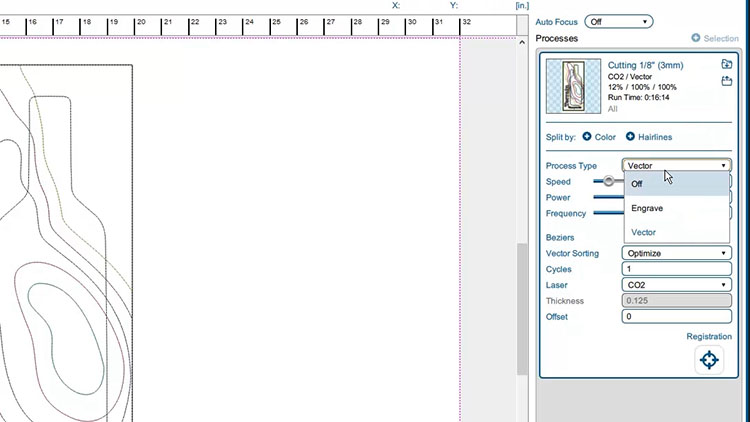
Next, we’ll set the Process Type to “Off”. We’re about to split this Process into the individual layers, and setting the Process Type to “Off” before splitting will default each layer to Off. This will make it easier to turn on each process individually for printing to the laser.
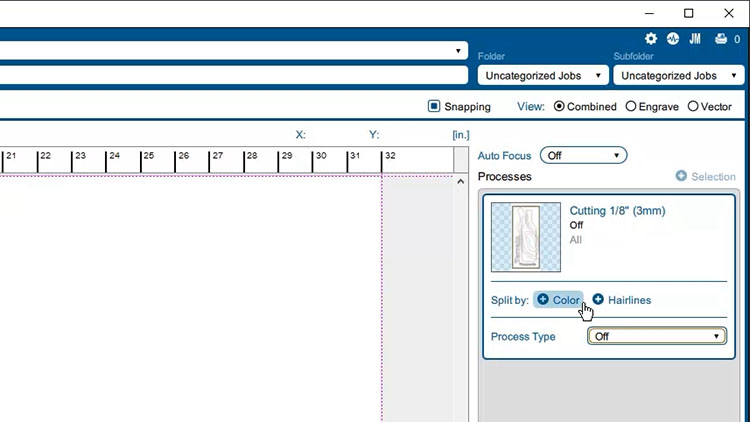
To separate our group of cut lines by color, click the Color button next to Split by: in the process options. This will separate all of our colored cut lines into separate processes, while still keeping the material settings and Process Type we applied earlier.
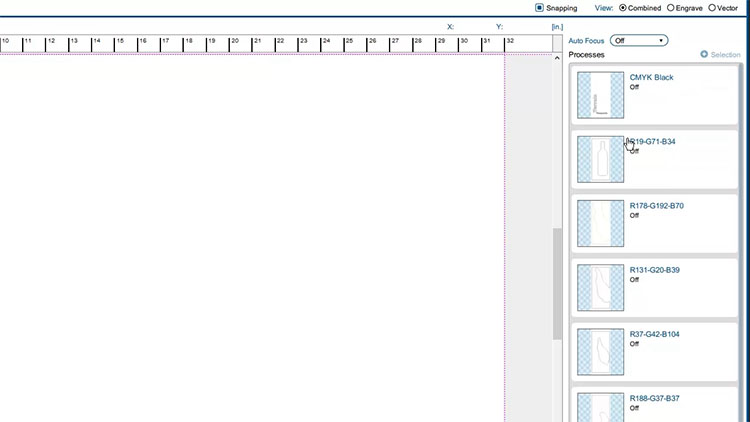
Additionally, use the Merge feature to regroup the text cut lines with our dark green layer to keep these two sign layers grouped. We’ll end up sending those to the laser at the same time.
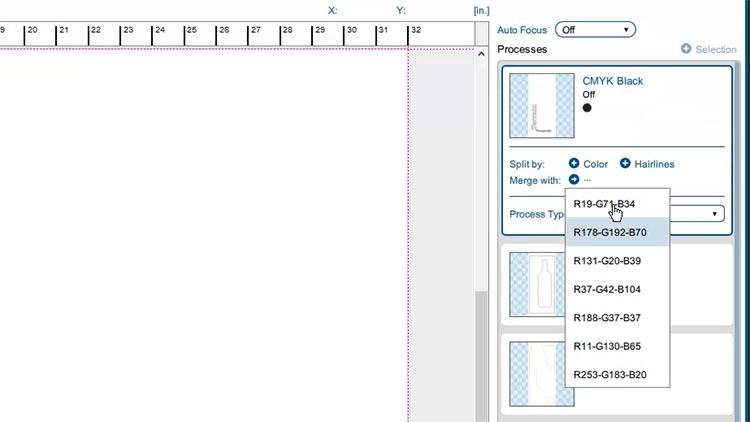
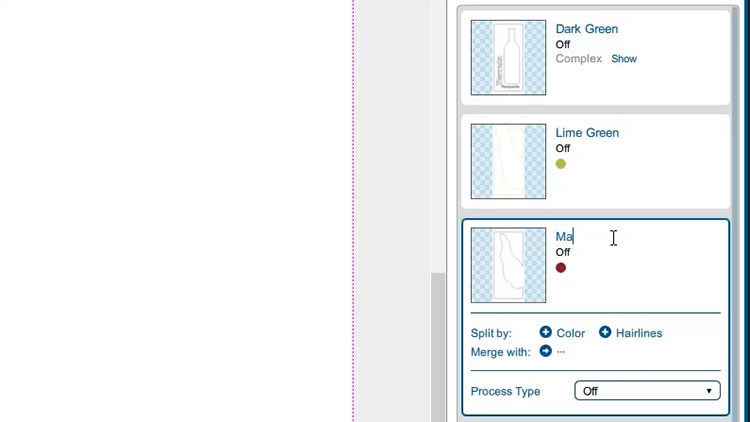
The Epilog Software Suite allows us to provide unique names for each Process within our job, so before we begin cutting the acrylic for our sign, we’re going to rename each Process to the color of acrylic we’ll be cutting it from. While not a neccessary step, this will make the Processes easier to work with as we send them to the laser. With all of our Processes renamed, we’re now ready to begin cutting at the laser.
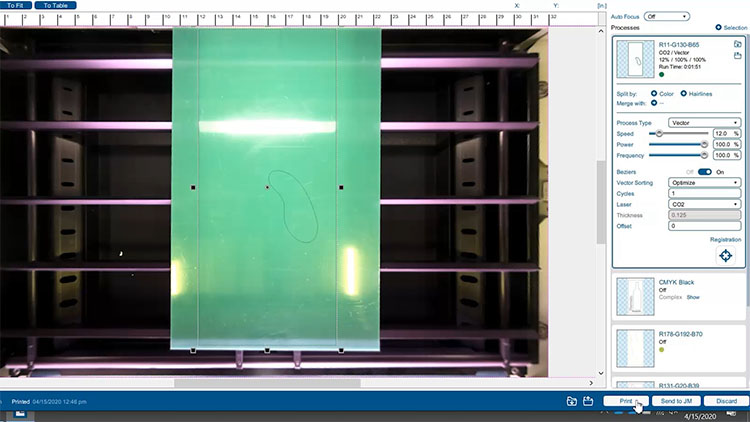
To send our first cuts to the laser, simply change the Process Type from Off to Vector. We’ll begin with our Green acrylic process.
Printing our Layers
Be sure to focus the laser to the material and position the cut lines within the Software Suite so they fit to the acrylic sheet. Then select “Print” to send the cut lines to the laser. At the laser, select the job and press the Go button.
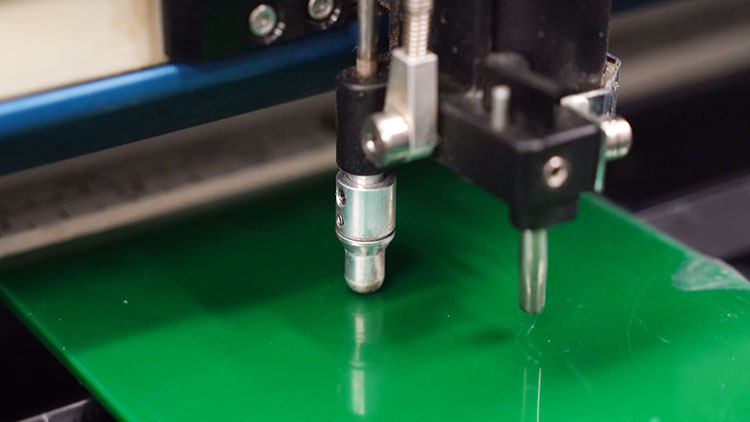
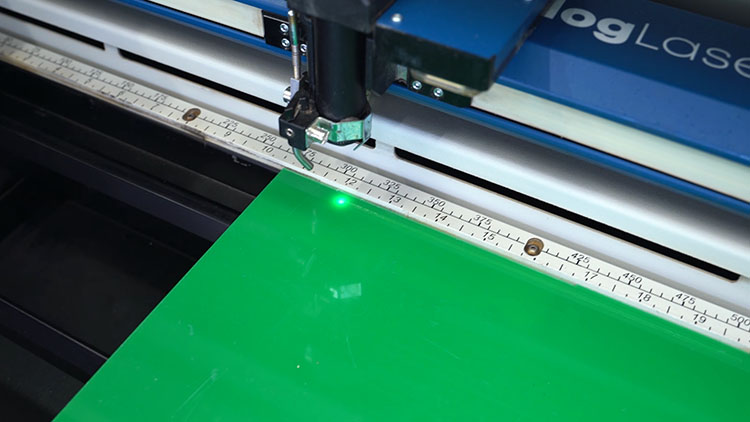
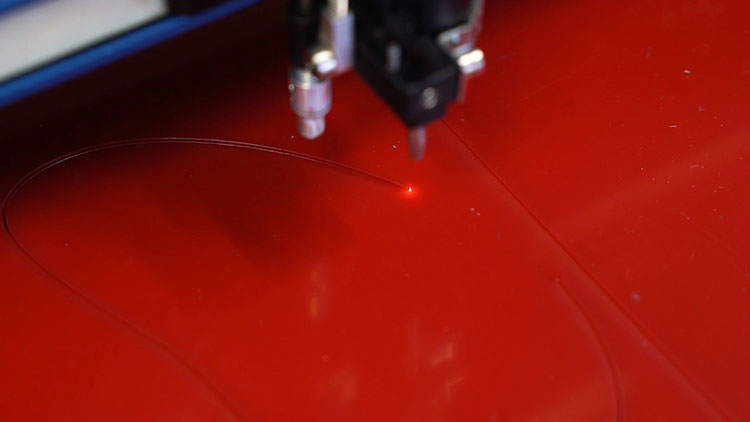
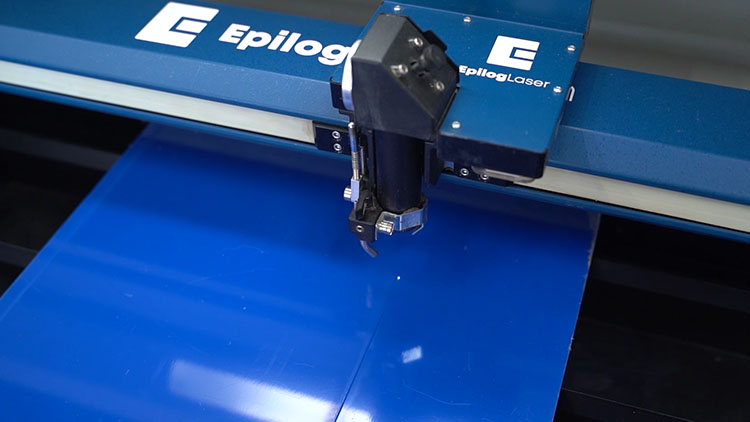
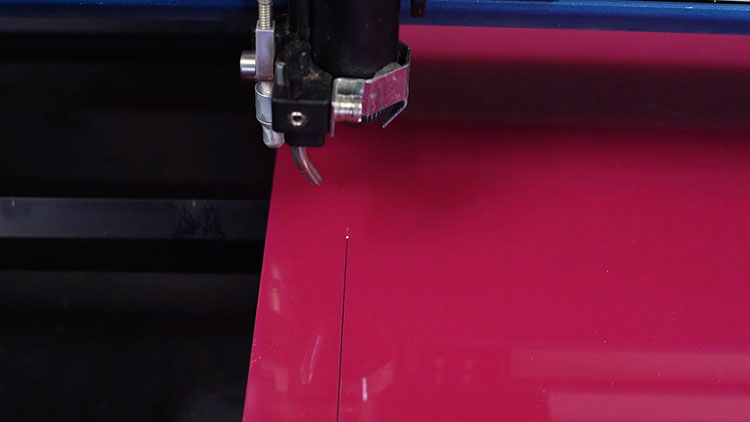
Once we’ve finished cutting our first acrylic sheet, we’ll repeat this process until we’ve cut out all the layers and pieces we need to assemble our sign. For each sheet of acrylic, set the Process Type of the layer you want to cut to “Vector” within the Software Suite, and make sure all other layers are set to “Off”. Then print it to the laser.
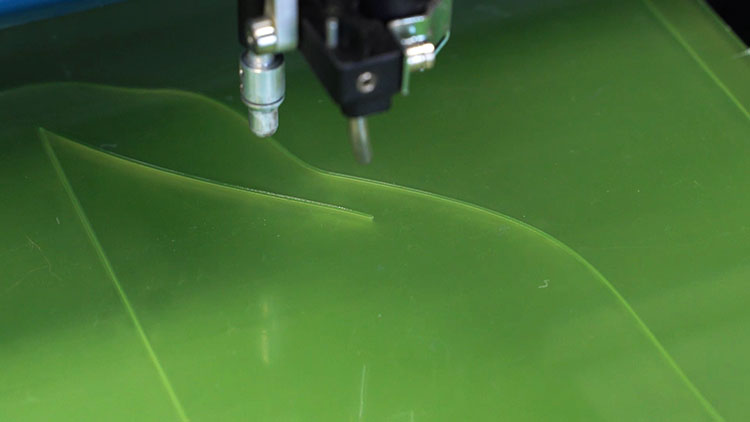
Cutting the Top Layer
For our final layer of acrylic, we’ll print the text and dark green acrylic Process. We’ll be using durable, sticky-backed white paper and an overlay kiss-cut technique on the surface of the dark-green acrylic to create the white lettering for our sign.
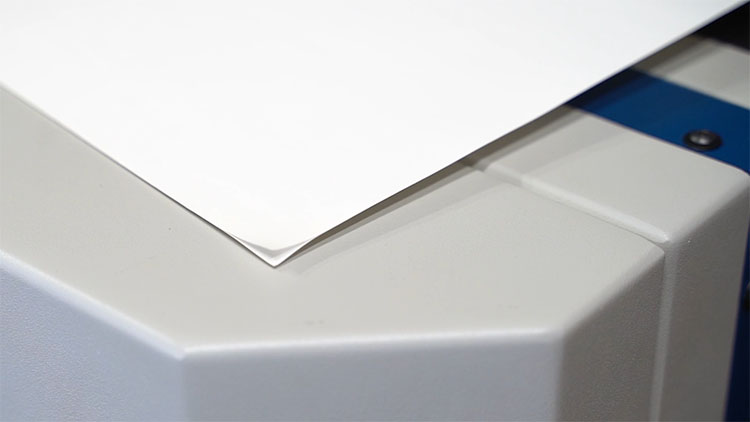
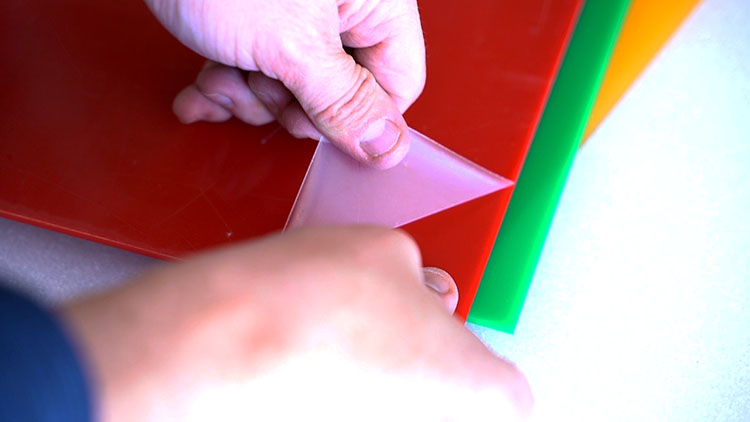
We’ll remove the masking material from the shiny side of our dark green acrylic.
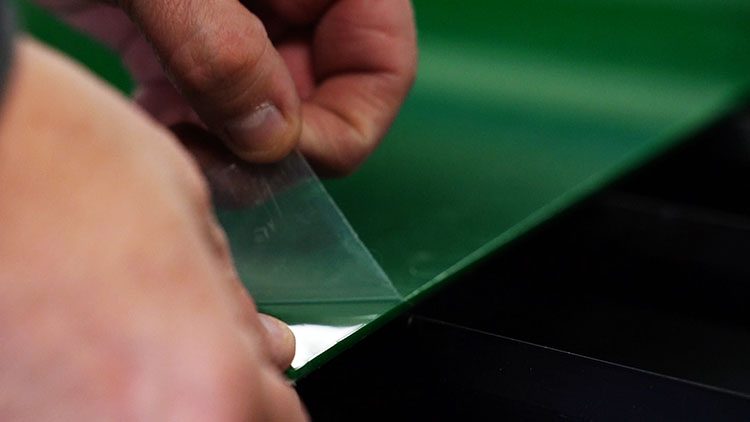
Then, we’ll remove the backing from the adhesive paper and apply it to the surface of our dark-green acrylic, positioning it approximately where our text will be located.
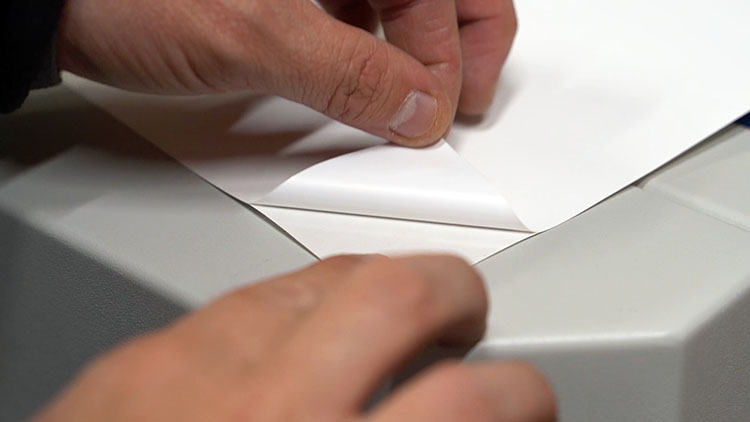
Back in the Software Suite, we’ll adjust the speed and power settings for the green acrylic full cuts and the paper overlay kiss cuts.
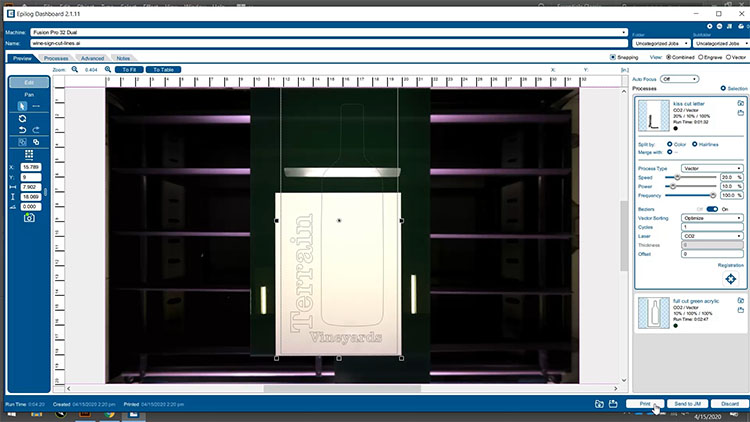
We’ll use 10% Speed, 100% Power, and 100% Frequency for our full cuts that will go through both the adhesive paper and the acrylic.
Cutting Settings (Acrylic & Adhesive Paper)
Machine: 80-Watt CO2 Fusion Pro
(Be sure to check the recommended materials settings in your machine’s manual.)
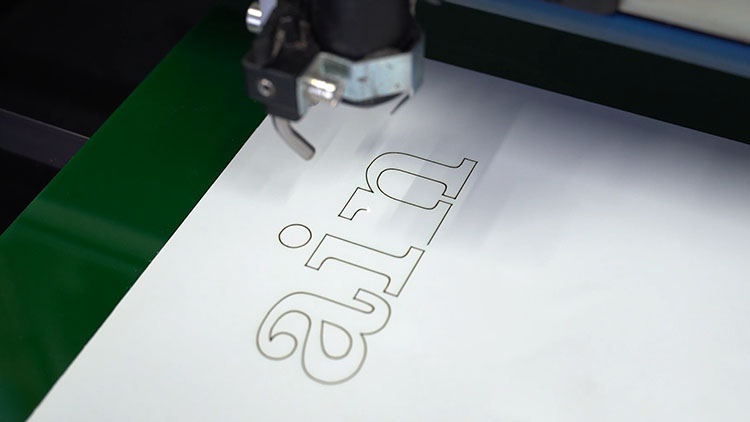
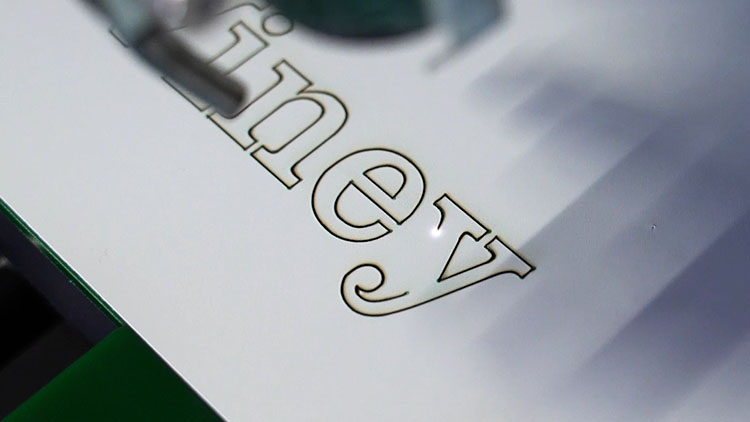
We’ll use 20% Speed, 10% Power, and 100% Frequency for our white lettering kiss cuts. The kiss cut will cut through just the white adhesive paper without cutting through the dark green acrylic, allowing us to peel away the excess white paper. Print the job to the laser, select it at the machine, and press Go.
Kiss Cutting Settings (Adhesive Paper)
Machine: 80-Watt CO2 Fusion Pro
(Be sure to check the recommended materials settings in your machine’s manual.)
Assembly
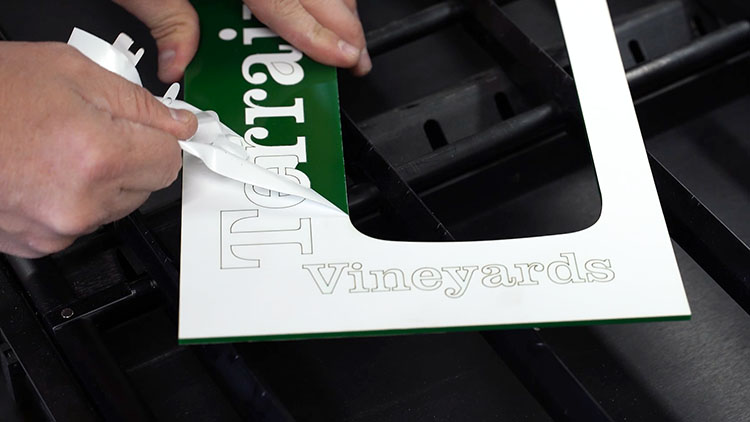
Next, peel away the excess white sticker paper to leave only the text.
With all of the acrylic layers now complete, we’ll do a quick dry fit to be sure the layers are ready for final assembly.
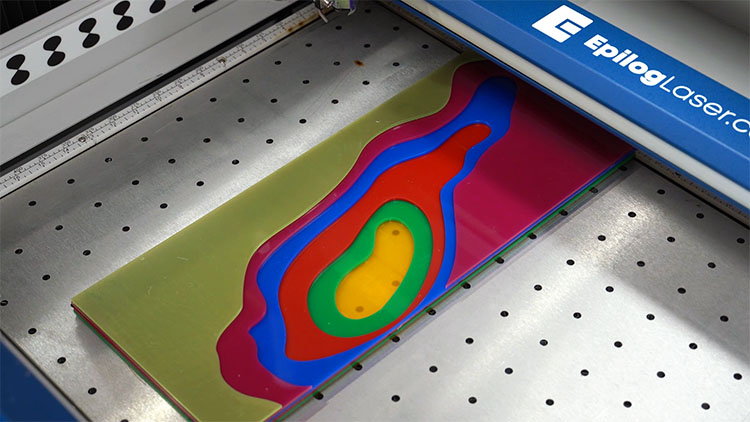
We’ll remove all the remaining masking material from each layer of acrylic.
Then we’ll glue the layers together with cyanoacrylate (CA) glue.
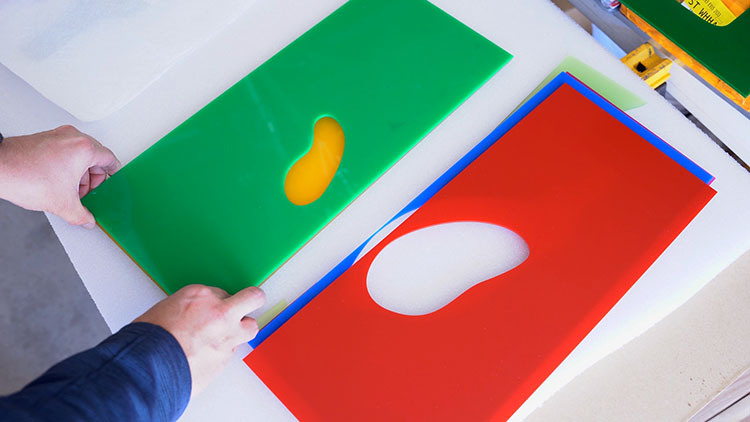
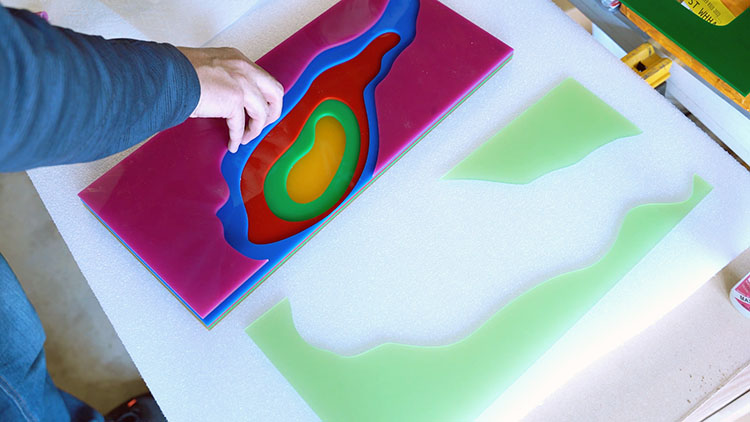
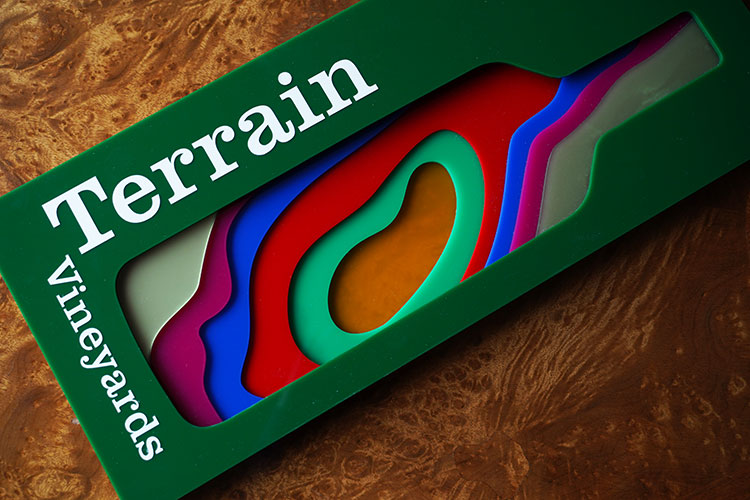
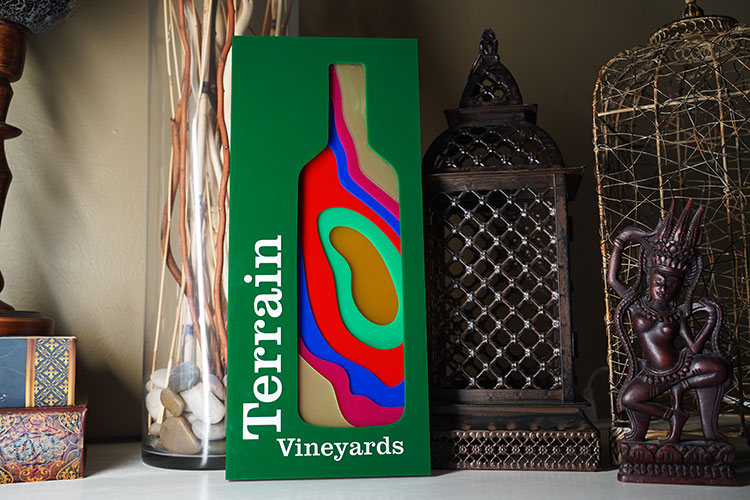
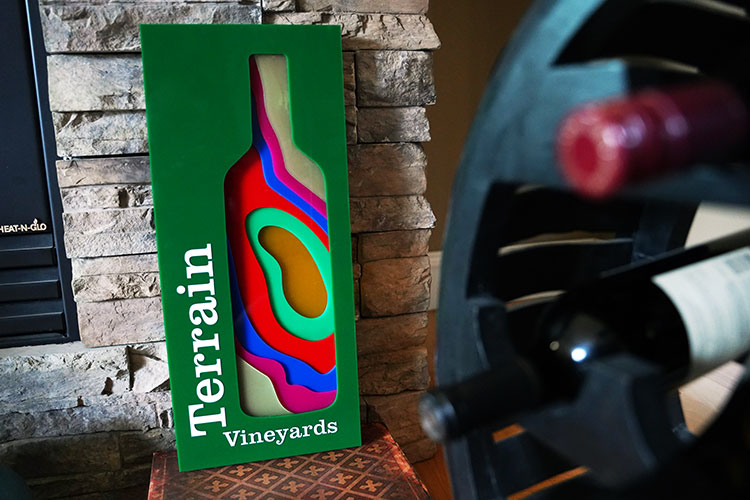
With the placement of the last layer, there you have it: a unique, layered acrylic sign created with an Epilog Laser.
Where can you use and/or sell custom laser cut acrylic signage?
- To local businesses
- For your company or school
- For directional signage
- Museum and educational displays
