Engraving on Wooden Rolling Pins
Wood
Introduction
Personalized culinary products are big sellers – and easy to produce if you have a laser system!
Ideal for Mother’s Day, birthdays, wedding showers and more, these customized wooden rolling pins allow any would-be chef to produce truly unique (and delicious) culinary creations!
Project Settings
-
we purchased ours from Amazon
-
Level
-
Rotary Attachment
-
Screwdriver(to remove rolling pin handles)
-
Masking tape(optional)
Prepare the Artwork
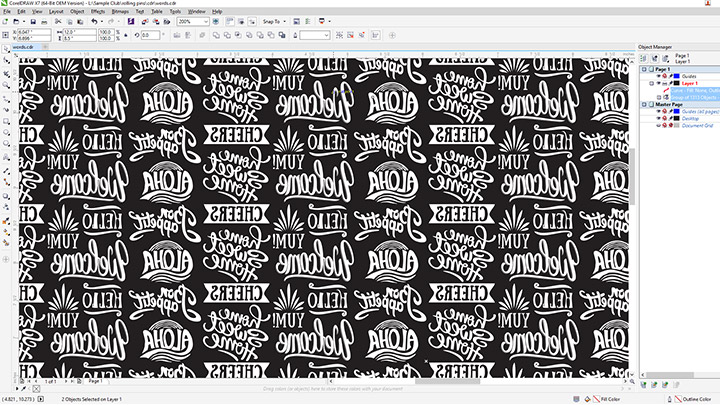
Download the engraving files and adjust the artwork accordingly. Our artwork is set up for 12-Inch-by-2-3/4-Inch rolling pins. You may need to change the dimensions to fit your piece.
You may need to remove the handles from your rolling pins before engraving depending on the size of the handles. We used a screwdriver to help pry them off.
Setup up the Rotary
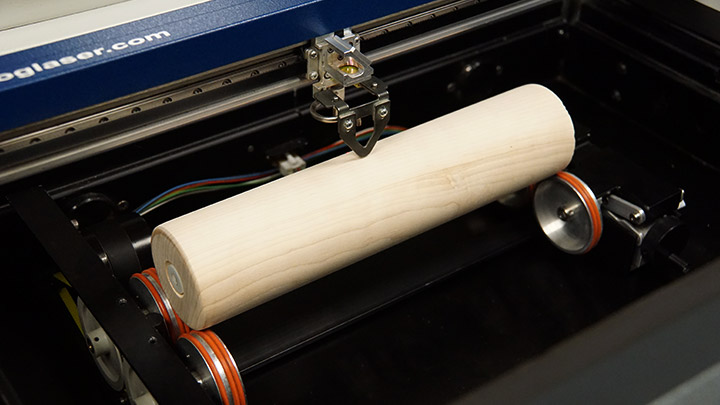
Lower your engraving table, remove the vector or engraving table, and power off your machine. Plug in your rotary attachment and then restart the laser. The laser head will relocate to a new home position for the rotary.
Place your rolling pin on the rotary attachment. Use a level to make sure the piece is level throughout.
*Tip: If you’d like test the placement of the artwork on your rolling pin, mask it with tape and run the job at a high speed and very low power just enough to indicate on the tape where the design will be engraved. When you’re satisfied, remove the masking.
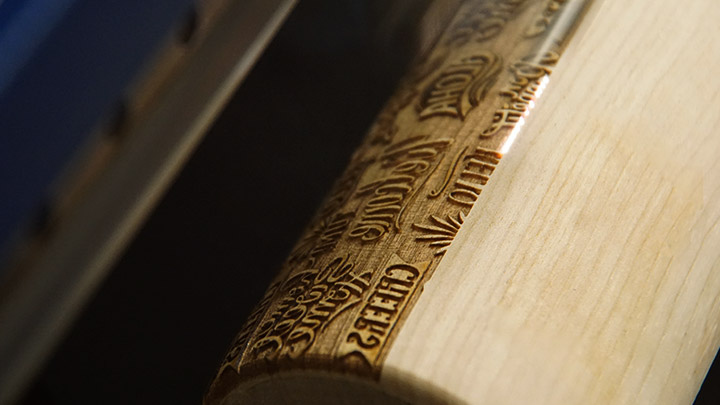
Next, run the vector outline (remember to have the red dot pointer on and leave the lid open) to ensure your placement is where you want. Once you’re satisfied, send the job to the laser and press go!
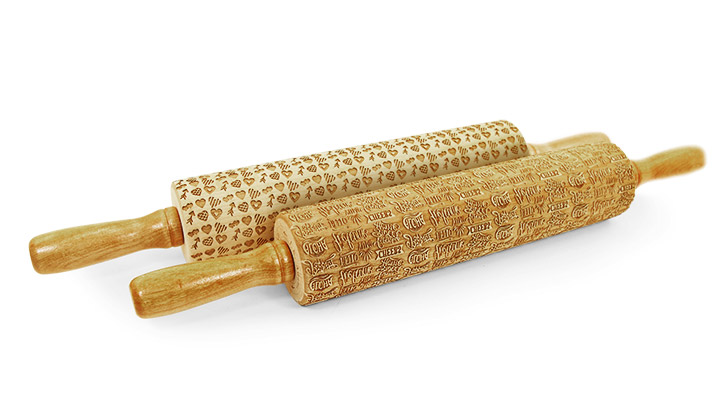
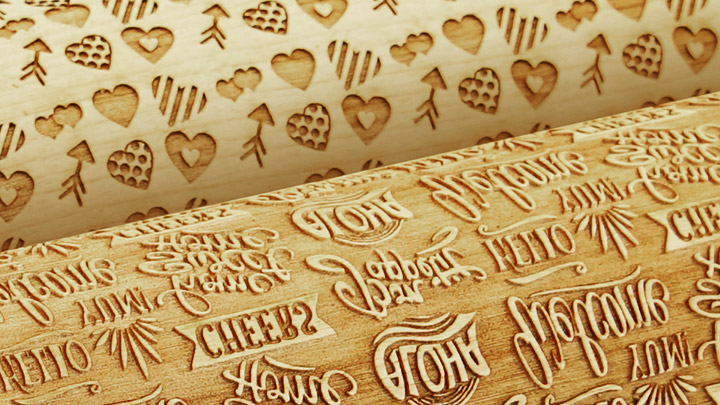
Where can you sell engraved rolling pins?
- Craft fairs
- Home & Garden Shows
- Culinary Expos
- Kitchen & Bath Shows
