Laser Engraving and Cutting Custom Wedding Invitations
Paper, Wedding
Introduction
Project Settings
Step 1: Getting Started
We will start by creating settings for engraving the cardstock. By using a white core cardstock, we’re able to engrave through the color layer down to the white level. But you can use almost any cardstock for the top two layers since they won’t be engraved. Choosing a darker color for the bottom layer of the card will give you the best contrast for your engraved text, but you can experiment with whatever colors you’d like.
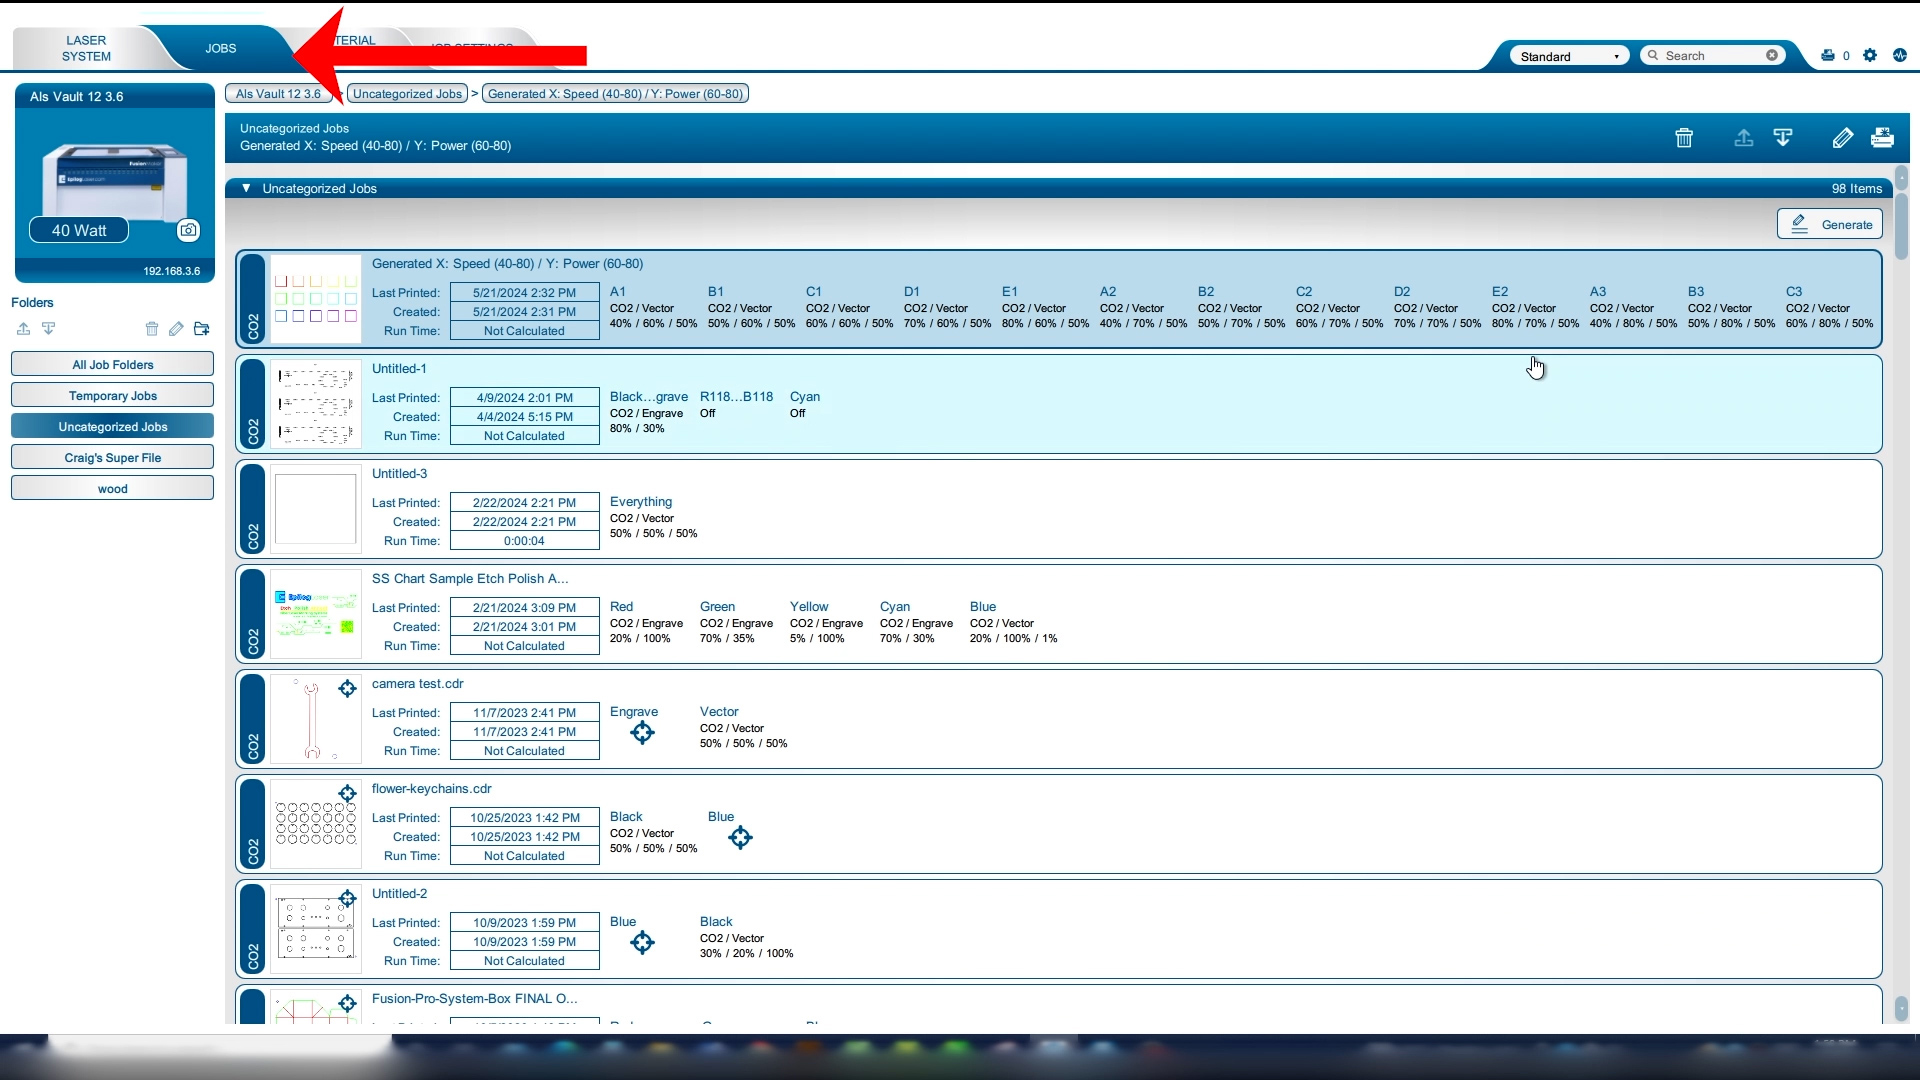
Start in the Epilog Job Manager, navigate to the Jobs tab, and click the Generate button. This will create an array of material settings so we can find the perfect setting.
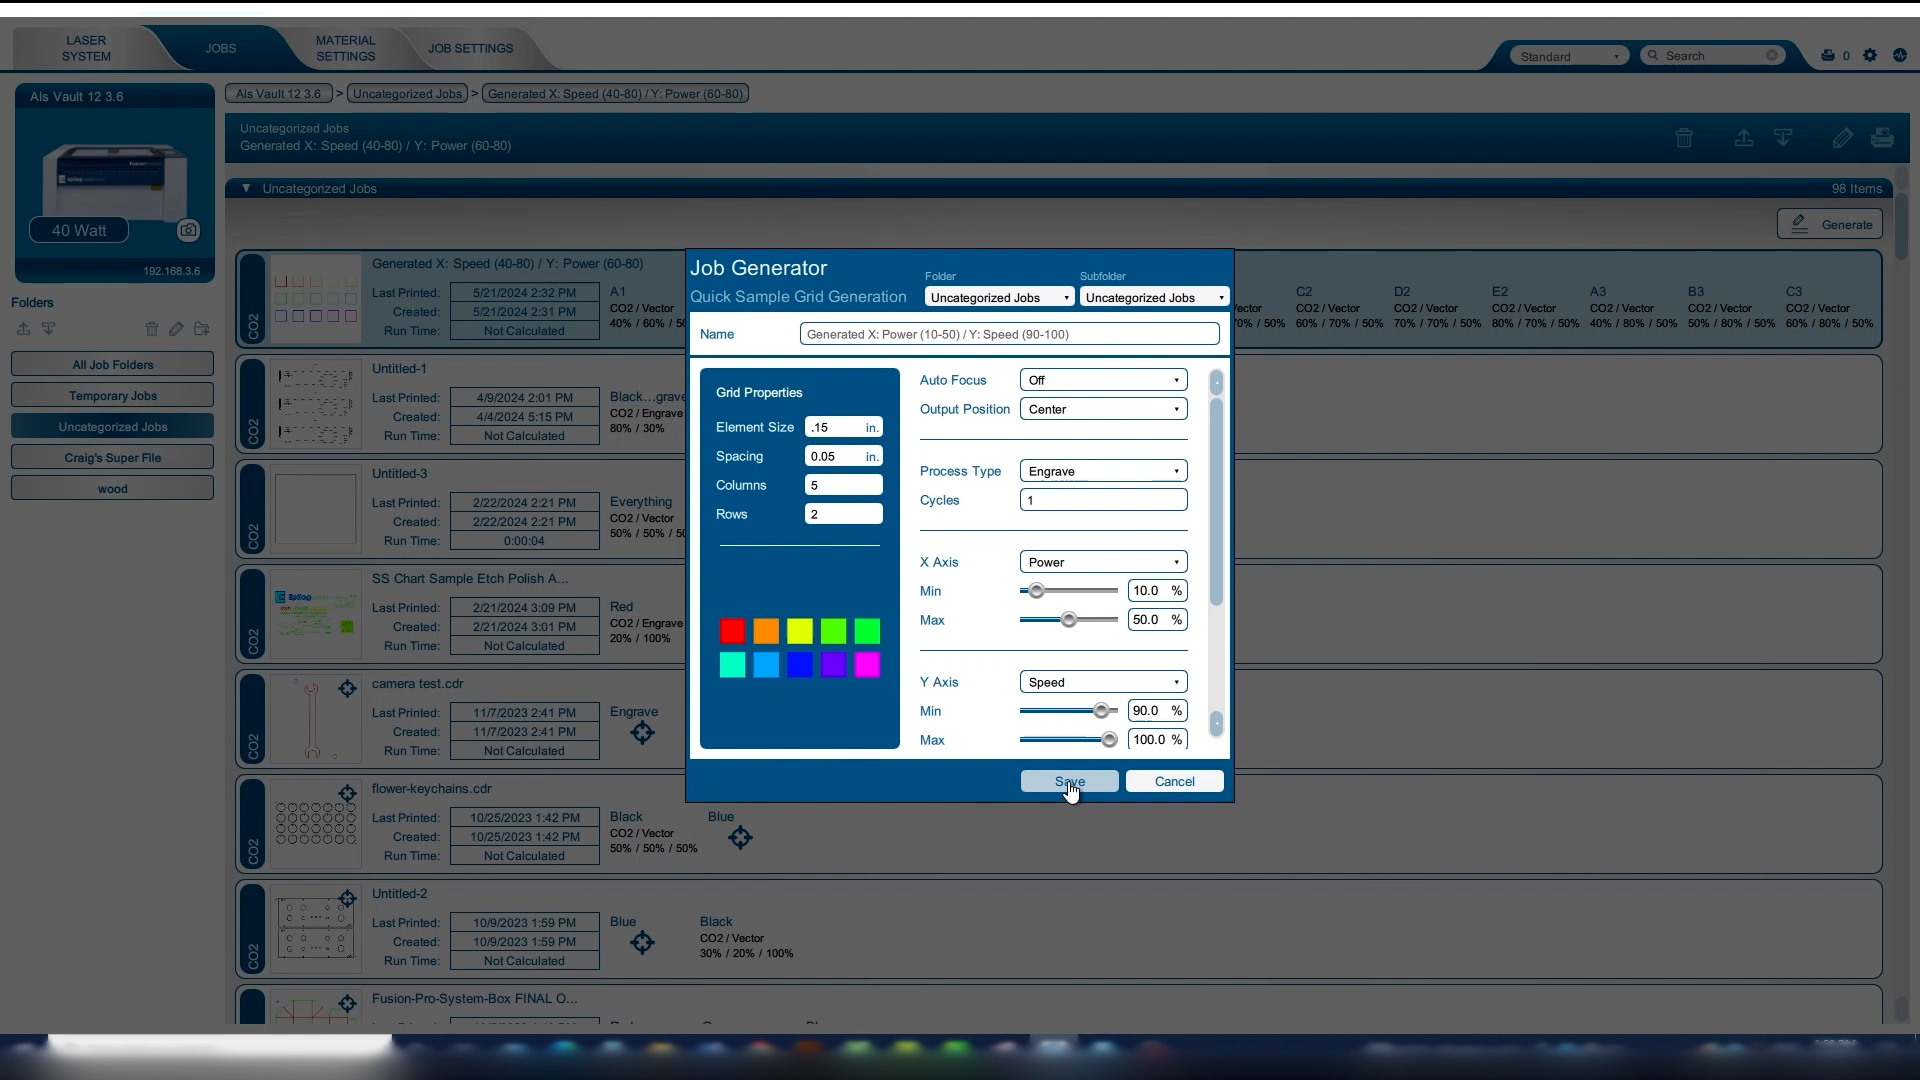
We’ll set the box size to .15”, spacing to .05”, and set the columns to 5 and rows to 2. This will allow us to show 5 different power settings and 2 different speed settings. In the X Axis we’ll set the power between 10 and 50%. In the Y Axis we’ll set the speed between 90 and 100%. Click Save.
Step 2: Material Testing
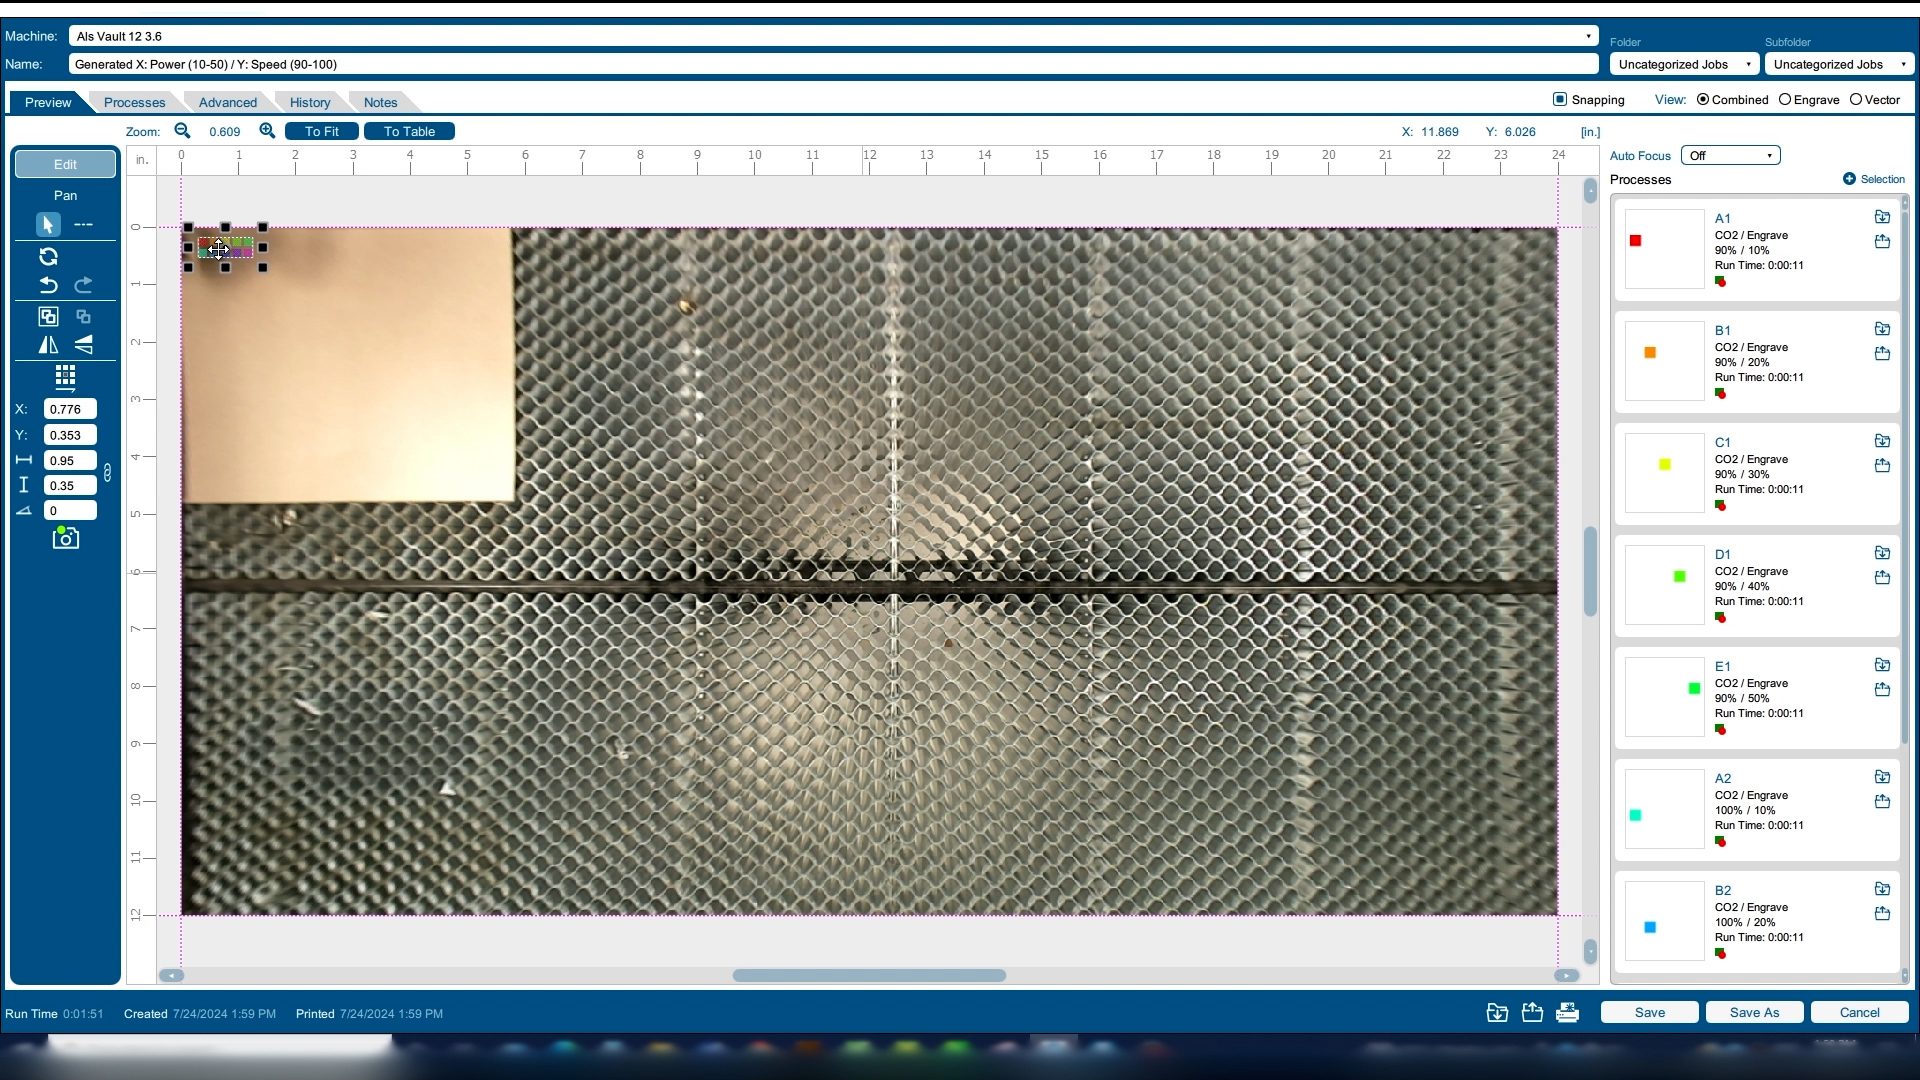
Now open our new job. Using a scrap piece of cardstock, move the generated file on the cardstock and press the printer icon.
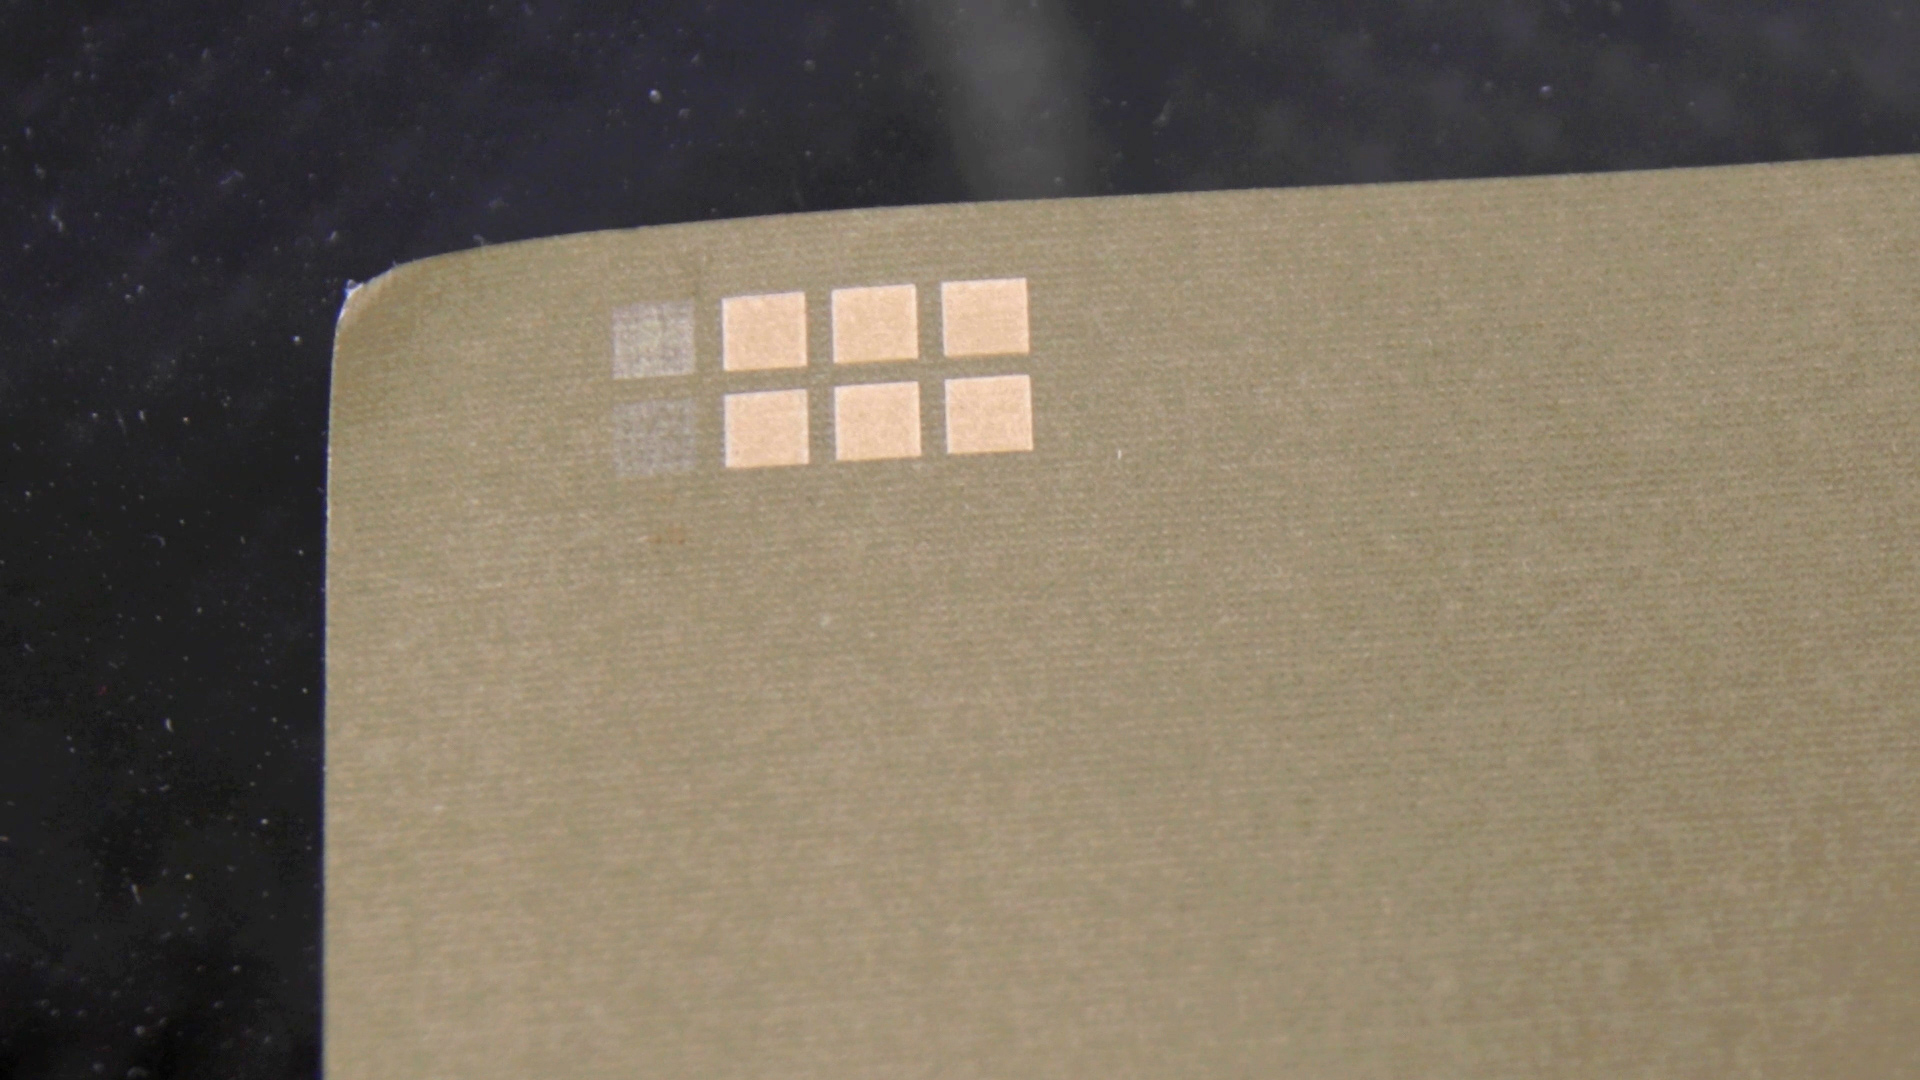
After the file is engraved, we can find our favorite settings for getting a white mark on the cardstock. We preferred the square at 100% speed, 30% power.
Step 3: Engraving and Cutting
We’ll place the graphic on the right top corner of the page. Note that you could set this up to create up to four invites at one time. Now select the settings for the engraving using the settings we liked best from the generator file test. On a 30-watt system we’ll use 100% speed, 30% power and 500 dpi. We’ll set our cutting layer to 50% speed, 60% power, and 20% frequency, then send the file to the laser.
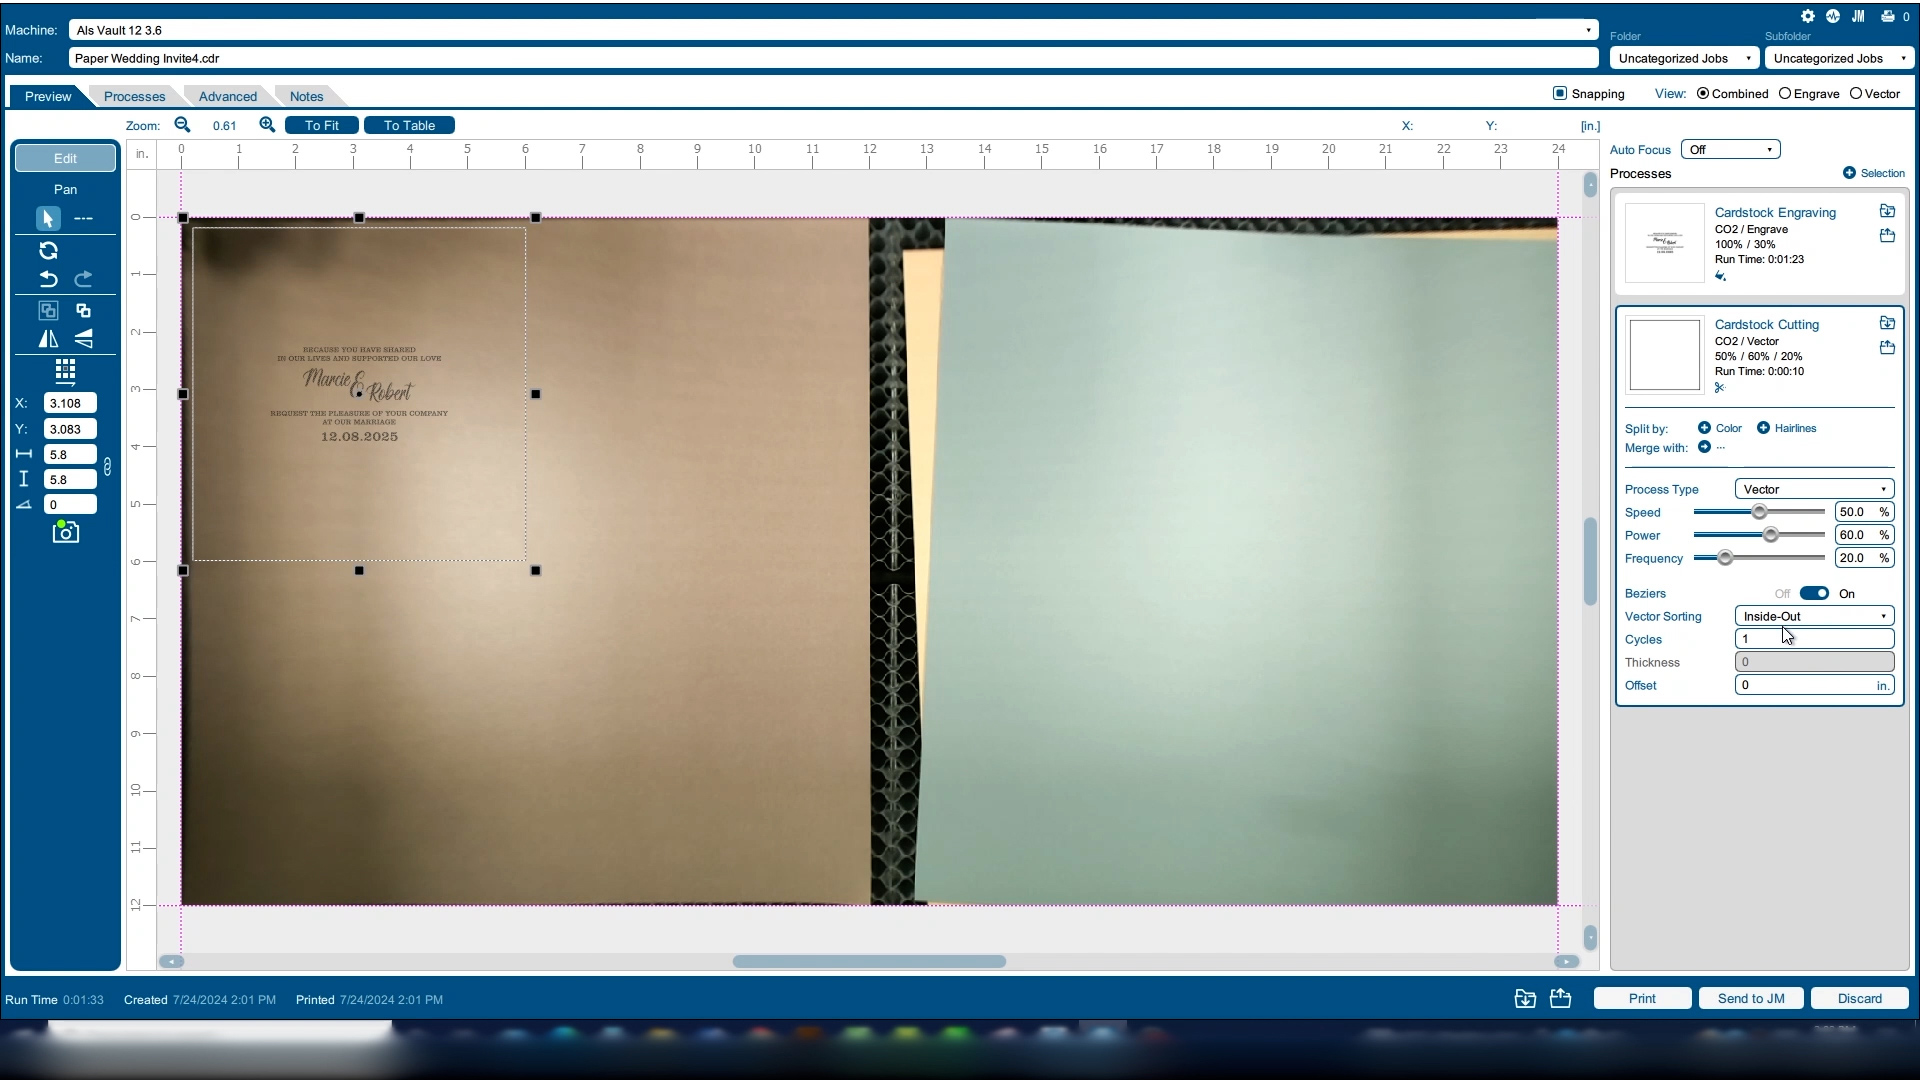
Next, we’ll move on to the middle layer. This layer will have just a few cuts where we want the back layer color to show all the way through the invite. Select this layer and print it, selection only, to the Laser Dashboard. We’ll merge the two processes together into a single cutting process.
Import your settings for cardstock cutting. It’s a good idea to save your settings when you’ve dialed them in, so they are quick to find next time you work with that material! Print the file to the laser.
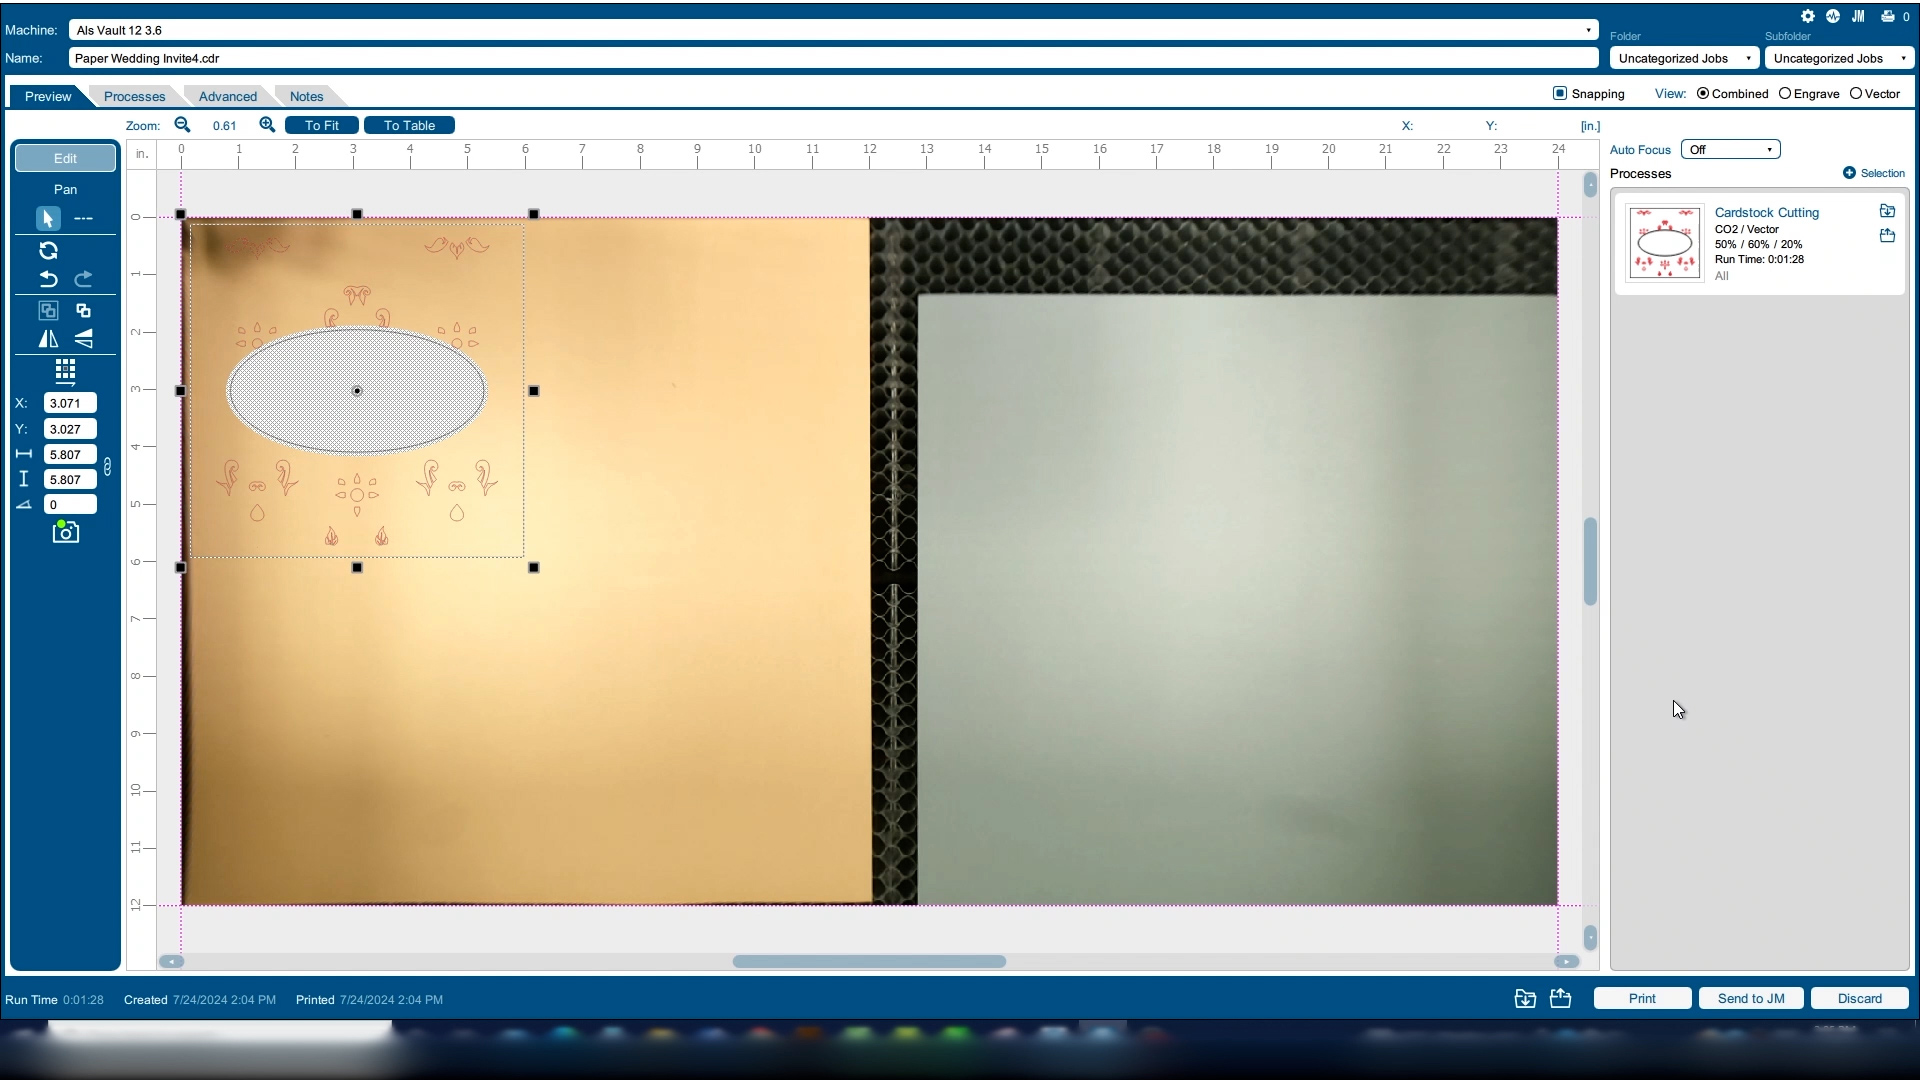
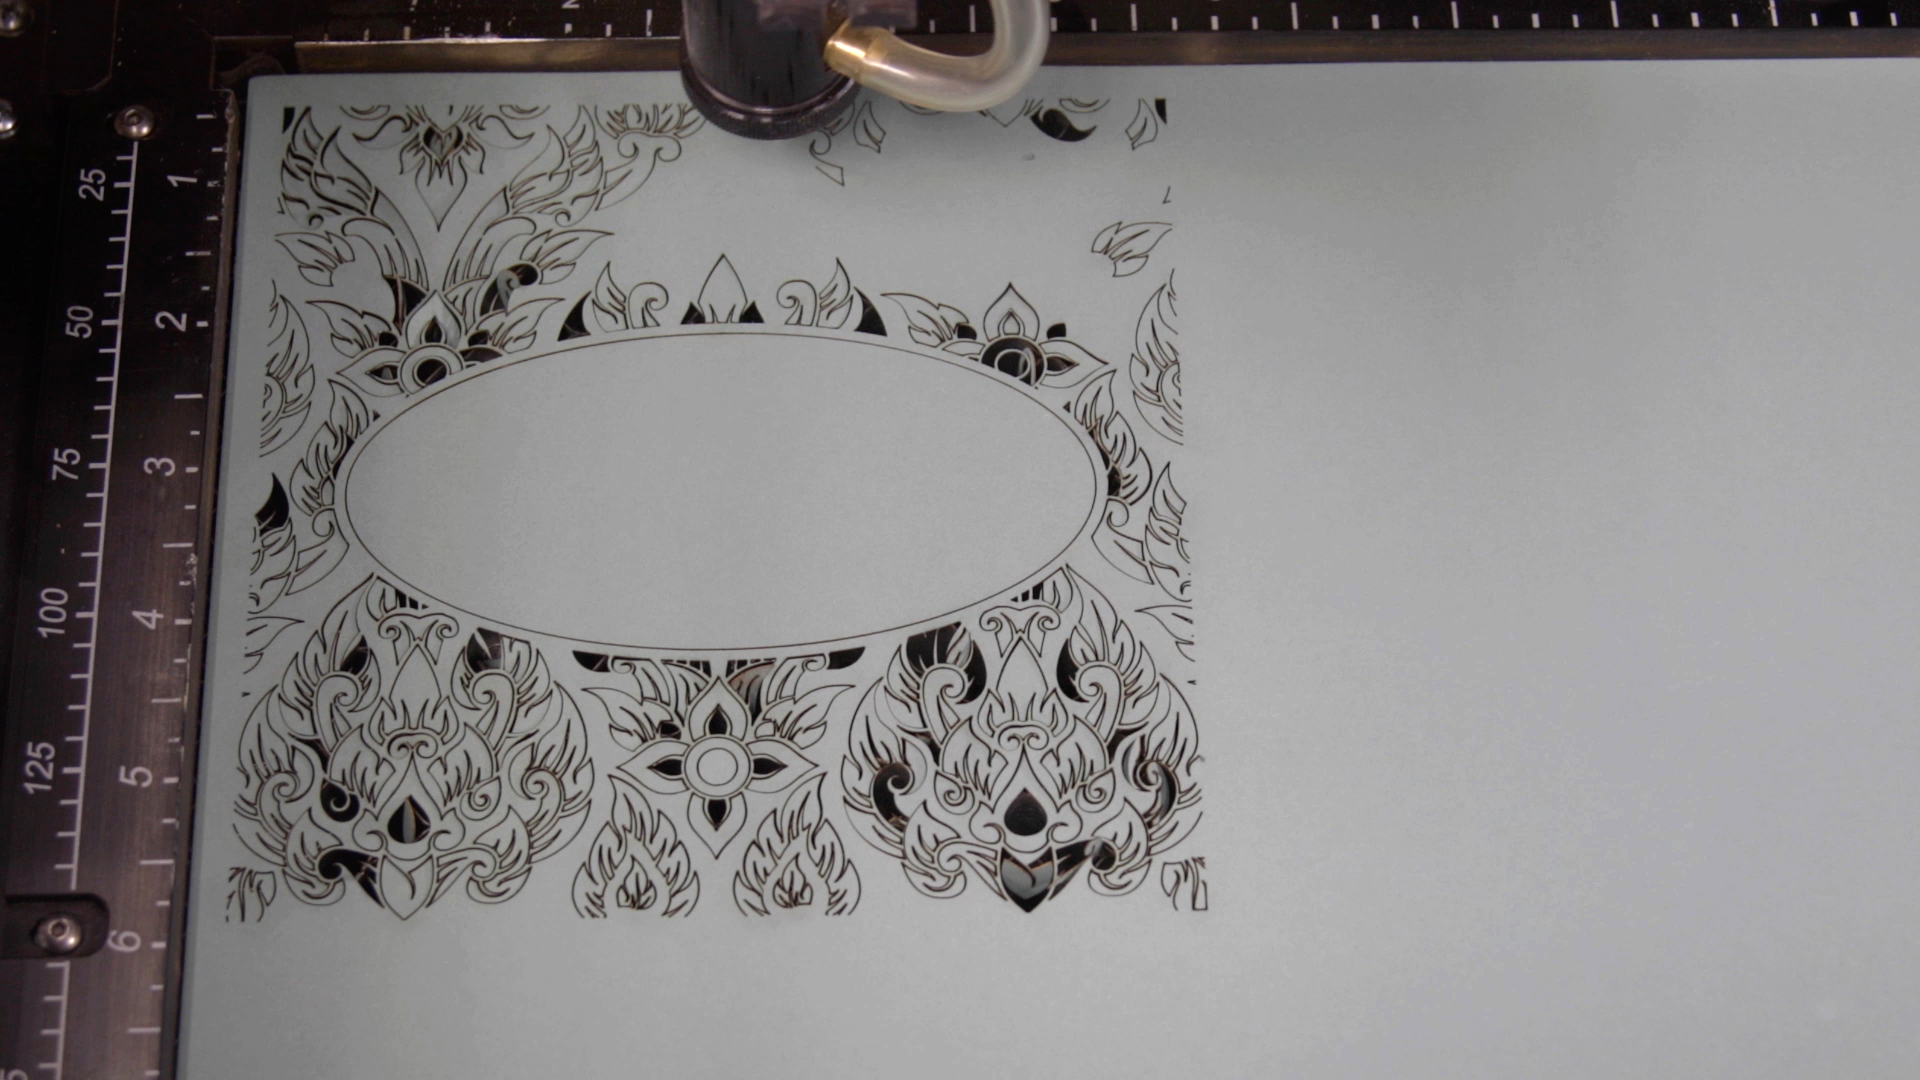
Lastly, we’ll cut out the top layer that has most of the cut design. Select that layer and print it to the dashboard selection only. Merge our two processes together and select your cardstock cutting settings. Then print the file to the laser.
Step 4: Assembly
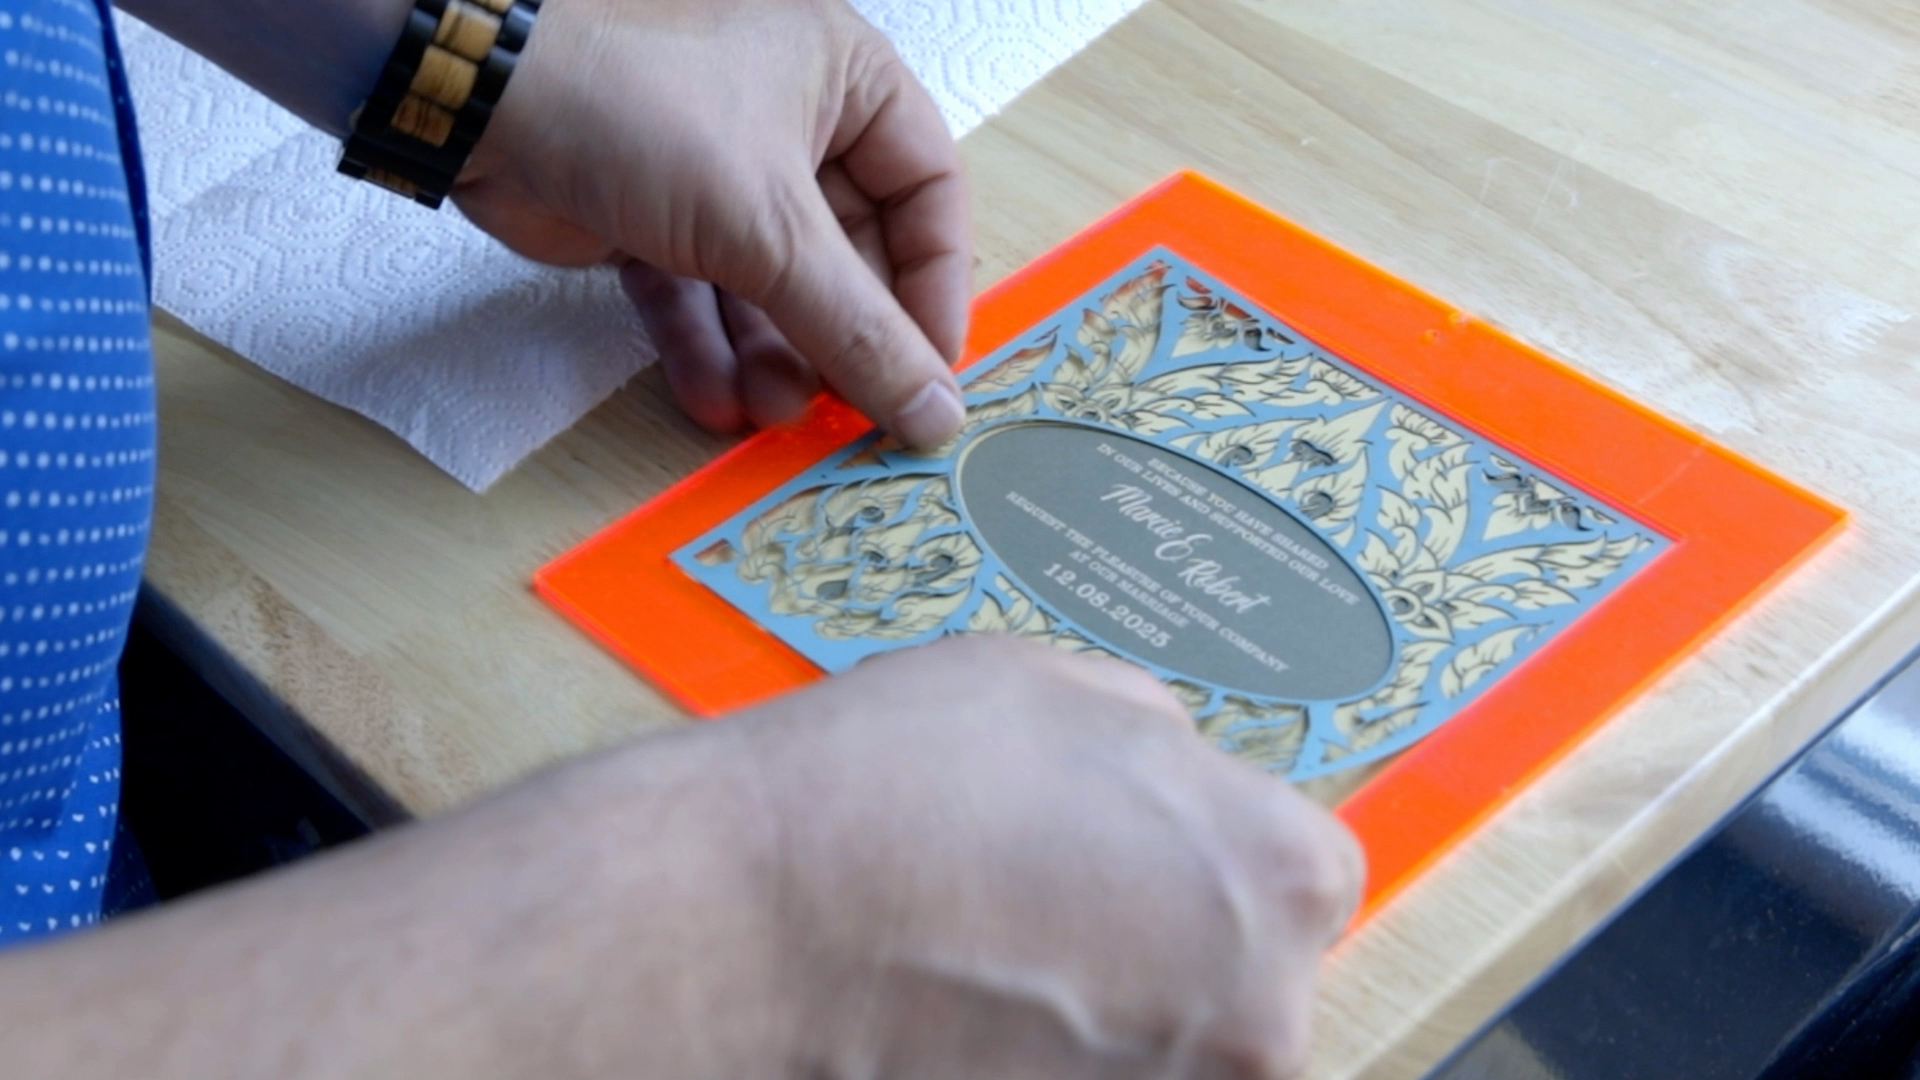
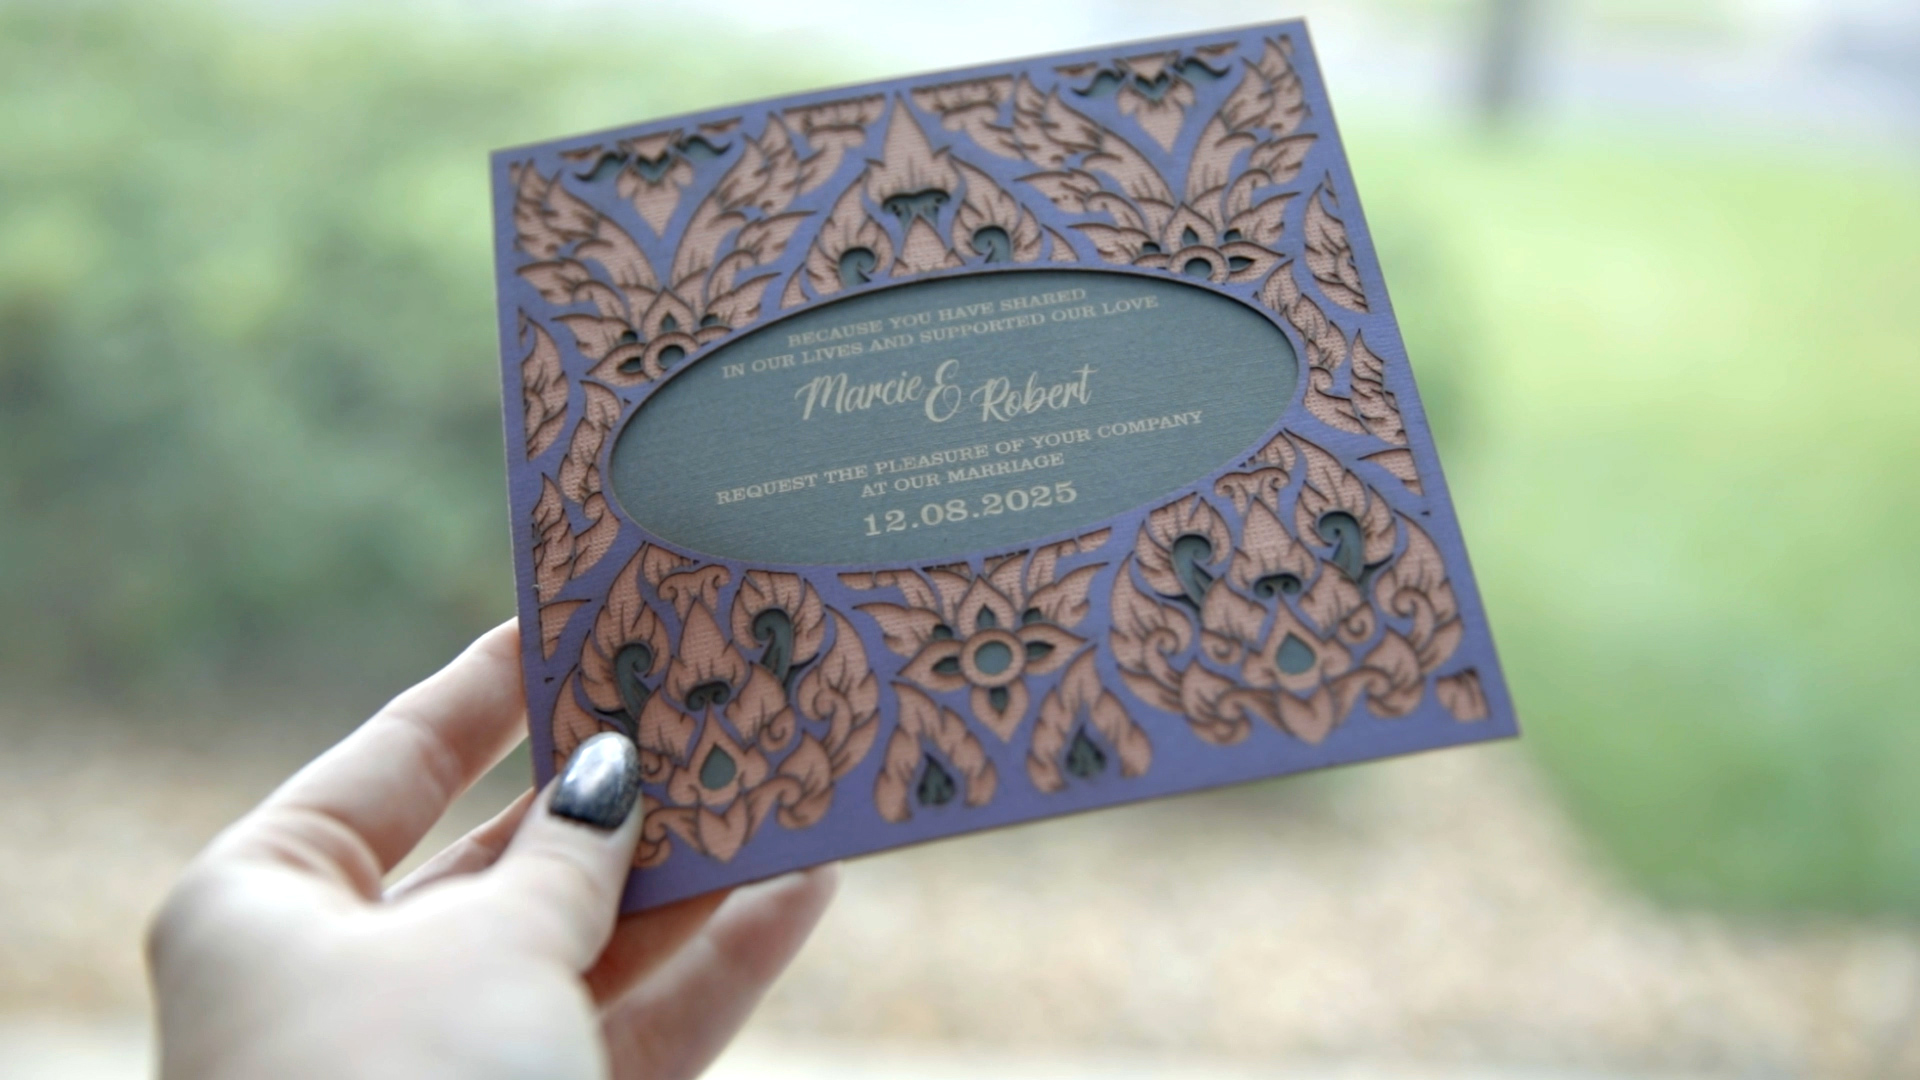
Now that we have our three layers, we’ll use a jig to attach the layers perfectly to one another. For our jig, we used a scrap piece of acrylic we’ve cut a hole in the same size as the invitation.
Place the bottom layer in the jig. Shake the glue can well, then spray the reverse side of our middle layer. Place it on top of the bottom layer. Repeat this with the top layer, spraying the reverse side of the paper then placing it in the jig. Press gently and our invitation is perfectly aligned. You can even engrave the back of the invitation with all of the wedding details!
Where can you sell custom laser cut wedding invitations?
Selling laser-cut wedding cake toppers can be done through various channels, both online and offline. Here are some options:
- Online marketplaces, such as Etsy, Amazon Handemade, or eBay.
- Specialized wedding platforms such as The Knot Marketplace or WeddingWire.
- Your own website.
- Social media channels.
- Craft fairs.
- Wedding shows.
- Local wedding boutiques.
