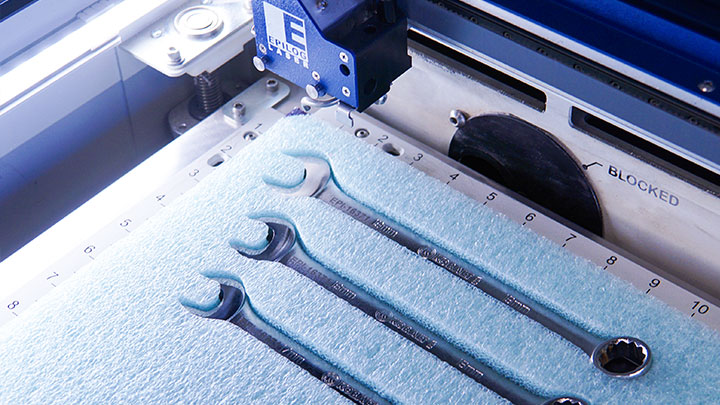
Laser Cut Foam Shadow Tool Organizers
Foam
Introduction
Cutting foam for organizing tools – often called “tool shadowing” – is fast becoming a very popular laser application. The laser easily cuts through a variety of foam thicknesses allowing you to precisely cut inserts that fit your specific tools.
Read on to learn how we shadowed this wrench set for easy storage and organization in tool drawers or boxes. You can then apply the techniques we cover to create a custom tool organizer!
Project Settings
-
Polyethylene Foam Sheets – 1.7LB Blue
-
(We purchased ours from www.amconfoam.com)
Prepare the Artwork
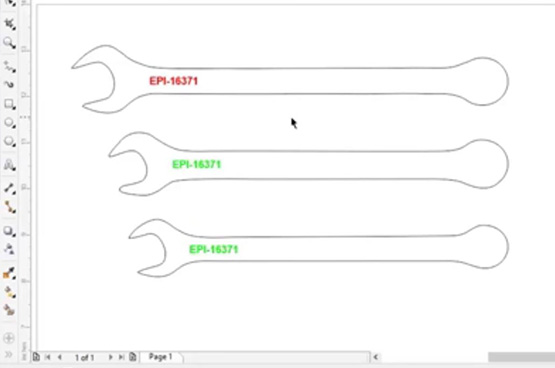
Download the file or open a new document to create a template to match your tools. Simply scan your objects and utililizing either the Bezier Tool (CorelDRAW) or the Pen Tool (Illustrator), place nodes and adjust the path around the image to define the outline of the tool. Adjust print settings and print the job to the laser.
Send to the Laser
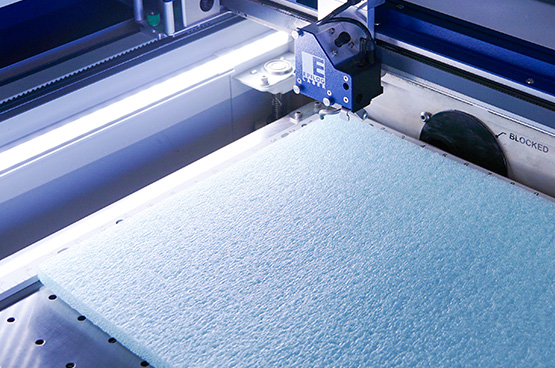
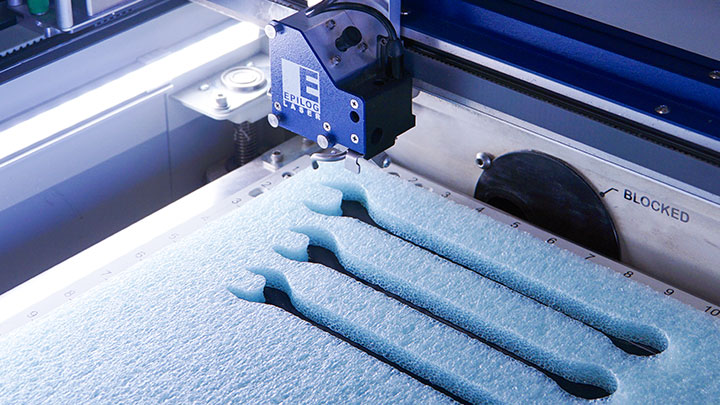
Place the foam sheet in the laser, set the focus and press go!
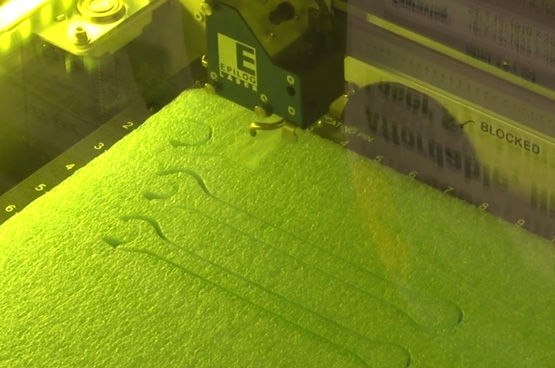
Watch as the laser quickly and efficiently cuts the shape of tools for a perfectly secure fit.
By utilizing the vector template and placing your tools in their designated spots, you can also use the foam as a jig to perfectly mark or serialize your tools! Be sure to use Cermark if marking with a CO2 laser or use a fiber laser to mark bare metals.
