While Epilog systems do not currently support direct “Plug-and-Play” printing from LightBurn, you can easily use LightBurn as your primary design software by routing your projects through the Epilog Laser Dashboard.
Following this specific setup ensures your dimensions, positioning, and layers stay perfectly intact from design to finished product.
Since we aren’t connecting directly via USB or Ethernet for the design phase, we need to create a “No Machine” device to act as a template.
This is the most critical technical step to ensure your orientation matches the laser bed.
Why this works: Reversing the dimensions in the PostScript settings while keeping the main driver in Landscape is the “secret sauce” that allows LightBurn’s coordinates to map 1:1 with the Epilog Dashboard.
To ensure your LightBurn layers come over as separate processes (cutting vs. engraving), you need to adjust your Job Manager settings.
To ensure every design is perfectly aligned with the 0,0 home position, create a “Tool Frame.”
Pro-Tip: Save as a Template
Save this file and use this as your starting point for every new project to save yourself from repeating the setup steps.
When your design is ready, follow these steps to send it to the laser:
The Epilog Dashboard will automatically open with your graphics in the exact position you placed them in LightBurn.
| LightBurn Action | Epilog Dashboard Result |
|---|---|
Orange (T1) Layer | Ignored (No process created) |
Black Fill | Engraving Process |
Engraving Process | Vector Cutting Process |
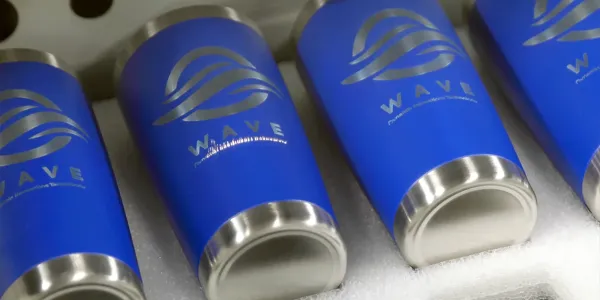
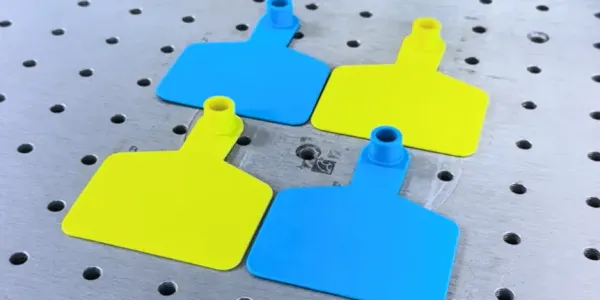
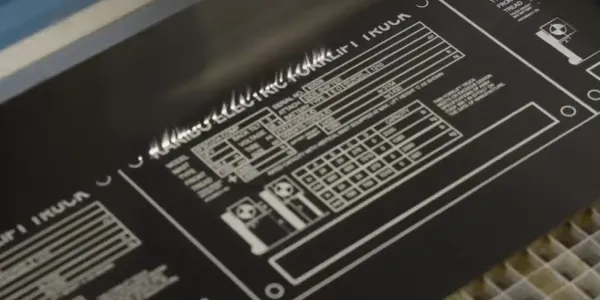
Epilog Laser can support a variety of design packages such as CorelDraw, Adobe Illustrator, AutoCAD, LightBurn, etc. LightBurn’s design suite was purpose built for laser systems. With this workaround you get the best of both worlds: LightBurn’s design suite and Epilog’s industry-leading hardware performance.
Yes. Epilog is actively working with LightBurn. We don’t have a specific announcement regarding native LightBurn integration at this time, but it is coming…