Laser Engraving Leather Debossing Stamps with MDF and Acrylic
Welcome back to the Epilog studio! In this project overview we look at laser engraving some MDF and acrylic to make stamps for debossing leather. Watch the video above or read about the project below to see how we took some stock MDF and acrylic and used them to stamp leather patches.
With an Epilog Laser machine, you can achieve some very distinct, crisp engravings on leather (check out our Leather page for more info), but this stamping technique is a great alternative that will give you a different look. Pressing leather with a stamp largely maintains the surface appearance and texture of the material, and is a quick, viable alternative to hand-carving, CNC-routing, or 3D-printing stamps.
Preparing our Artwork
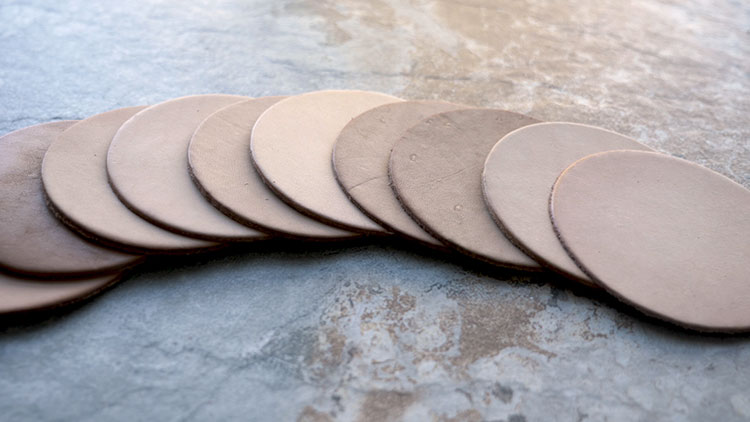
We started with a handful of pre-cut leather patches and we prepared some artwork beforehand. This stage will be familiar if you’ve prepped graphics for a laser before. Our graphics are black and white, and the black areas indicate to the laser where it should fire. We’ll be engraving away the material around our logos and text, so that the graphics remain and form the ‘raised’ portion of the stamp.
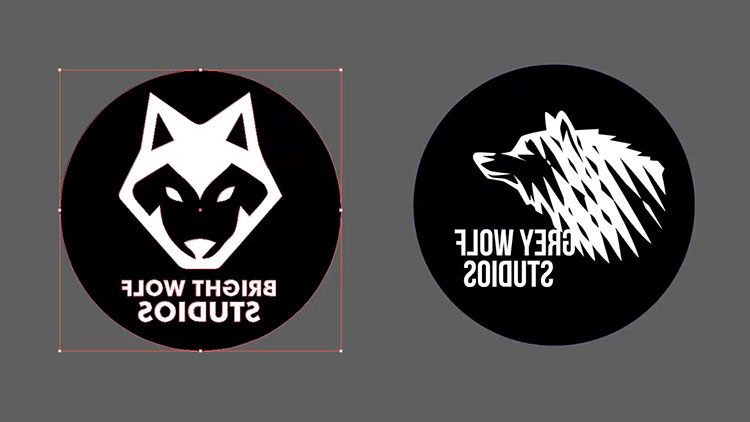
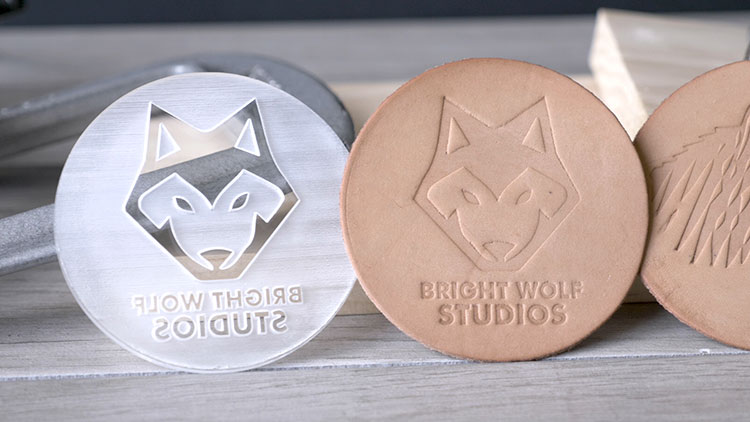
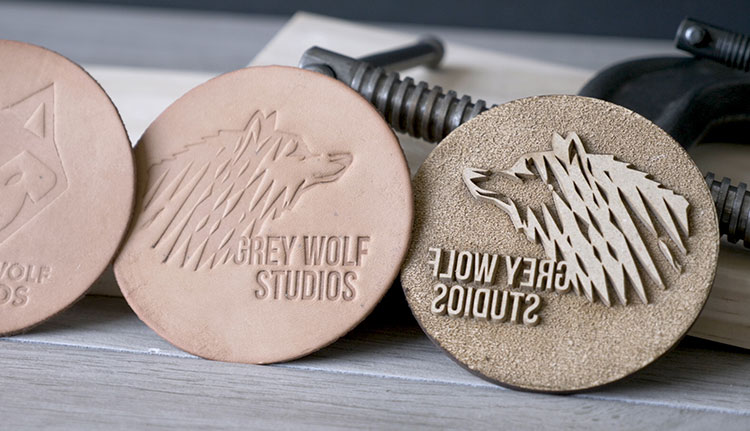
The main thing to keep in mind regarding graphics for this project is that we need to make sure we mirror our artwork. When a stamp is pressed into a material, the resulting impression on that material will be a reverse image of the stamp. So, if we want the image on the leather patches to read correctly, we need the graphics on the stamp to be mirrored.
For convenience, we designed our stamps to be the same size and shape as our leather patches. This is not necessary, but it will help us align our stamps later on. Since the edges of the stamps will line up with the edges of the patches, we’ll be able to match them up and guarantee our graphics’ placement with ease. The nice thing about using a laser is that we can cut the stamps to whatever size or shape we need, so we could create custom, easy-to-use stamps for any number of products.
Printing our Stamps
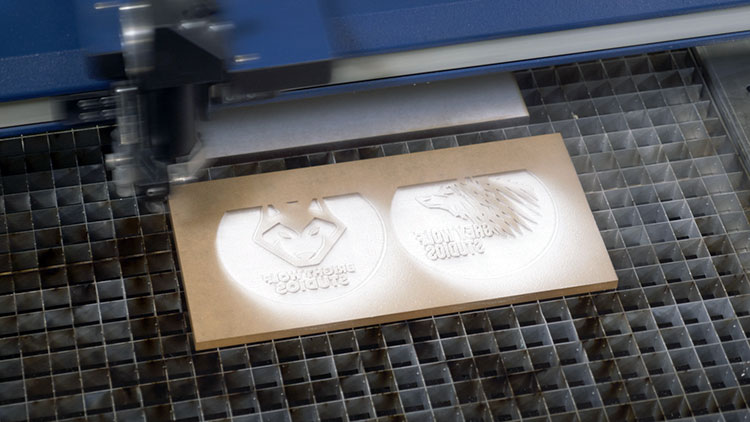
We used our latest machine for this project, a 120-watt Fusion Pro 48. This machine comes with our built-in IRIS™ camera system, which makes it very easy for us to simply click-and-drag and copy-and-paste the artwork onto our material. This is a very convenient feature of the Fusion Pro, but this project could certainly be achieved with any of our machines.
Engraving Settings
Machine: 120-Watt CO2 Fusion Pro
(Be sure to check the recommended materials settings in your machine’s manual.)
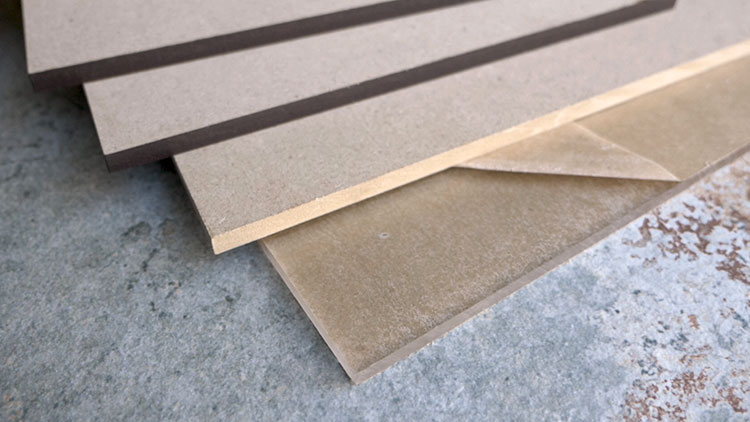
We masked our MDF and acrylic sheets to protect the surfaces of the materials. We recommend using pre-masked materials or applying your own masking to the surface area where you’ll be engraving and cutting the stamps. This is not required, but it will make the process much easier down the line by reducing the amount of cleaning that needs to be done post-engraving. It will also help protect the surface of the stamp from scratches during the cleaning process, ensuring the surface remains perfectly smooth so no blemishes are transferred from the stamp to the leather patches during debossing.
Achieving Extra Depth
We want to ensure the raised graphics of our stamps are deep, so that when we press them into the leather, the backs of the stamps (the areas where we’ve engraved away material) don’t also press into the leather and leave an impression. To achieve this depth, we ran our engraving job a second time. The depth you’ll end up with depends greatly upon the wattage of your laser and the type of material you are using for the stamps. For our 120-watt system, two passes did the job nicely. If you’re using a lower wattage laser, you may want to try a third pass.
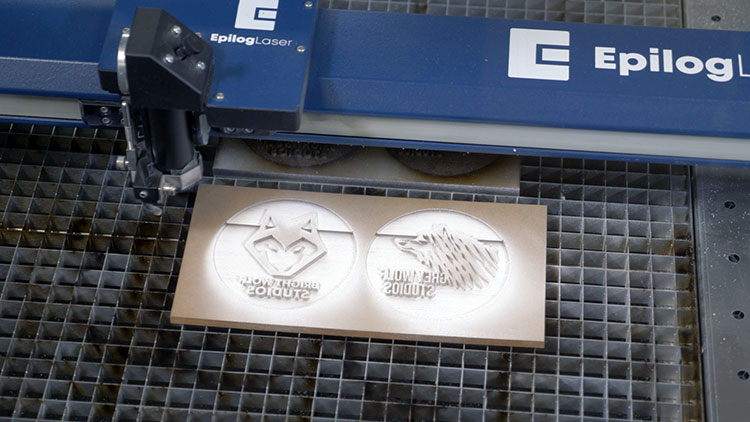
Another factor to consider is the material you are debossing. If you have a thicker material and/or you are looking to get a deeper impression, you’ll want to make sure the raised graphics are thick enough to accommodate your needs. However, if you have a thin material requiring a thinner impression, the thickness of your stamp is less of a concern.
When running multiple passes, depending on the focal length of your machine’s lens, we recommend slightly adjusting the focus of your laser before running an additional pass. Since you’ve engraved away some thickness, bringing the table up just a bit will make sure your laser remains focused on the surface being engraved, providing the best quality result. The amount you need to adjust will vary based on how much material was removed in the previous pass(es), which depends on your wattage and material, but in any case, the adjustment will likely be small.
Cutting and Cleaning
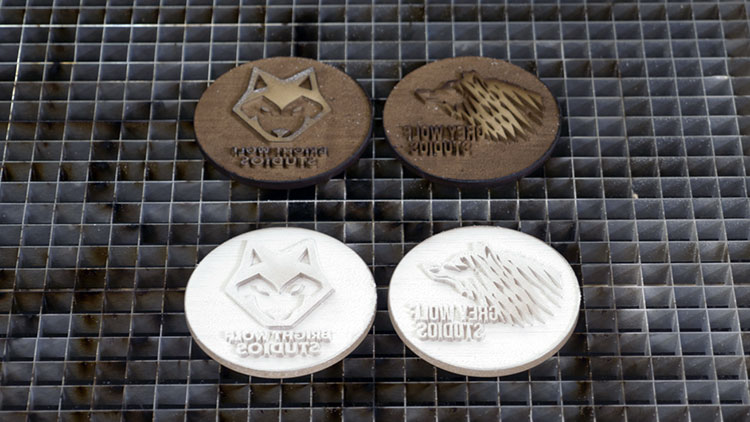
After the engraving stage is complete, we’ll cut out our stamps.
Cutting Settings
Machine: 120-Watt CO2 Fusion Pro
(Be sure to check the recommended materials settings in your machine’s manual.)
Since we’ve engraved away a lot of material to achieve our desired depth, our stamps are quite dirty. We’ll take these back to our sink and scrub away that residue.
We recommend limiting your MDF stamp’s exposure to water while cleaning. MDF is absorbent and significant amounts of water can cause it to break down. Our stamp was exposed to water only briefly and it has held up very well, but your mileage may vary. To be safe, you can opt to clean your MDF stamp with a dry or damp brush.
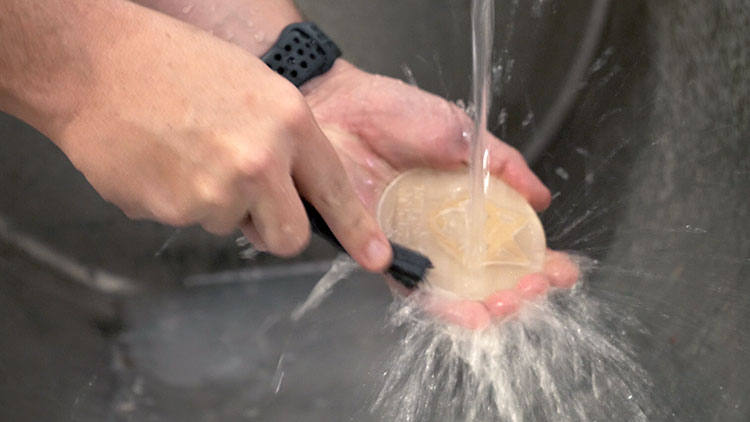
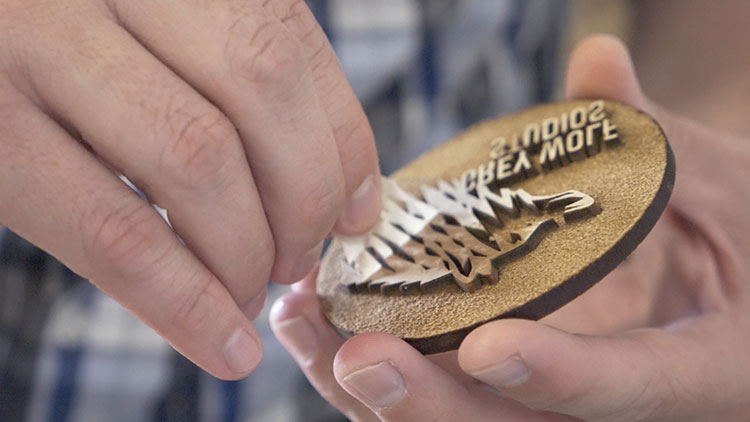
Once we’re done, we’ll also peel off our protective masking.
Soaking our Patches
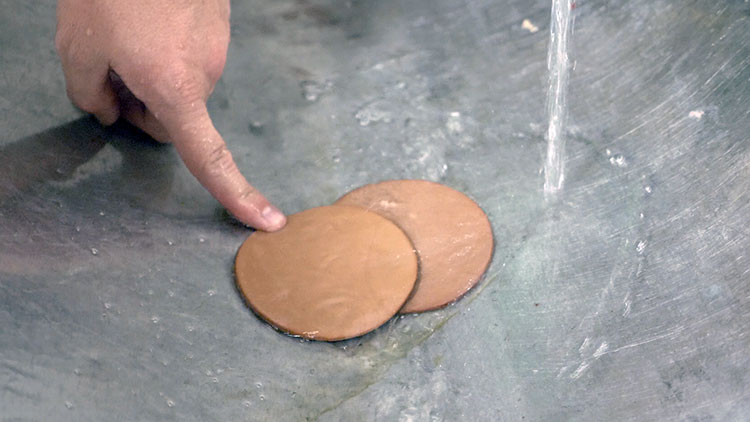
The last bit of prep involves soaking our leather patches. This may not be necessary for every material, but with these patches we found soaking them in water prior to debossing made them much more pliable and more receptive to the stamping process. This didn’t take long though; we soaked our patches for around a minute.
Debossing
Now it’s time to put our stamps to the test.
In order to get a nice, deep impression, we’ll need to press the stamp into the leather very firmly. We’ll use several clamps to accomplish this, but a vice would also work very well. We’ll use a couple of wood blocks to protect our materials from the clamps and to evenly disperse the pressure.
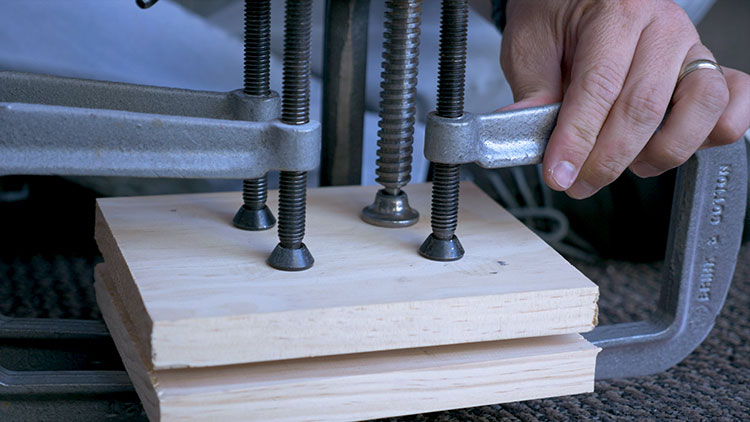
We’ll apply this pressure for a brief but sustained period of time (several minutes or so should do the trick), then we’ll release the clamps and see our results.
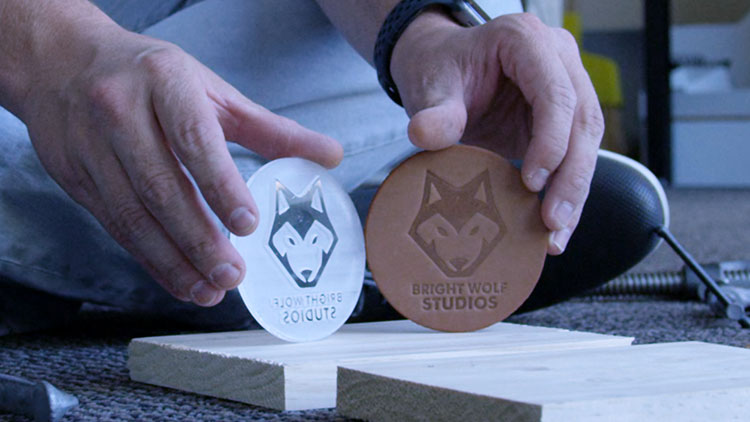
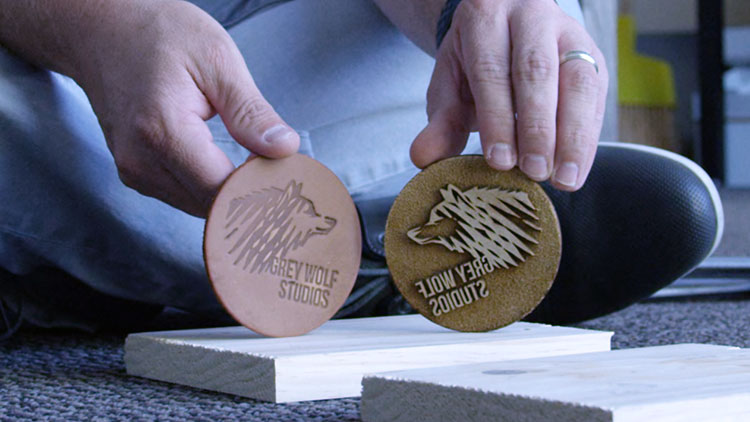
As you can see, both the MDF and the acrylic provided excellent results with these patches. Both materials gave us a great quality mark, so feel free to experiment with the materials you use. Acrylic is a more expensive option, but using clear acrylic meant we could see through the graphics on our stamp, making it even easier to align our images with confidence. You could try using wood or Delrin, or even metal if you’re using a fiber laser.
We applied some leather conditioner to our debossed patches to help finish them off and provide a bit more contrast. If you’re working with raw leather, you could also consider using some leather dye. Really, the sky’s the limit; let your creativity shine.
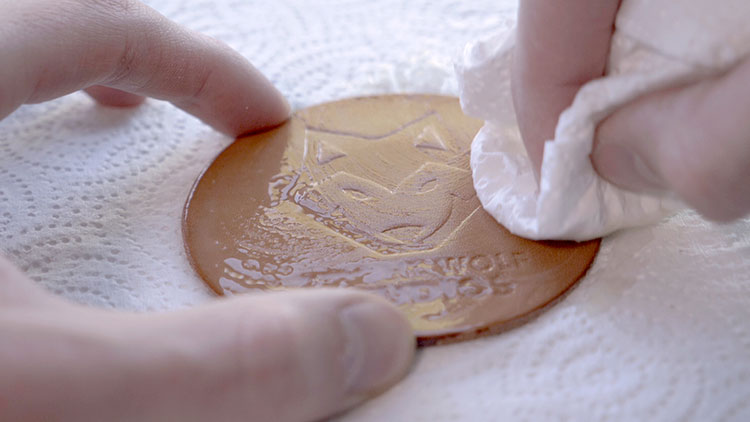
Once we’re done, we have some very distinctive debossed patches. You may not realize they came from a laser at first glance, but they did! If you have a laser machine at your disposal, or you’re looking to get one, hopefully this project has shown you another way in which lasers can be very versatile pieces of equipment. Until the next project, happy lasering!
Other News
Choosing the Best Laser Engraver for Wood Engraving Projects
Education: How to Pick the Best Laser Machine for Schools
Settings for Success: Expert Tips for Laser Engraving Popular Materials
Laser Engraving Tips and Tricks for Glassware: Master the Art of Etching Glass
How CO2 Laser Machines Can Increase Profits for Your Business
Laser Engraving Photos: Tips for Beginners
Have a story you want to see featured?

Press Contact for Epilog Laser:
Marketing Communications Specialist
About Epilog Laser
Since 1988, Epilog Laser has been designing and manufacturing flying-optics-based CO2 and fiber laser systems that can engrave and cut wood, acrylic, plastic, fabric, rubber and many other materials. Epilog specializes in developing laser systems that create unprecedented marking and cutting quality on all types of products. The company produces versatile and reliable systems that are affordable and easy to use.


