
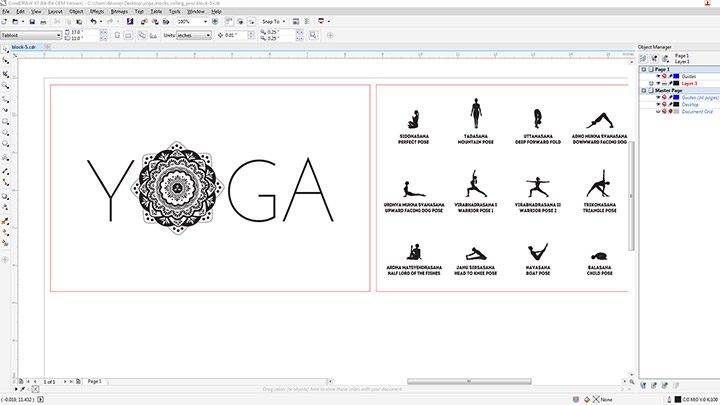
Prepare the Artwork
To Create the Yoga Block Outline: Scan the yoga block and bring it into your graphic design software. Create an outline around the yoga block for the laser to follow using your software’s pen tool. With the lid of your laser open and Red Dot Pointer turned on, send the vector outline to the laser and adjust your yoga block’s positioning on the engraving table.
Send to the Laser
This will give you a visual indicator of where the design will engrave – adjust the template accordingly for each yoga block. When you’re happy with the placement, send the raster job over.
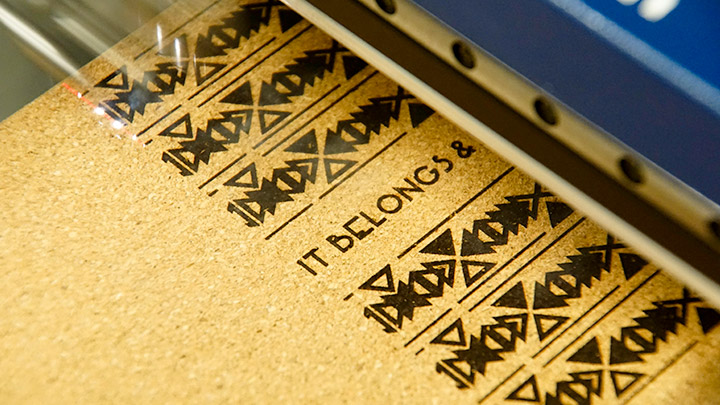
Once you have modified the artwork to your liking, it’s time to laser. Insert the yoga block into the system and move to the upper left corner of the table. Next, run the vector outline (remember to have the red dot pointer on and leave the lid open) to ensure your placement is where you want. Once you’re satisfied, send the job to the laser and press go!
What are Yoga Blocks used for?
- Flexibility
- Support
- Balance
- Holding Positions Longer
- More Comfortable Positions


