Laser Engraving PVC-Free Heat Transfer Material
Fabric
Introduction
Due to their incredible precision and ability to kiss cut layered materials, lasers have long been popular choices for cutting twill appliqués and pvc-free heat transfer products for apparel. But did you know that you can actually engrave intricate designs and photos on pvc-free heat transfer material and eliminate the need for weeding all together? In addition to eliminating the weeding step, engraving heat transfer material is also a faster, cleaner and less expensive option than silk screen printing.
In this sample club project we’ll walk you through the steps of laser engraving Siser Easyweed (a pvc-free heat transfer material) and applying it to a t-shirt. And don’t forget to check out the video above to see the laser and heat press in action!
Project Settings
-
this material is CPSIA Certified and PVC-free
-
we selected the Seklema Multi-Mat from Johnson Plastics Plus.
-
Heat Press
Prepare the Artwork
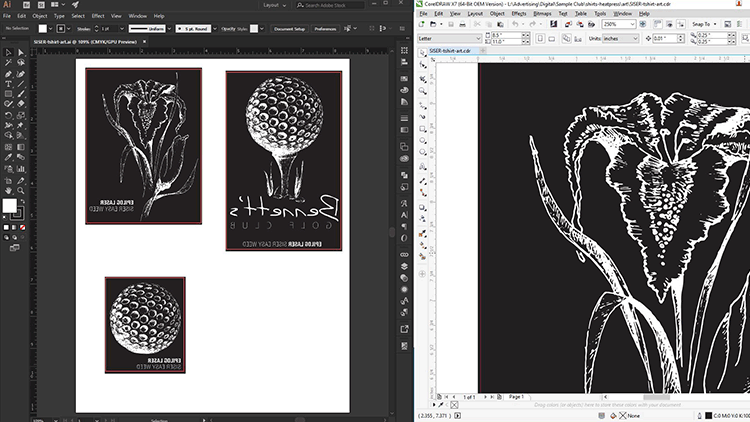
The goal in this application is to engrave away the transfer material to reveal the carrier/backing. The area that is NOT engraved is what will be heat pressed to the garment. For this reason, you’ll want to:
- Invert the artwork you are working with
- Make sure to mirror any text as well so it appears correctly when heat pressed
Send to the Laser
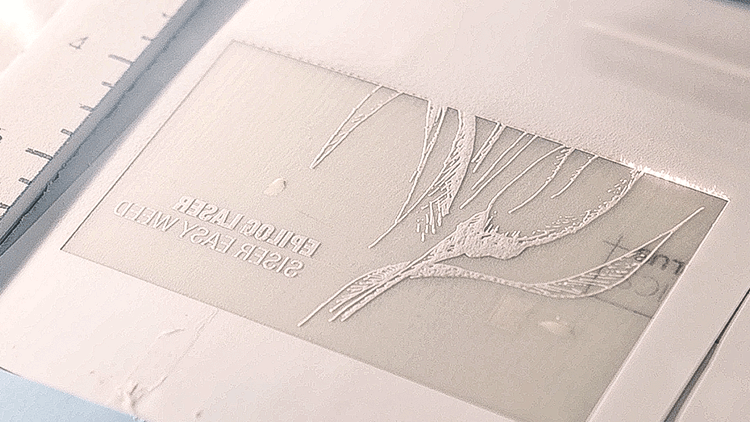
Apply the heat transfer material shiny-side-down onto the muti-mat. Ensure the material lays flat and there are no bubbles or ridges. Insert the multi-mat into the laser. Send the job to the laser with the correct parameters for your machine’s wattage. Generally speaking, for this type of material you’ll want to start at a high speed and low to medium power. For a 120-watt system, we engraved at 100% speed and 39% power. It may take some experimentation with your power settings to achieve the result you’re looking for.
Other engraving parameters:
- Use your air assist feature and engrave from the bottom up. This will reduce any dust/debris from settling into unwanted areas.
- Select 400 as your engraving DPI
- Use the Stucki dithering pattern in the Epilog print driver.
Heat pressing
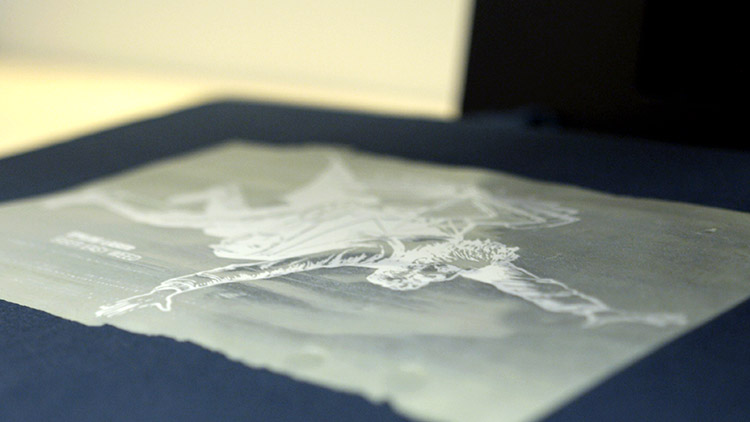
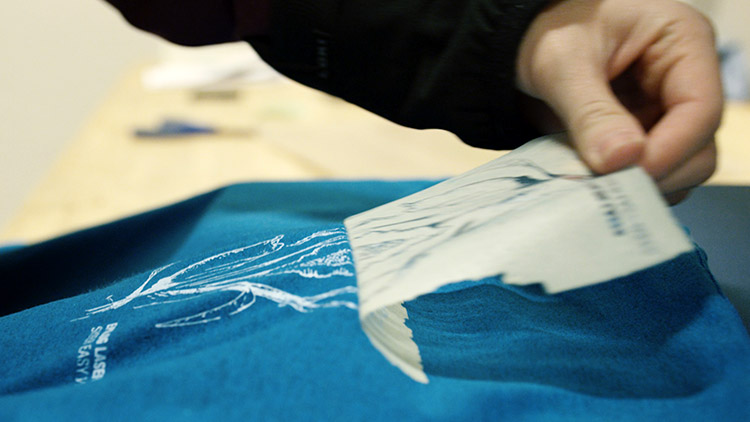
Remove the finished piece from the laser and prepare to heat press it. All Siser materials will have instructions on the temperature and length of press. Most require a temperature of around 305°F/150°C and medium pressure in the heat press for 10-15 seconds.
Enjoy
Once the heat pressing process is finished, your laser engraved Siser Easy Weed shirts are complete!
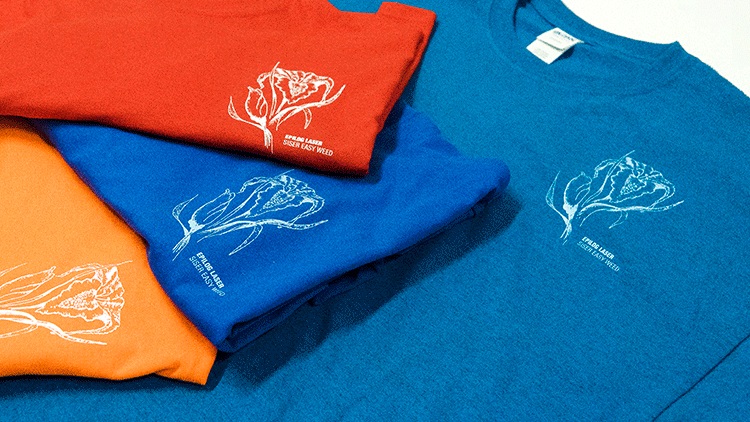
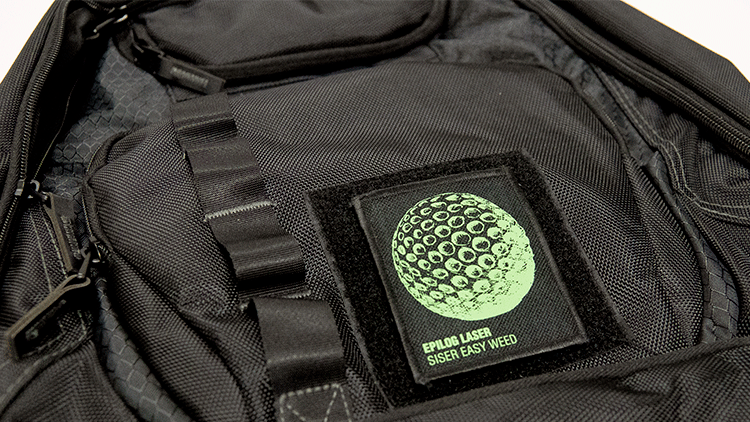
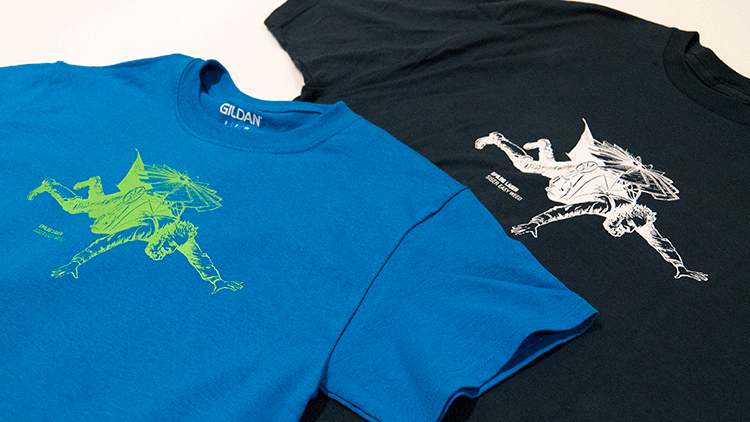
Where can you sell garments with laser engraved heat transfer designs?
- School clubs, teams or other organizations.
- Corporate team building exercises/retreats.
- Recreational sports leagues.

