Laser Engraving a Halloween Doormat
Fabric
Introduction
Project Settings
-
At least 24 x 18 inches (610 x 457 mm)
Material Information
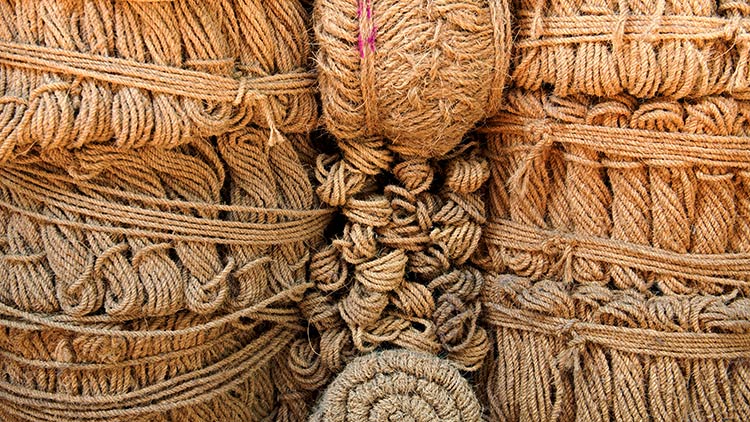
Harvested from the coconut’s outer husk, coir is a naturally renewable fiber used in various products such as grain and produce bags, brushes, rope, and doormats.


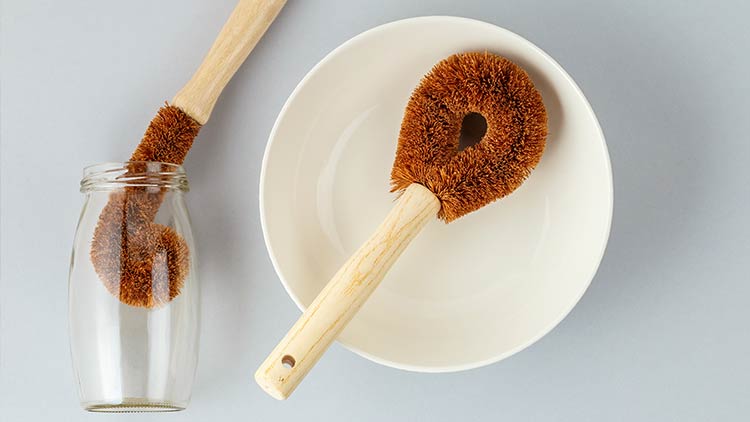
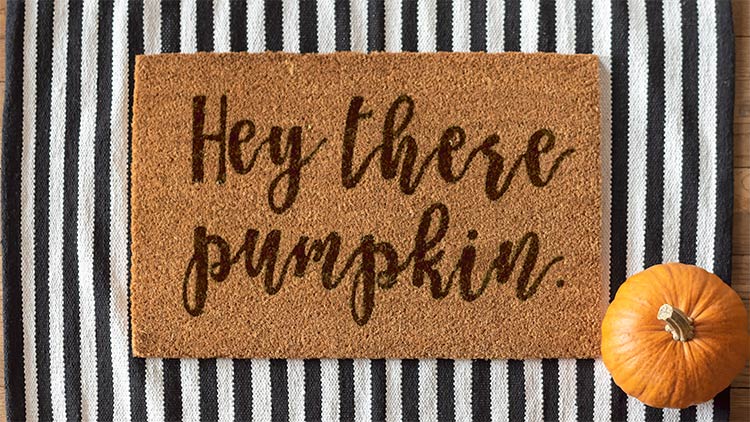
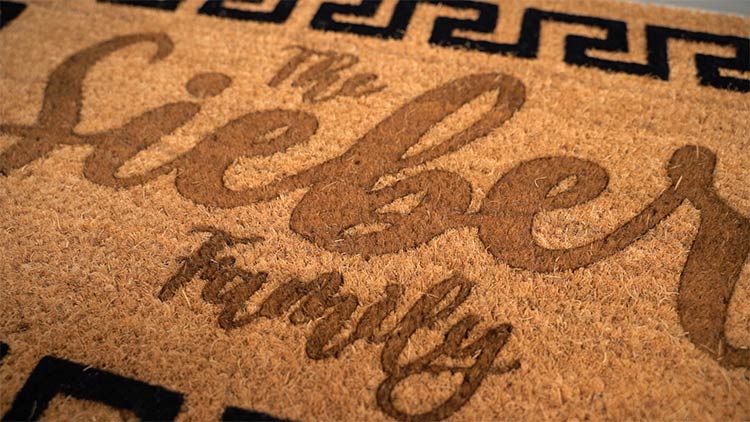
From seasonally themed, to abstract patterns, and family names, a coir doormat can be personalized in any number of ways and help you create an additional revenue stream for your personalization business.
Sourcing Free Fonts
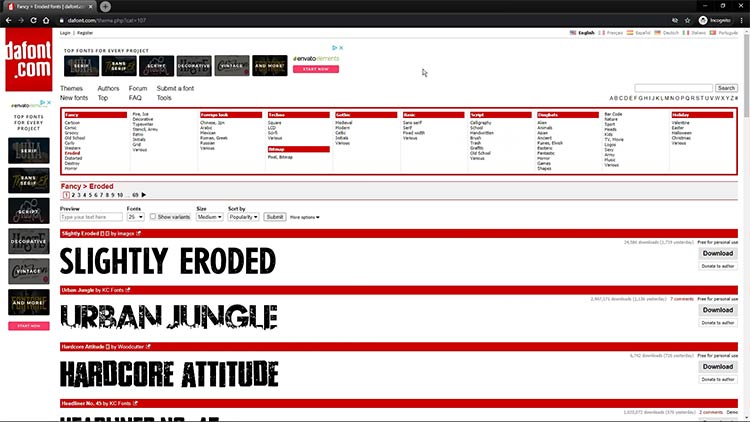
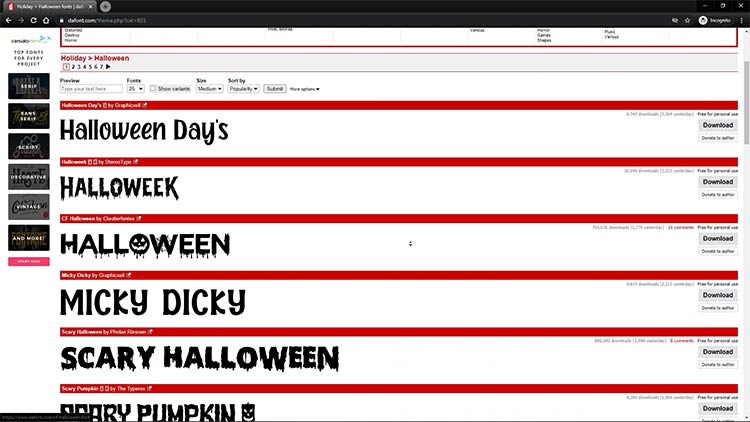
With our machine booting up, I’d like to tell you a little more about the Halloween styled typeface we’re using from Dafont.com. Dafont is one of the most popular free font websites with thousands of fonts, categorized into hundreds of themes. The available theme categories make it super easy to find a font perfect for the project you have in mind. You can find a link to the font we used in the video description or page below.
Getting Started
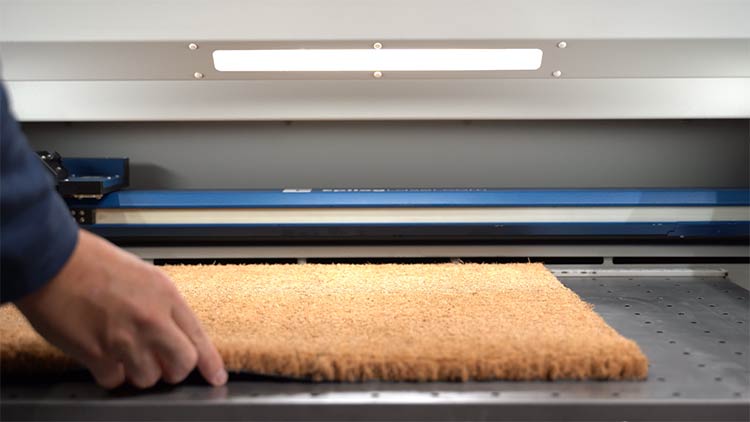
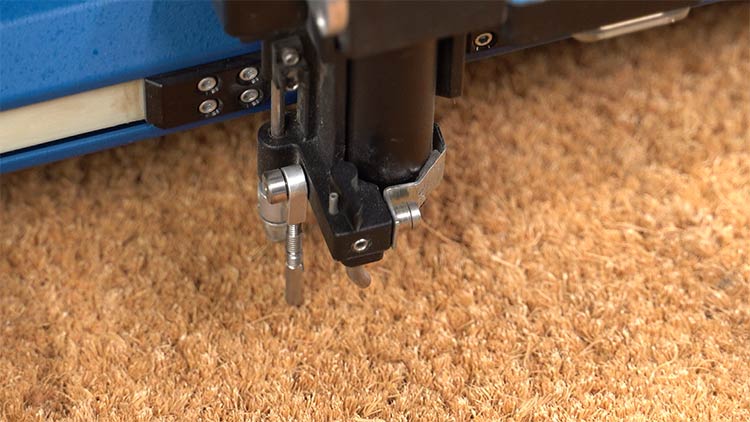
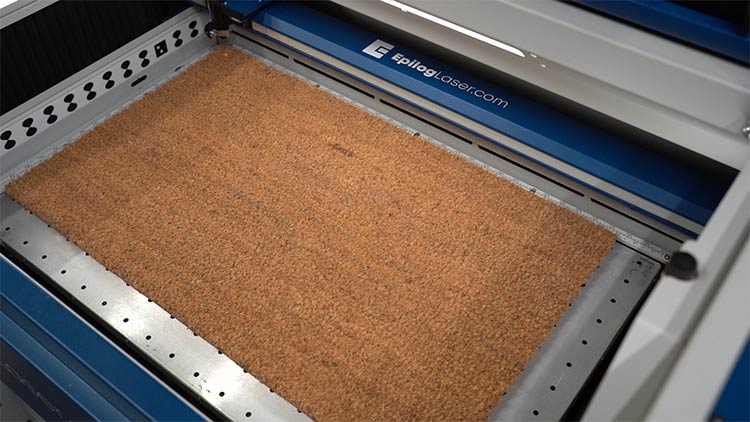
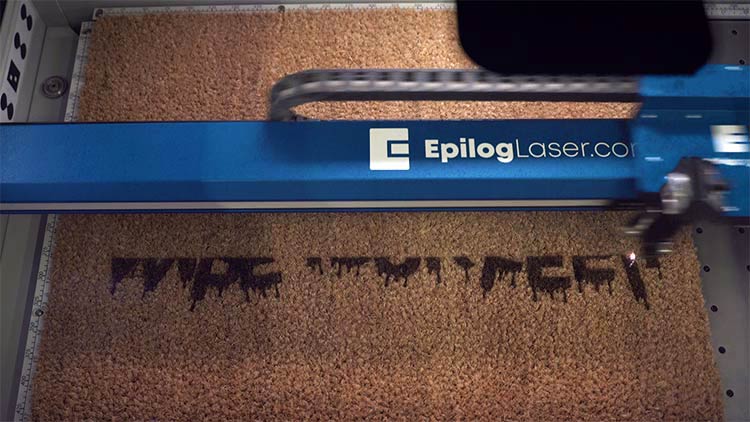
First, let’s load our 24” x 18” (610 x 457mm) coir doormat into our Fusion Pro 32 80-watt laser. Once our material is seated properly into our machine, we’ll use the manual focus feature to bring the material into focus.
Prepare the Artwork
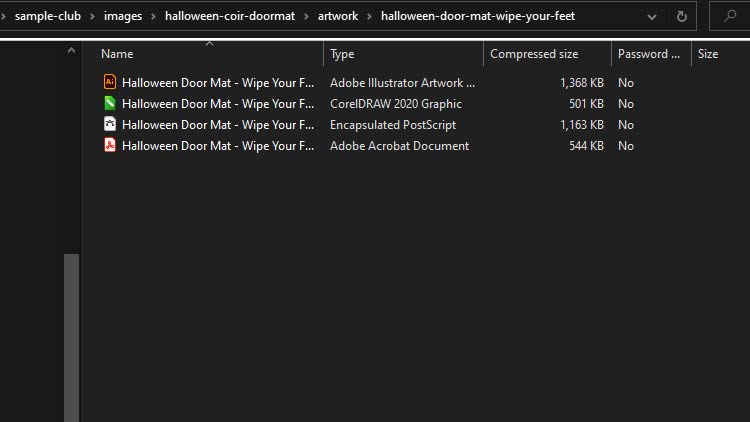
We have this project file available for you in multiple formats (CDR, AI, PDF, and EPS), so be sure to check out the download folder to find the one(s) that you prefer.
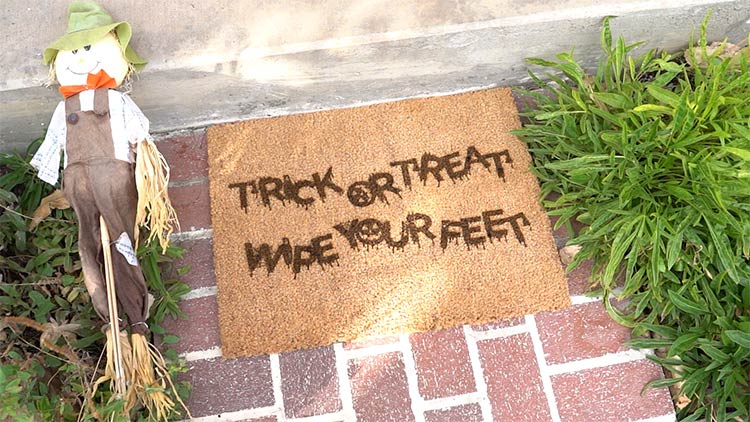
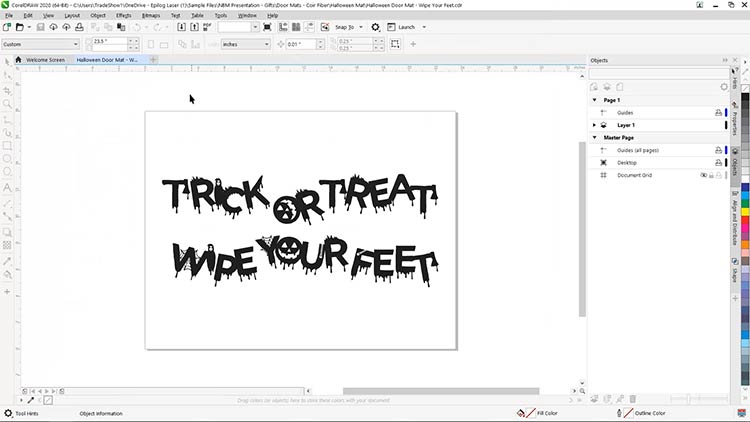
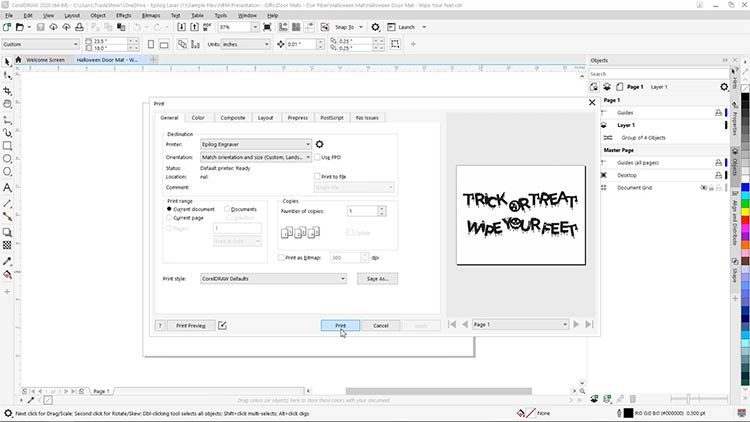
In CorelDRAW, we’ve set up our page width and height to match that of the 24″ x 18″ (610 x 457mm) coir doormat and typed out our Halloween themed phrase, Trick or Treat, Wipe Your Feet. We then applied the CF Halloween font from Dafont.com to the text.
Next, we’ll print our file to the laser. With the Epilog Engraver selected as our printer, we’ll then Print the project file to the Epilog Dashboard, where we’ll apply our material parameters and additional settings.
Printing Process & Laser Parameters
At the Epilog Dashboard, the first thing you’ll notice is the Fusion Pro’s live IRIS Camera view of the coir mat piece within the work area. The IRIS Camera is included with all Fusion systems, and this unique to Epilog feature allows you to quickly drag & drop your graphics where you want them to appear on a product, and then print them in that exact location.
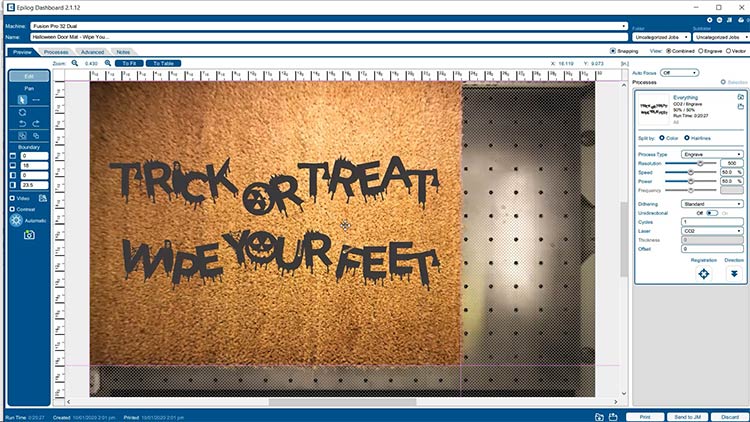
For this example, we’re utilizing the top left home position and ruler guides to align our CorelDRAW page and graphics to the coir mat.
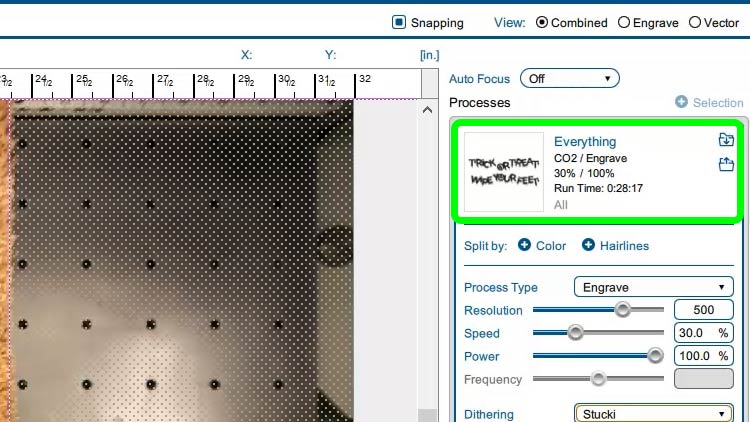
Within the Epilog Dashboard, we’ll set up the perameters for the coir material.
Note: Depending on your configuration and wattage of Epilog Laser system, we suggest running a few test engravings to dial in the settings for your specific laser machine.
Engraving Settings (Coir Doormat)
Machine: 80-Watt CO2 Fusion Pro
(We recommend the Wood: Deep Engraving settings preloaded into the Epilog Dashboard and listed in your machine’s manual.)
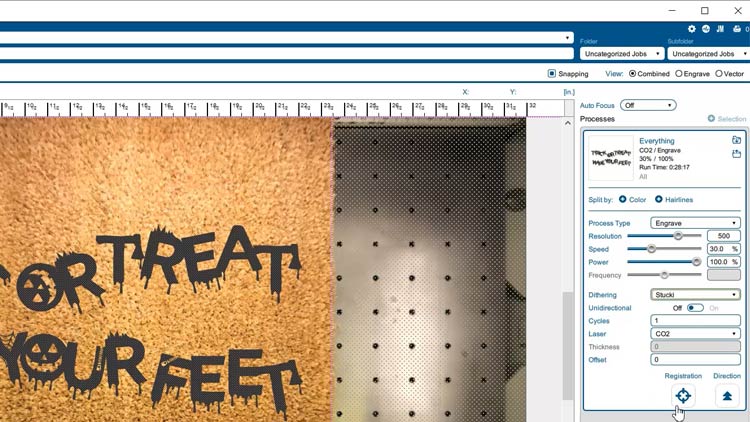
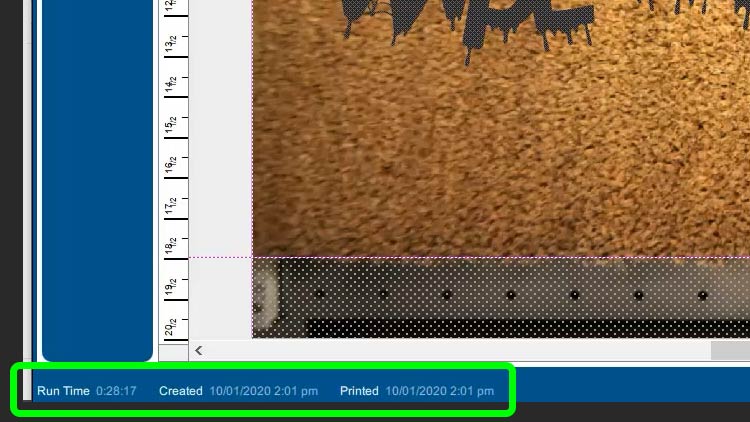
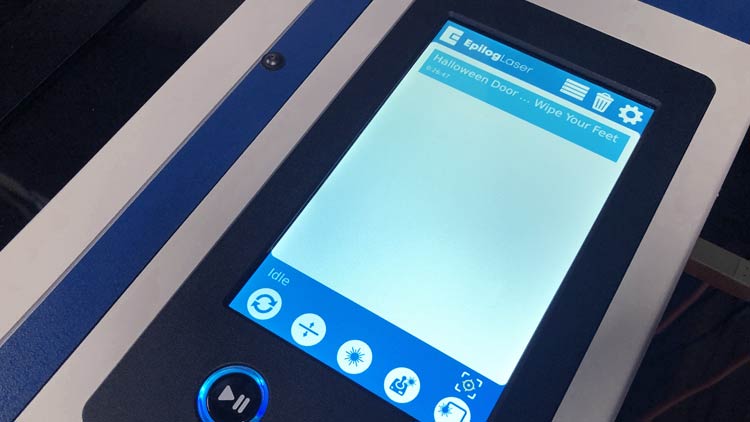
Once we’ve configured the material parameters and Fusion laser settings, each Processes Run Time is listed in the Processes panel, and the total project Run Time is can be found in the lower-left corner of the Epilog Dashboard and on the Control Panel when printed to the laser. The project Run Time is an invaluable tool to efficiently managing a lasers workflow and quickly creating projects quotes for clients within a business built on a “hourly cost” pricing methodology.
At the Laser Cutter
With parameters applied and graphics printed to our laser, all that’s left to do is press the Go button at the laser to engrave our coir doormat project.
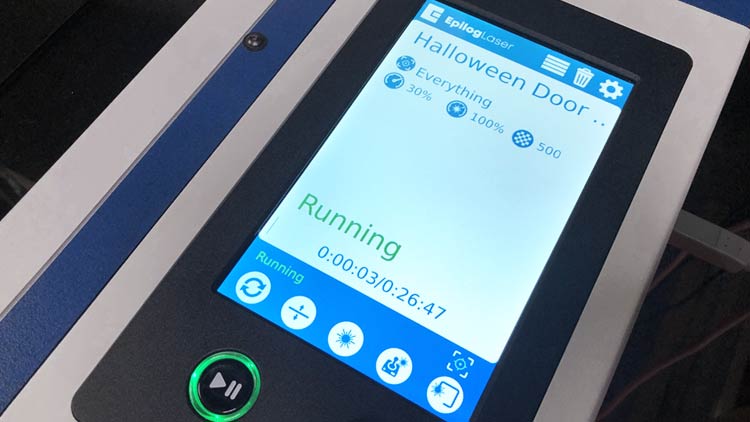
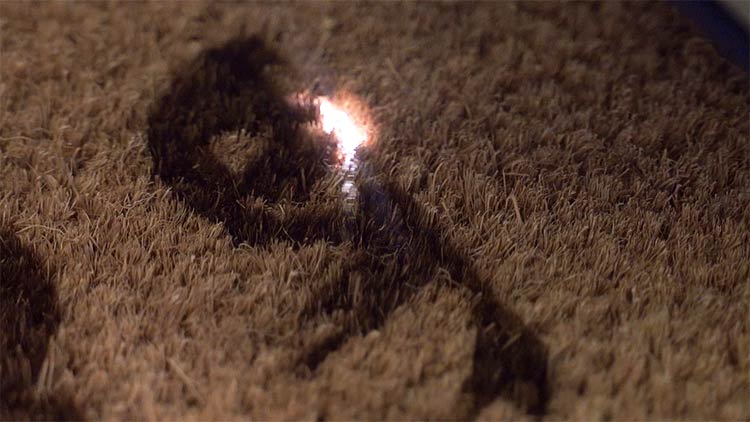
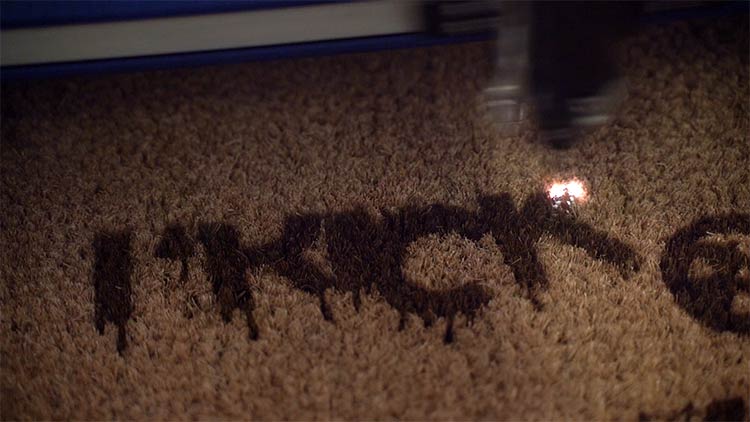
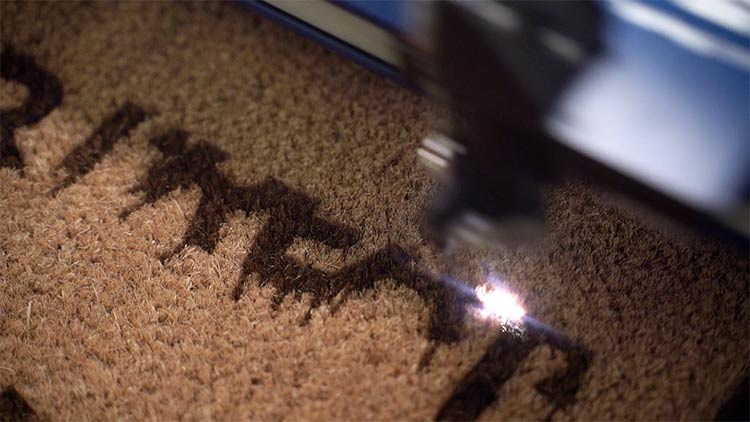
With an industry-leading motion control system and the fastest engraving speeds in the industry, the Fusion Pro made quick work of our coir fiber doormat project, and look at the contrast of that mark!
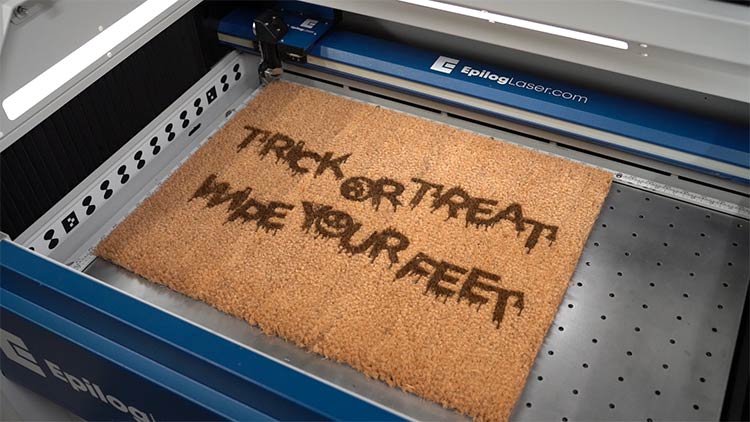
Personalized Coir Doormat Application
And there you have it, my friends! A fun and festive home décor doormat, prime for any doorstep or entryway this Halloween holiday!
