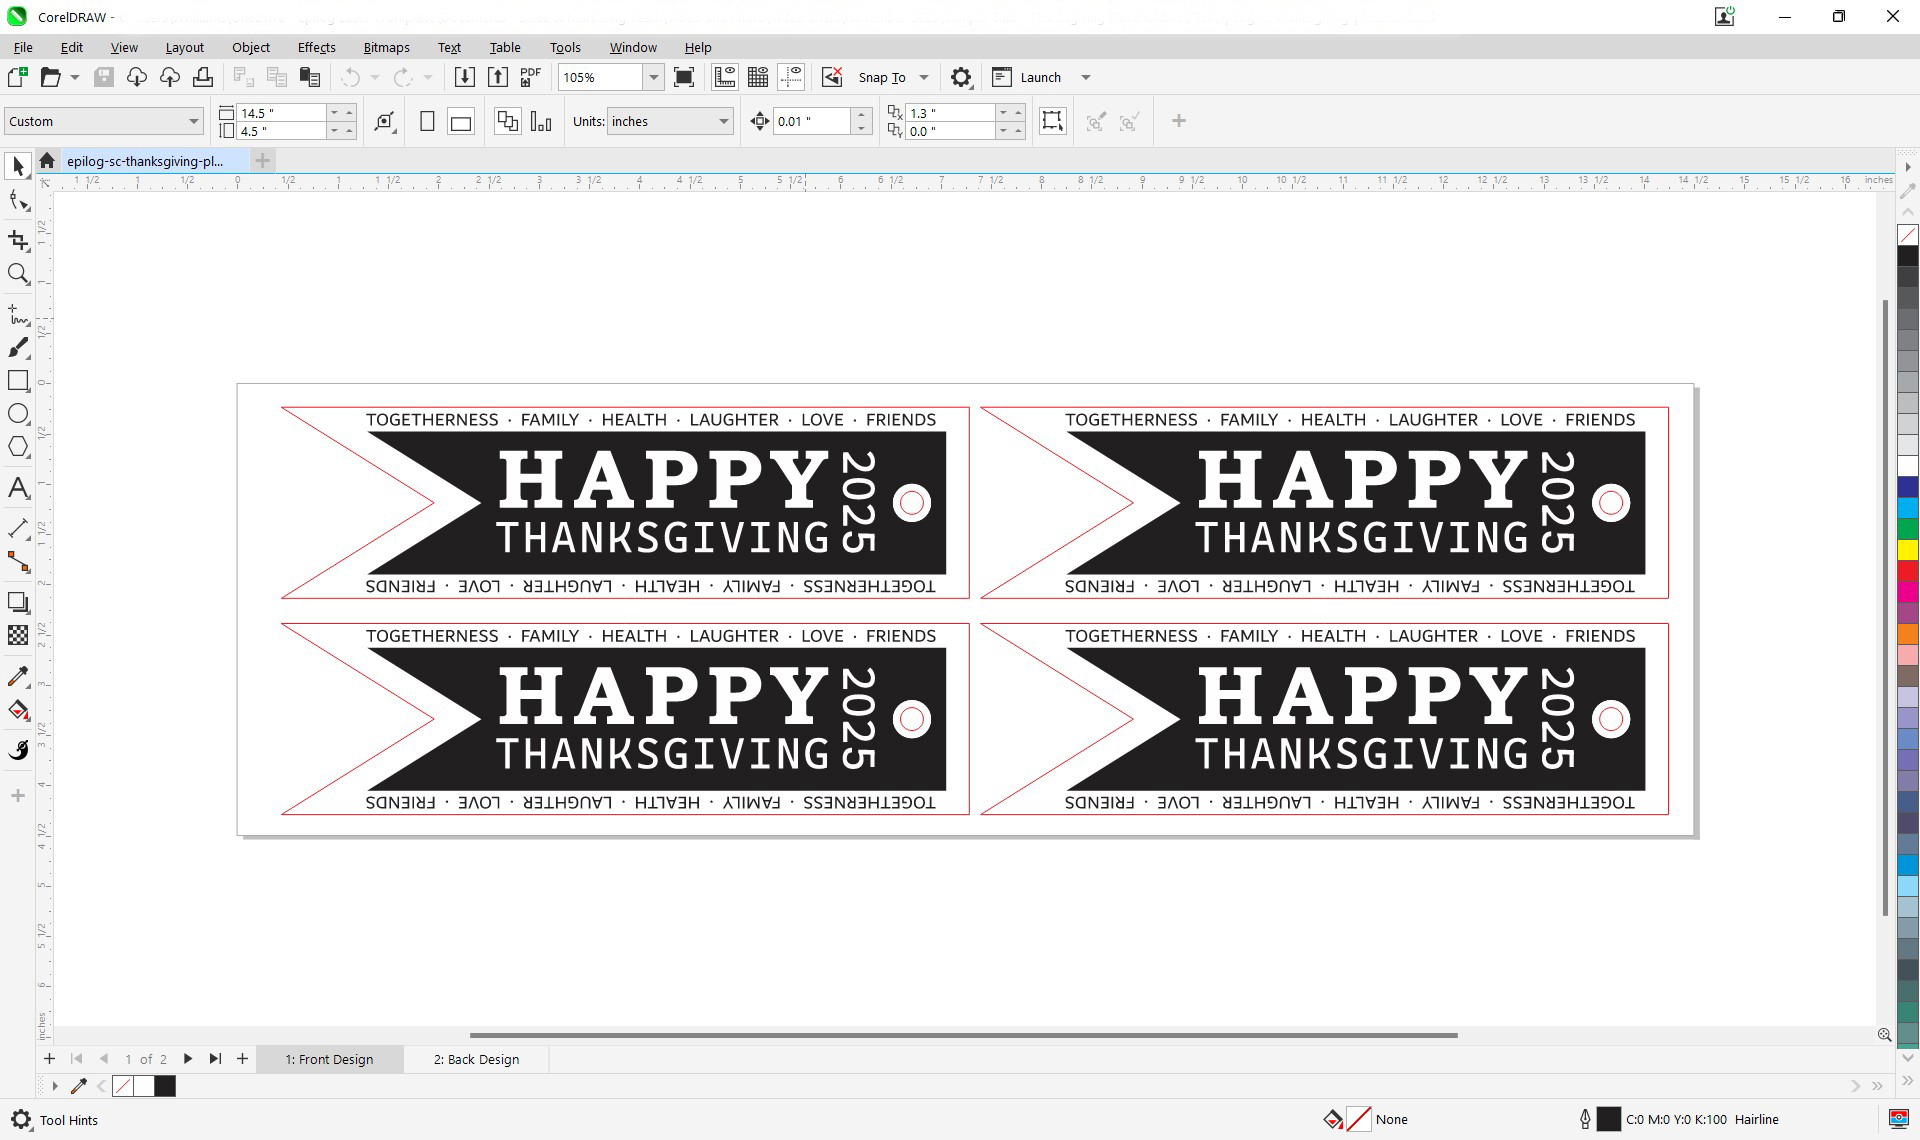
ステップ1:アートワークを準備する
In your design software, make any adjustments to the design as needed. Then print both pages of the artwork to the Laser Dashboard. If you’re using the .svg files, make sure that the artwork is aligned to the center of your page before printing each file.
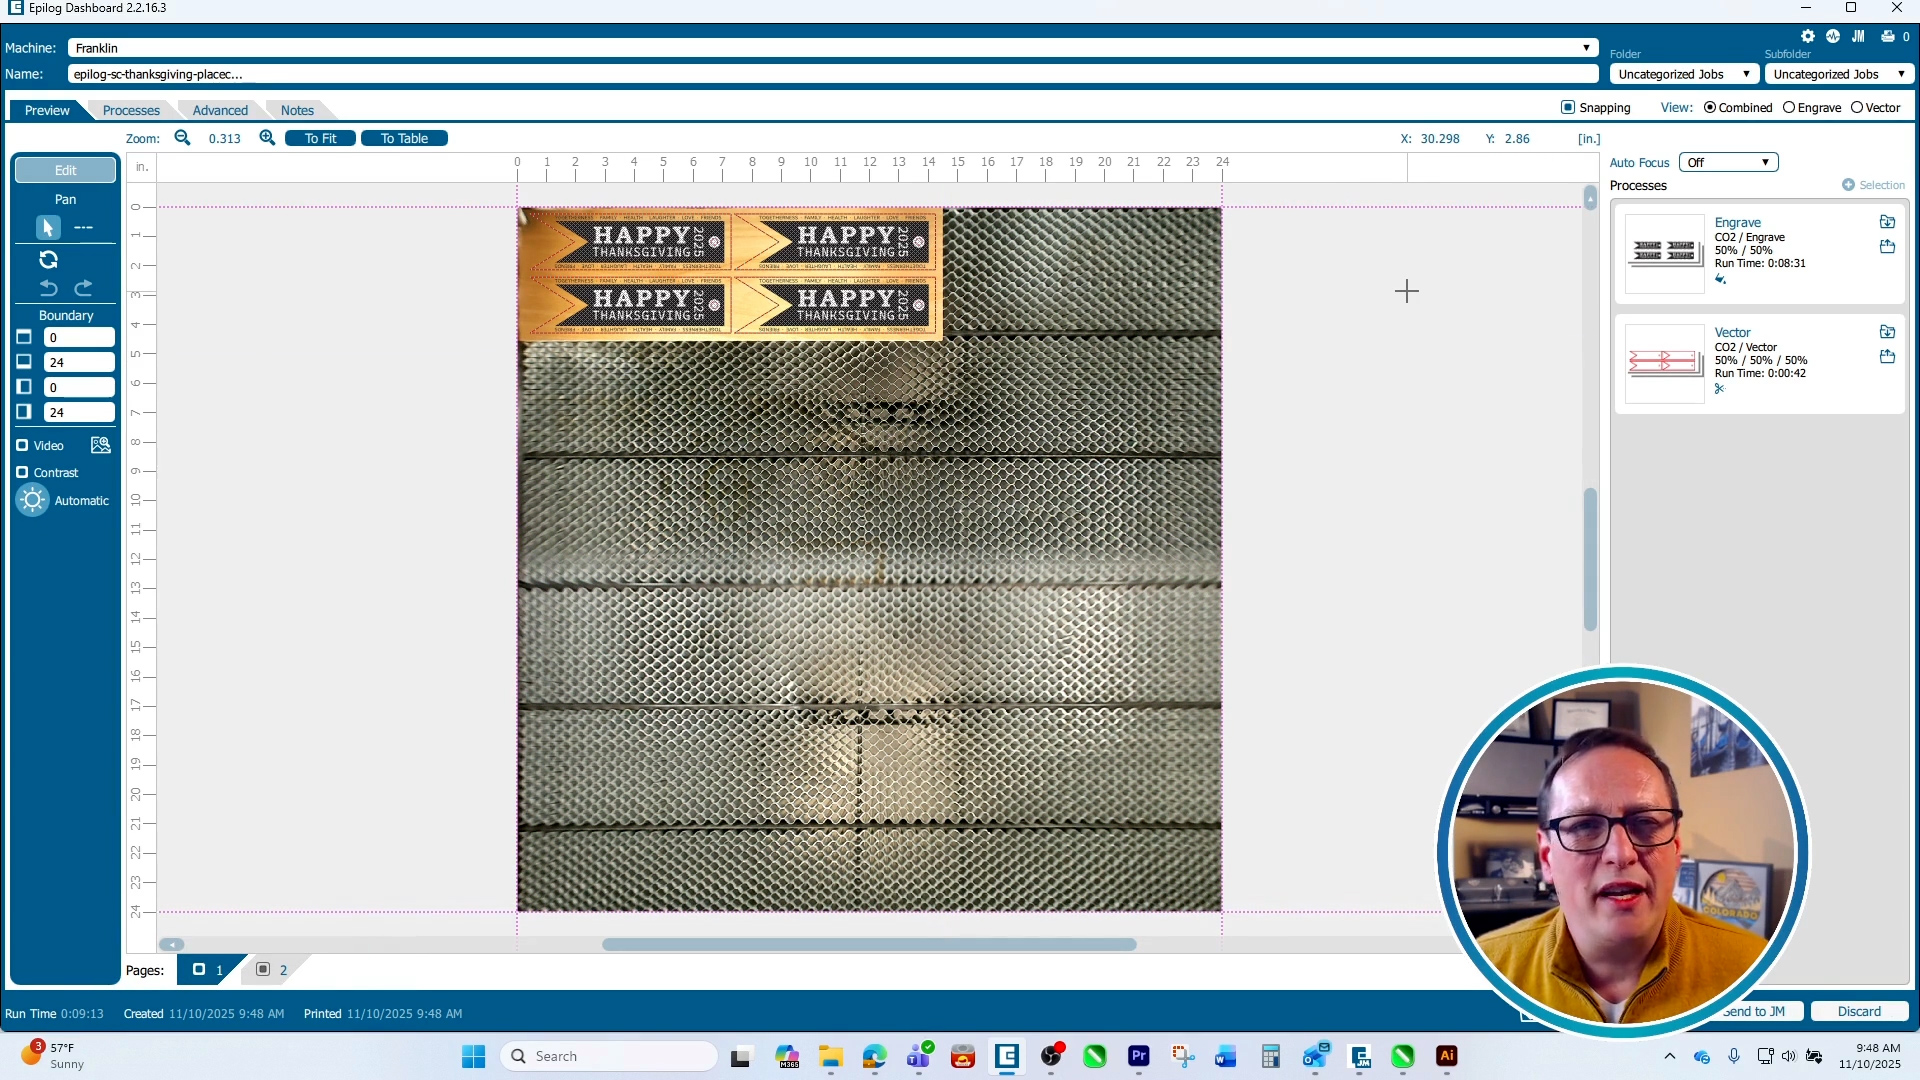
Step 2: Set Parameters in the Laser Dashboard
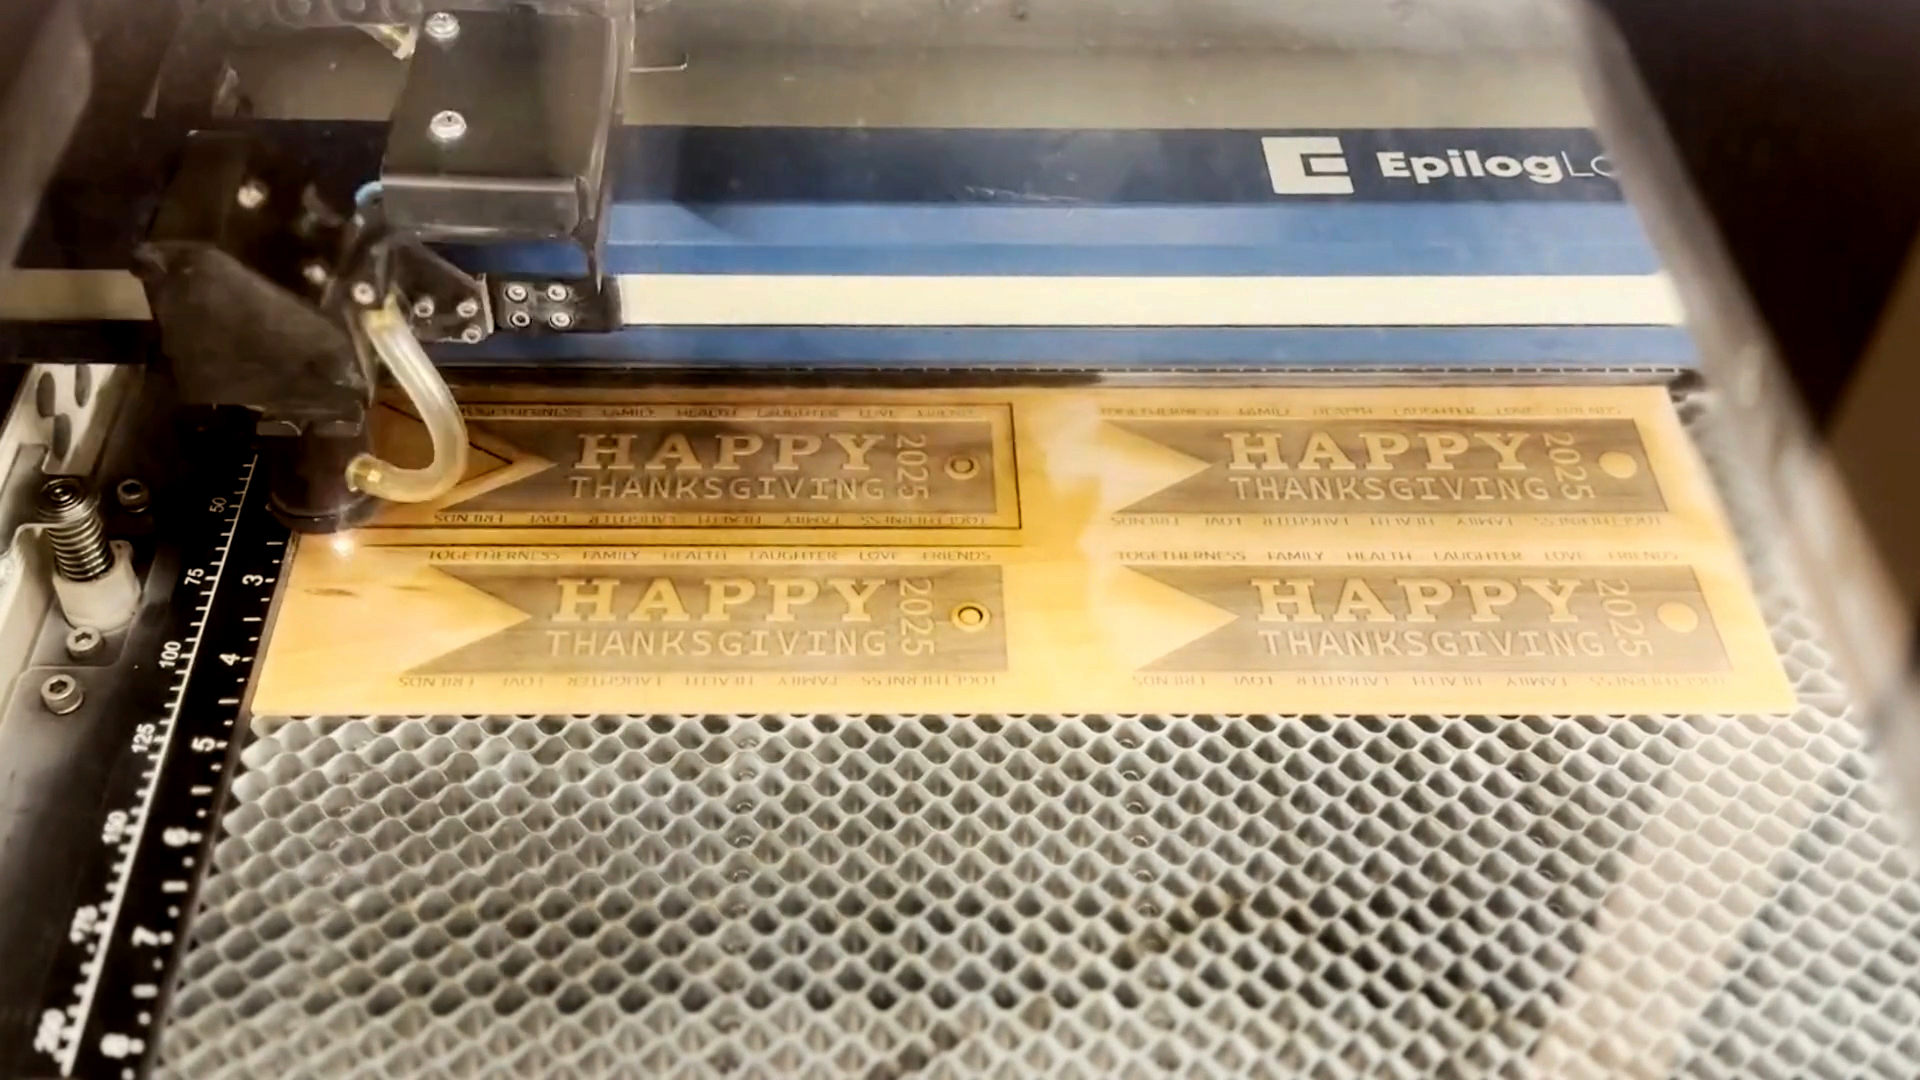
In the Epilog dashboard, input your engraving settings. On an 80-watt Fusion Edge 36 we used 60% speed, 100% power, 500 DPI, and Bottom-Up engraving. For the cutting settings we used 30% speed, 100% power, and 10% frequency. These settings will apply to both pages. Print the jobs to the laser.
Step 3: Run the Job
At the laser, select the first job and press go to start cutting the wood.
Step 4: Clean Up and Place in Jig
Clean off any debris from the engraving, then flip each place card over in the jig to prepare for engraving the other side.


Step 5: Decorate Placecards
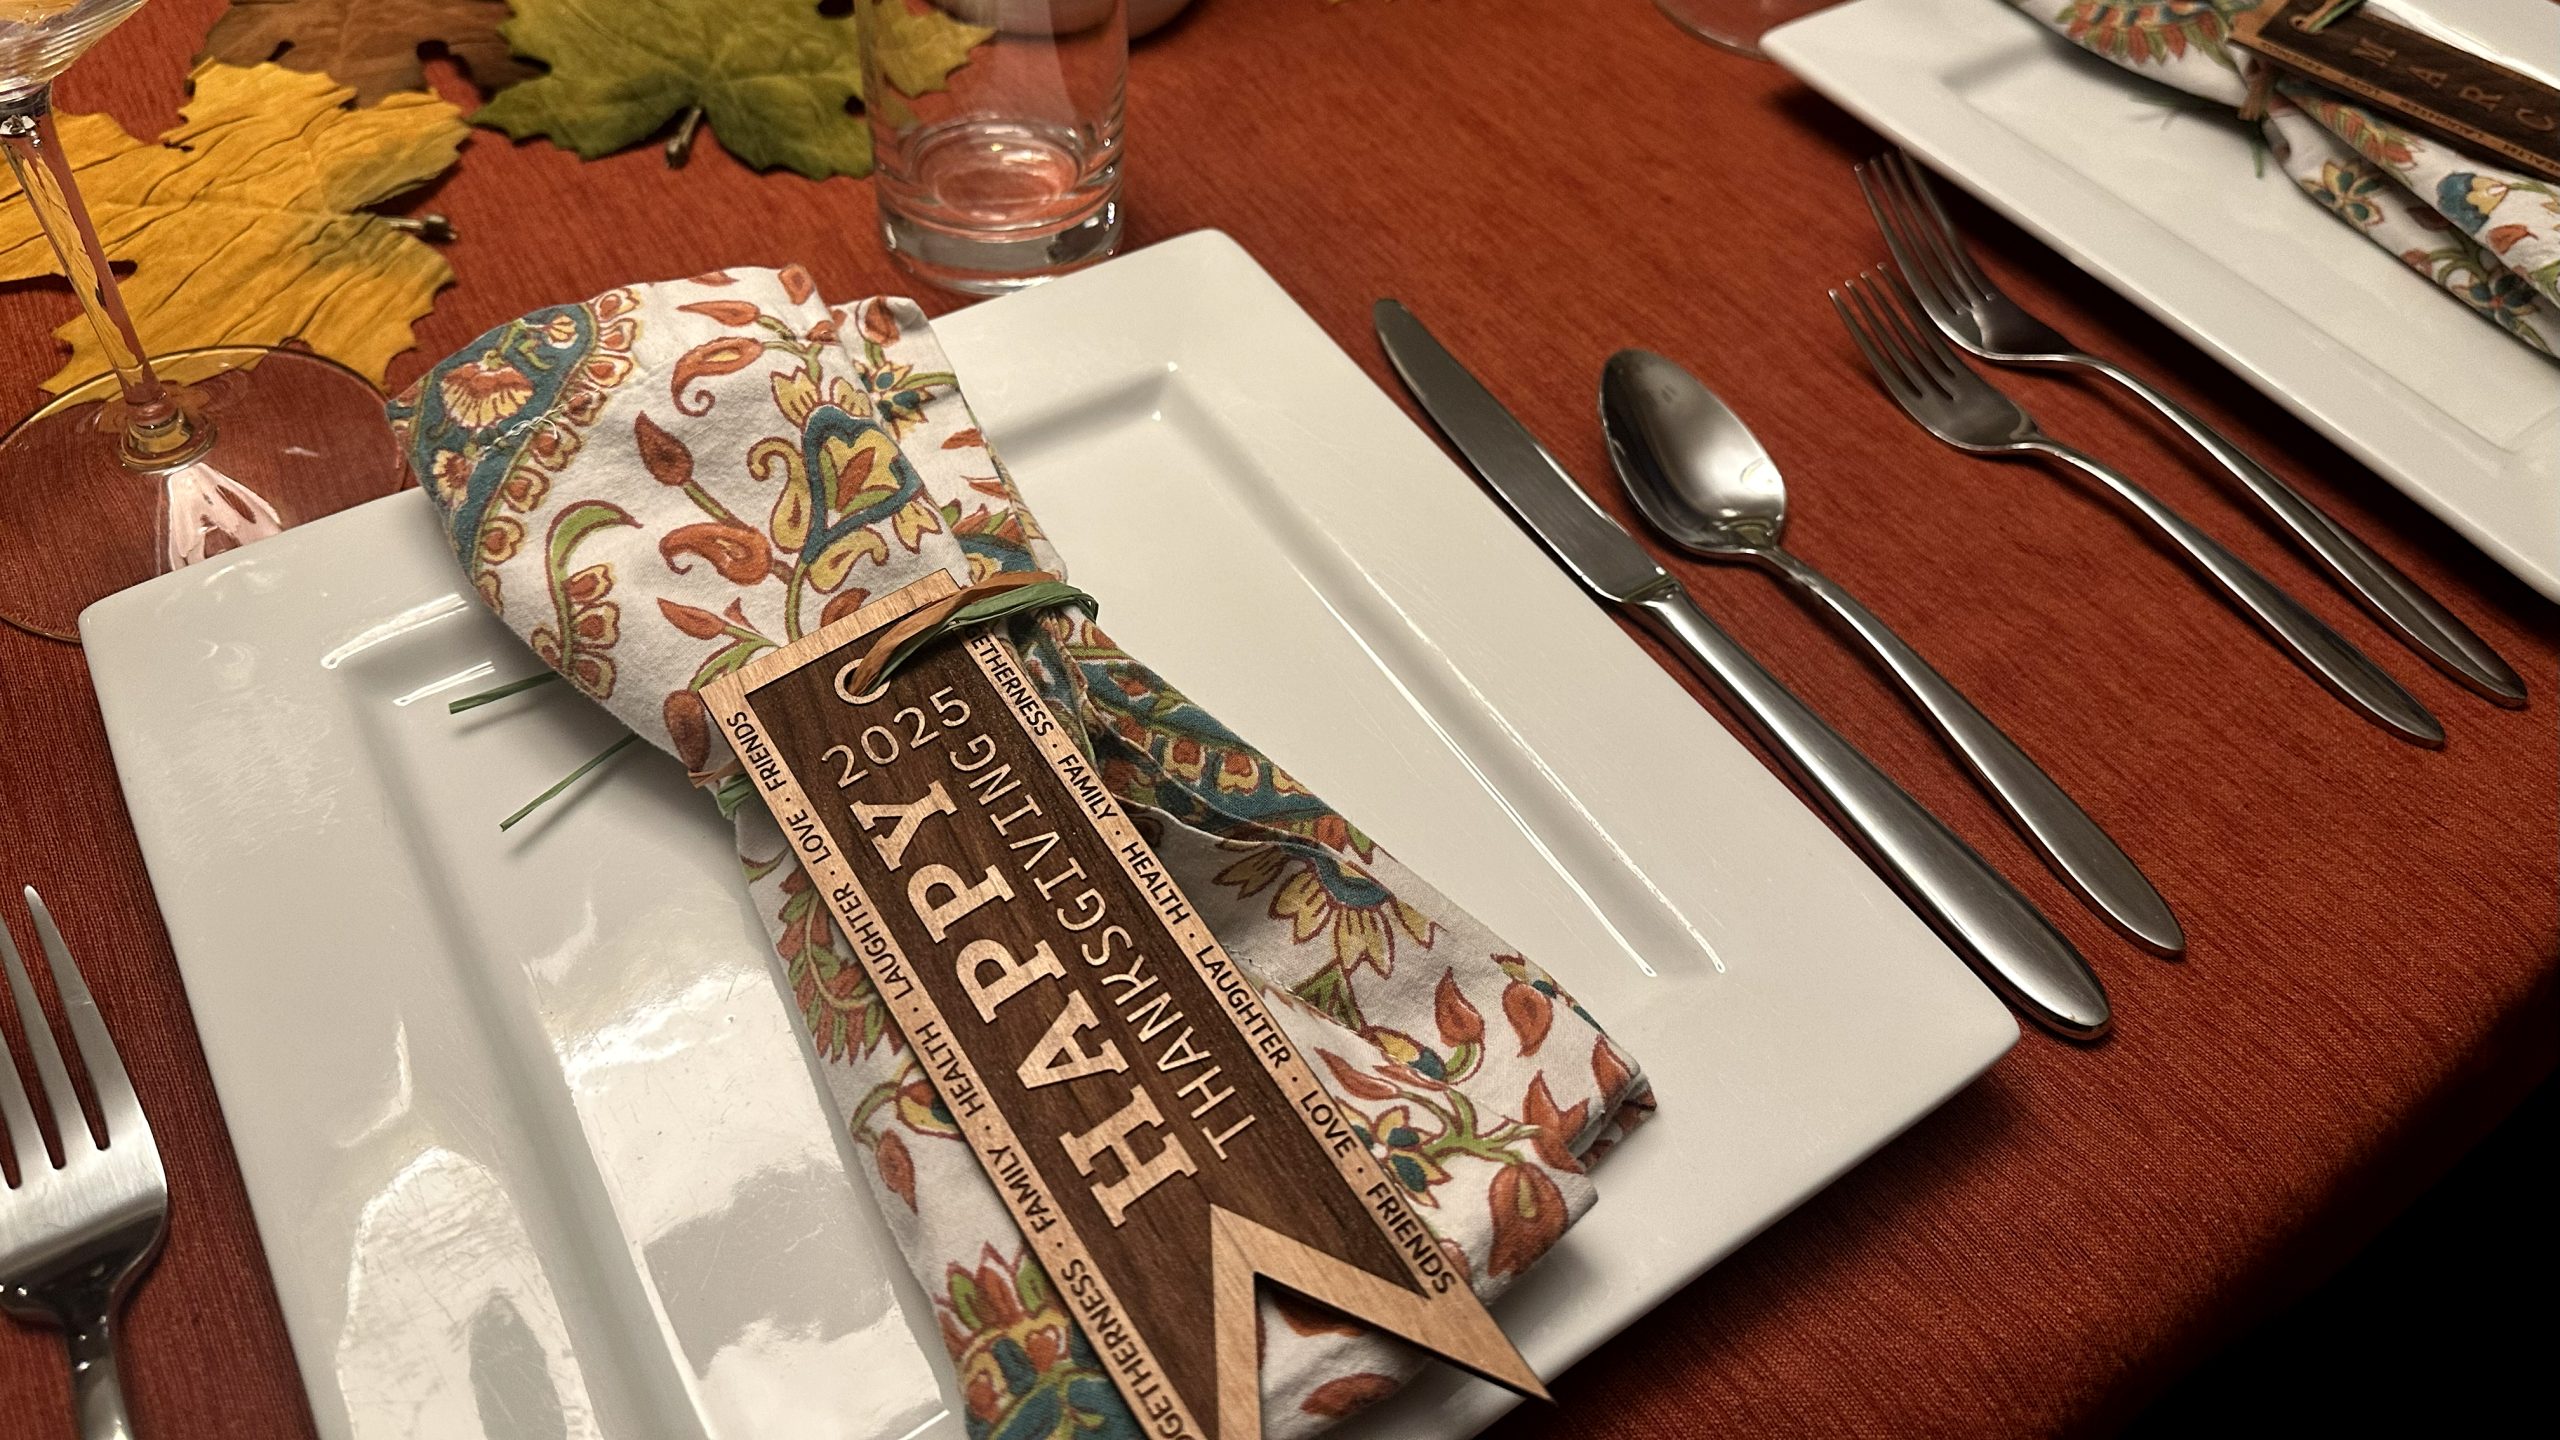
Once the place cards are cleaned up, you can decorate them however you like and they’re ready to be displayed for your Thanksgiving gathering!
Target Markets
Customized laser-engraved and cut place cards have a wide appeal, and you can target several audiences who value personalization and premium event details.
- Event & Wedding Planners
- Corporate Event Coordinators
- DIY Enthusiasts & Makers
- Hospitality Industry