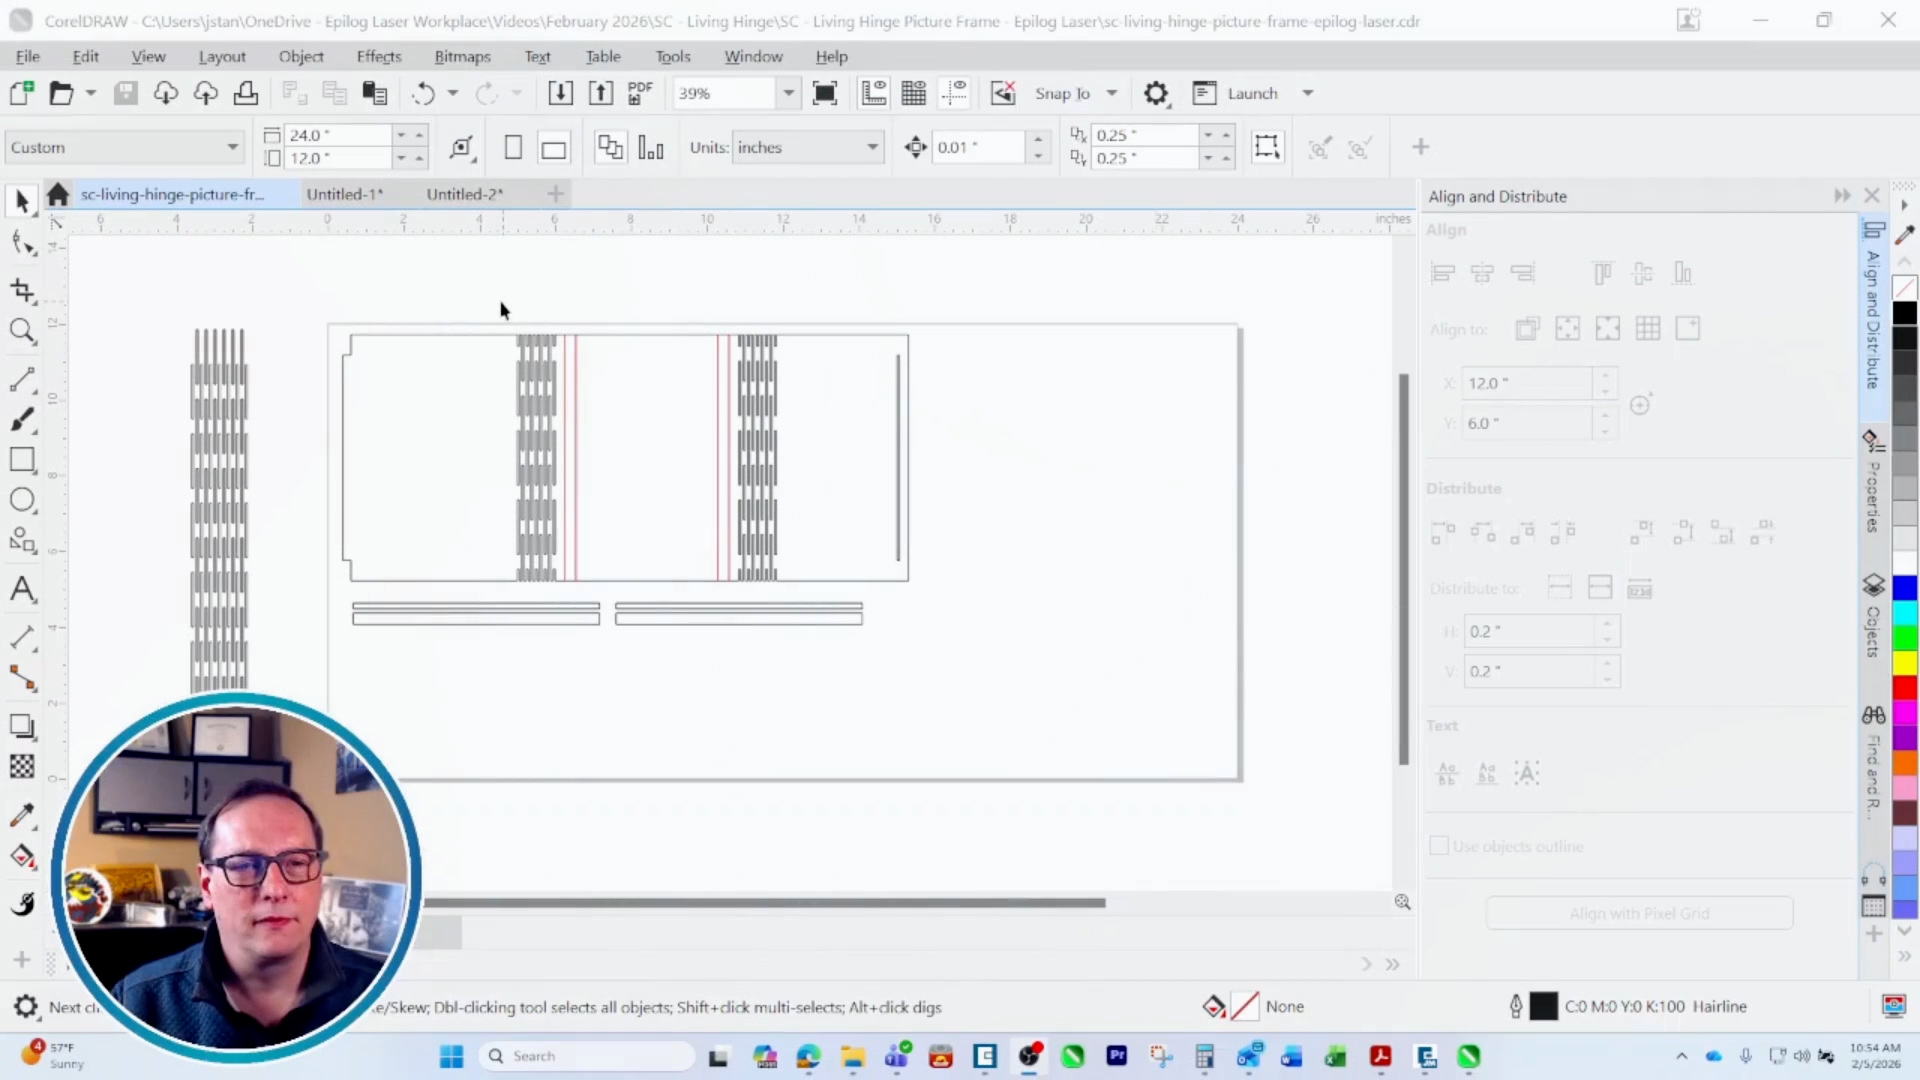
步骤 1:准备艺术品
In your design software, open the file in the design software of your choice, then send it to the Laser Dashboard.
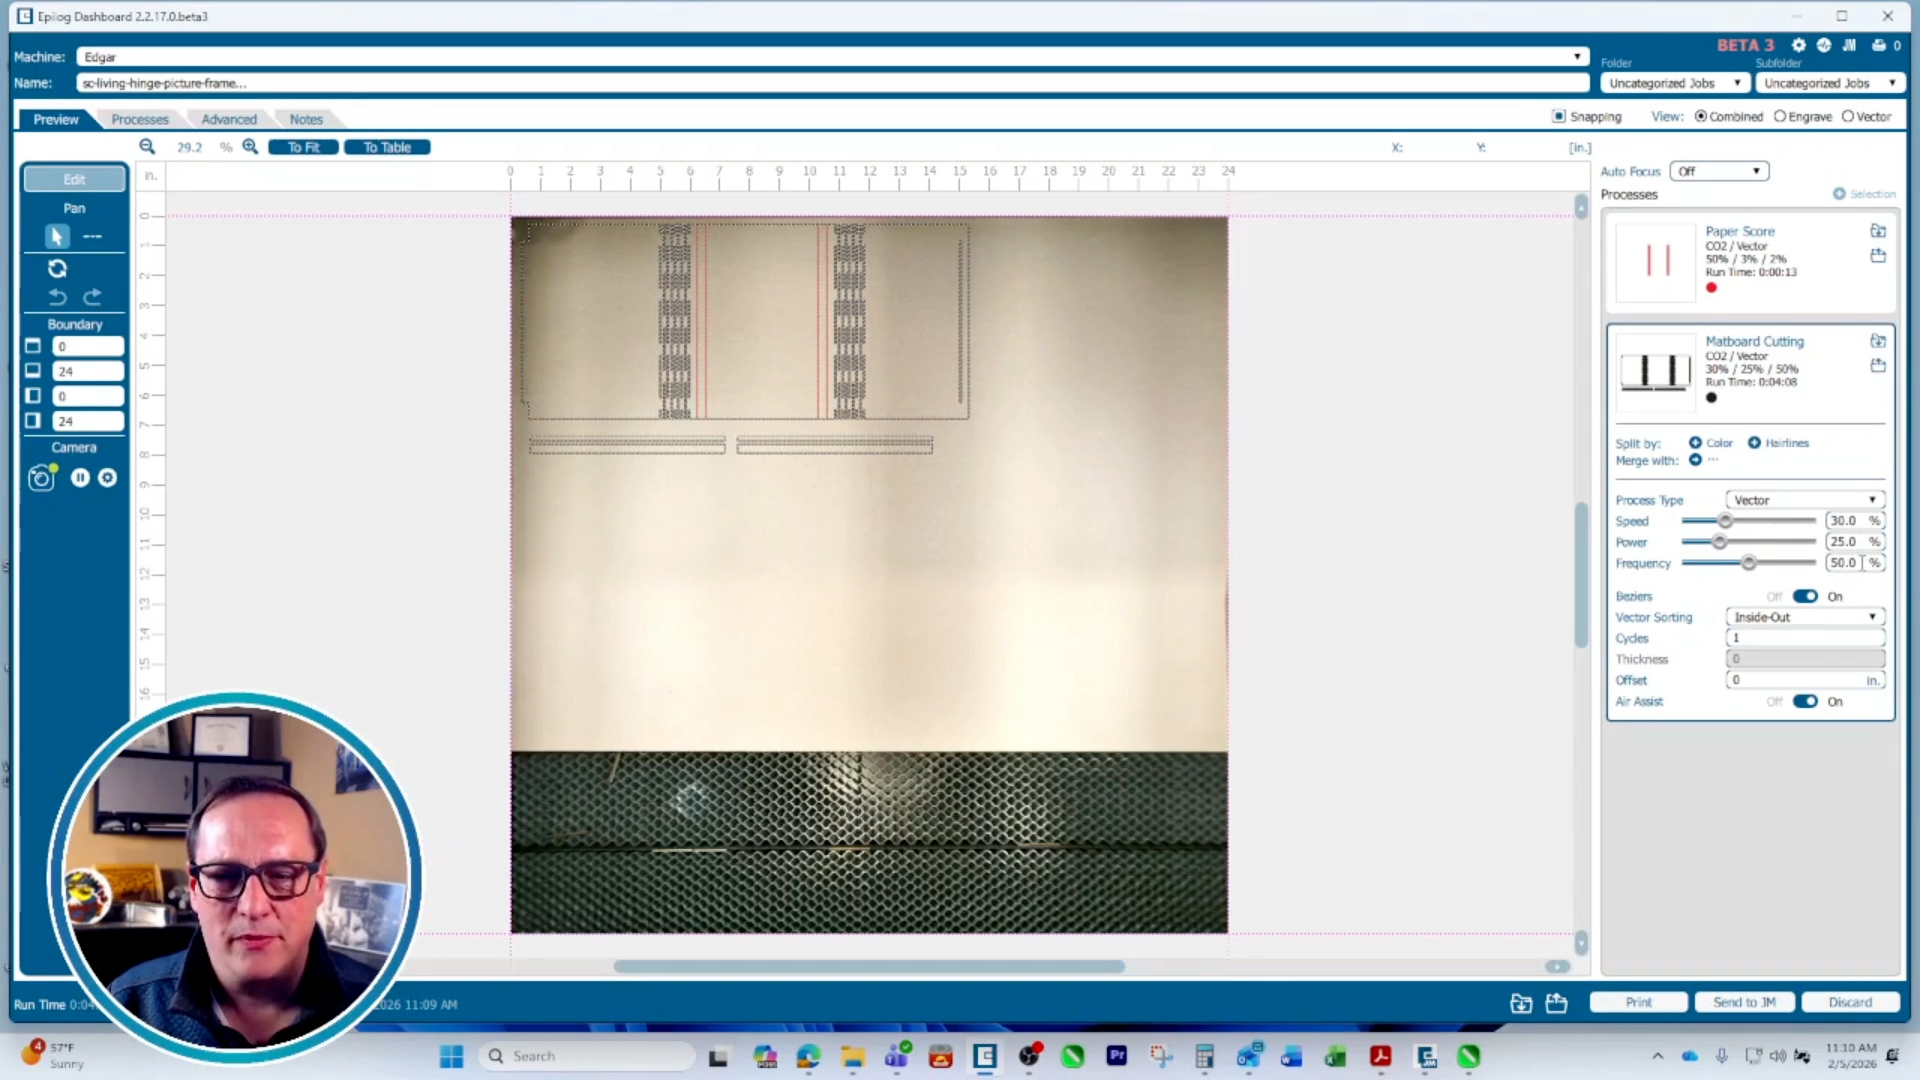
步骤 2:在激光仪表板中设置参数
In the Epilog dashboard, input your cutting settings for cutting and scoring the taskboard. On an 80-watt Fusion Edge 24 we used 30% speed, 25% power, and 50% frequency for the vector process, and 100% Speed, 3% Power, 2% Frequency for the scoring process. Send the job to the laser.
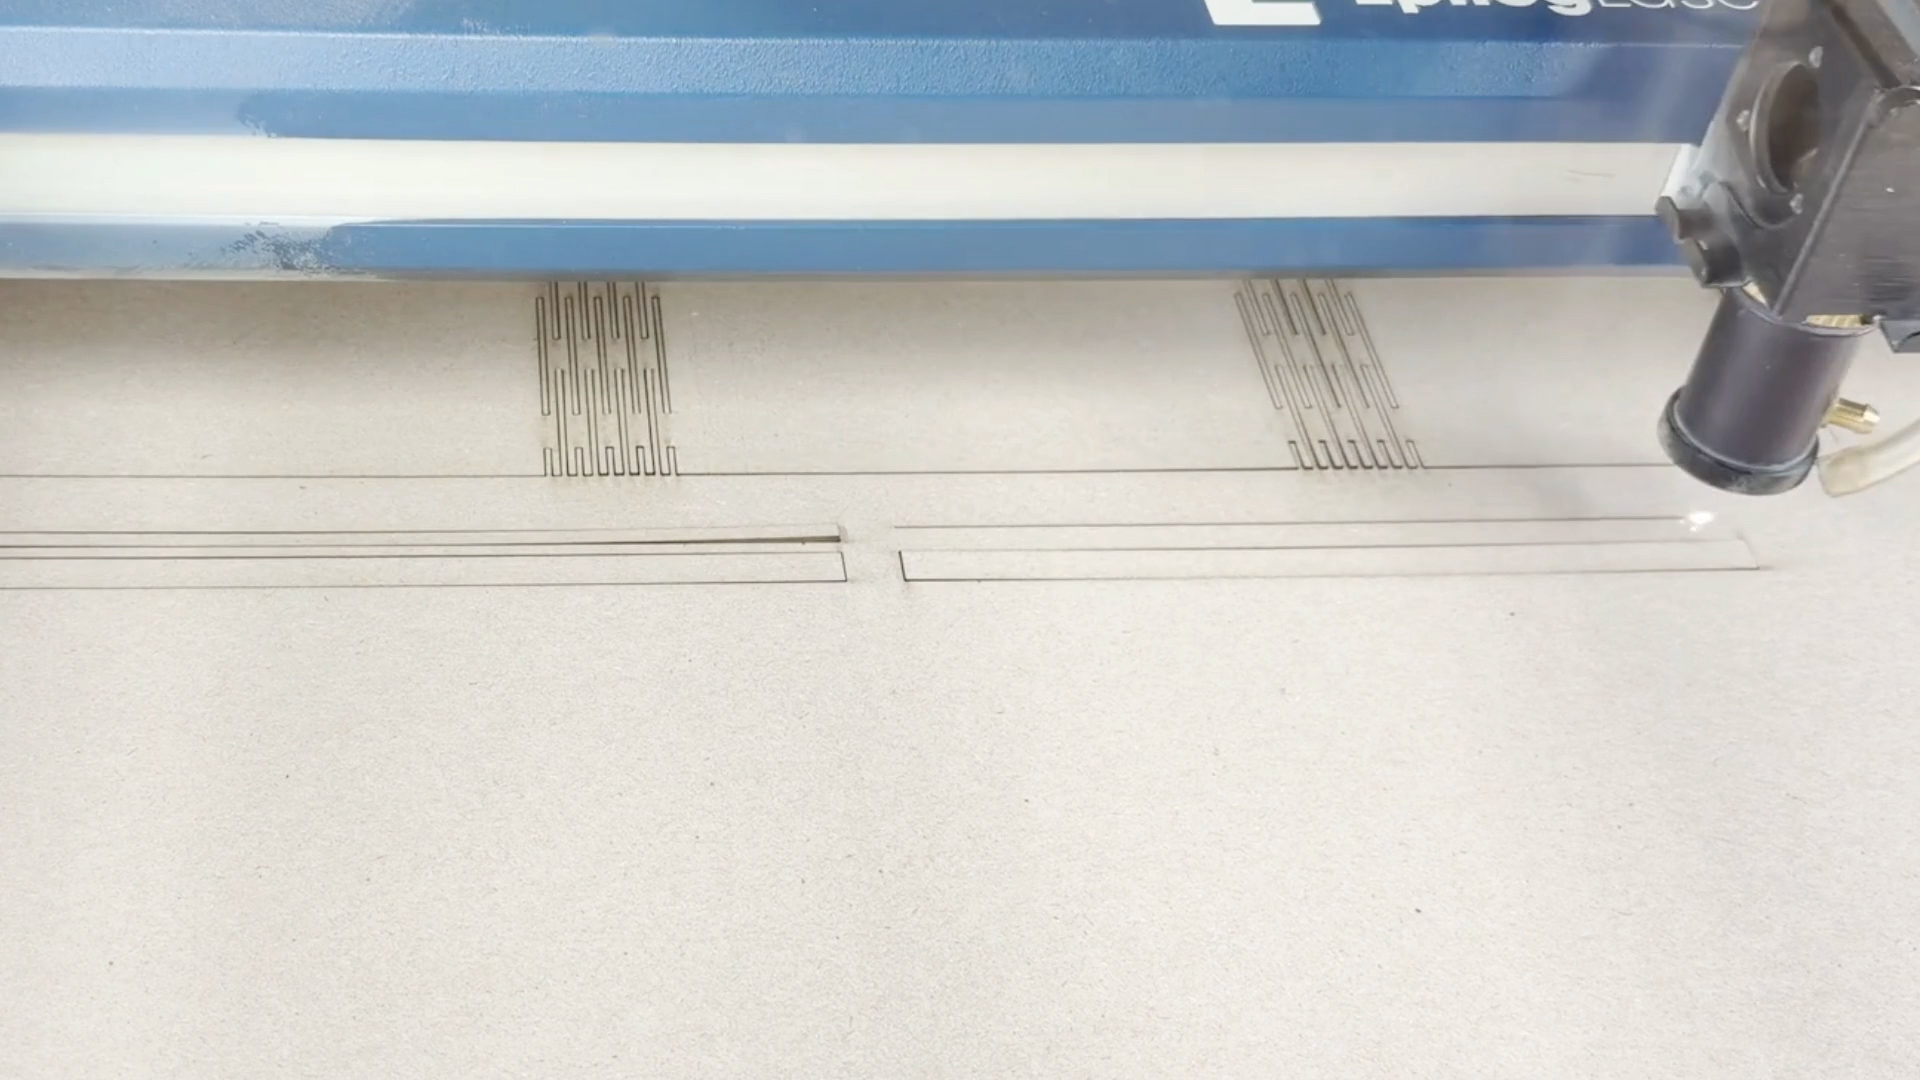
Step 3: Cut the Living Hinge Frame
At the laser, select the job and press go to start cutting the taskboard.
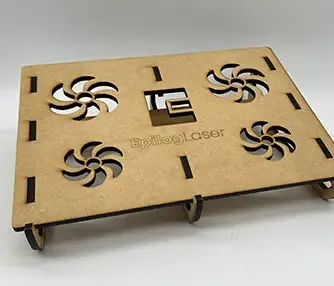
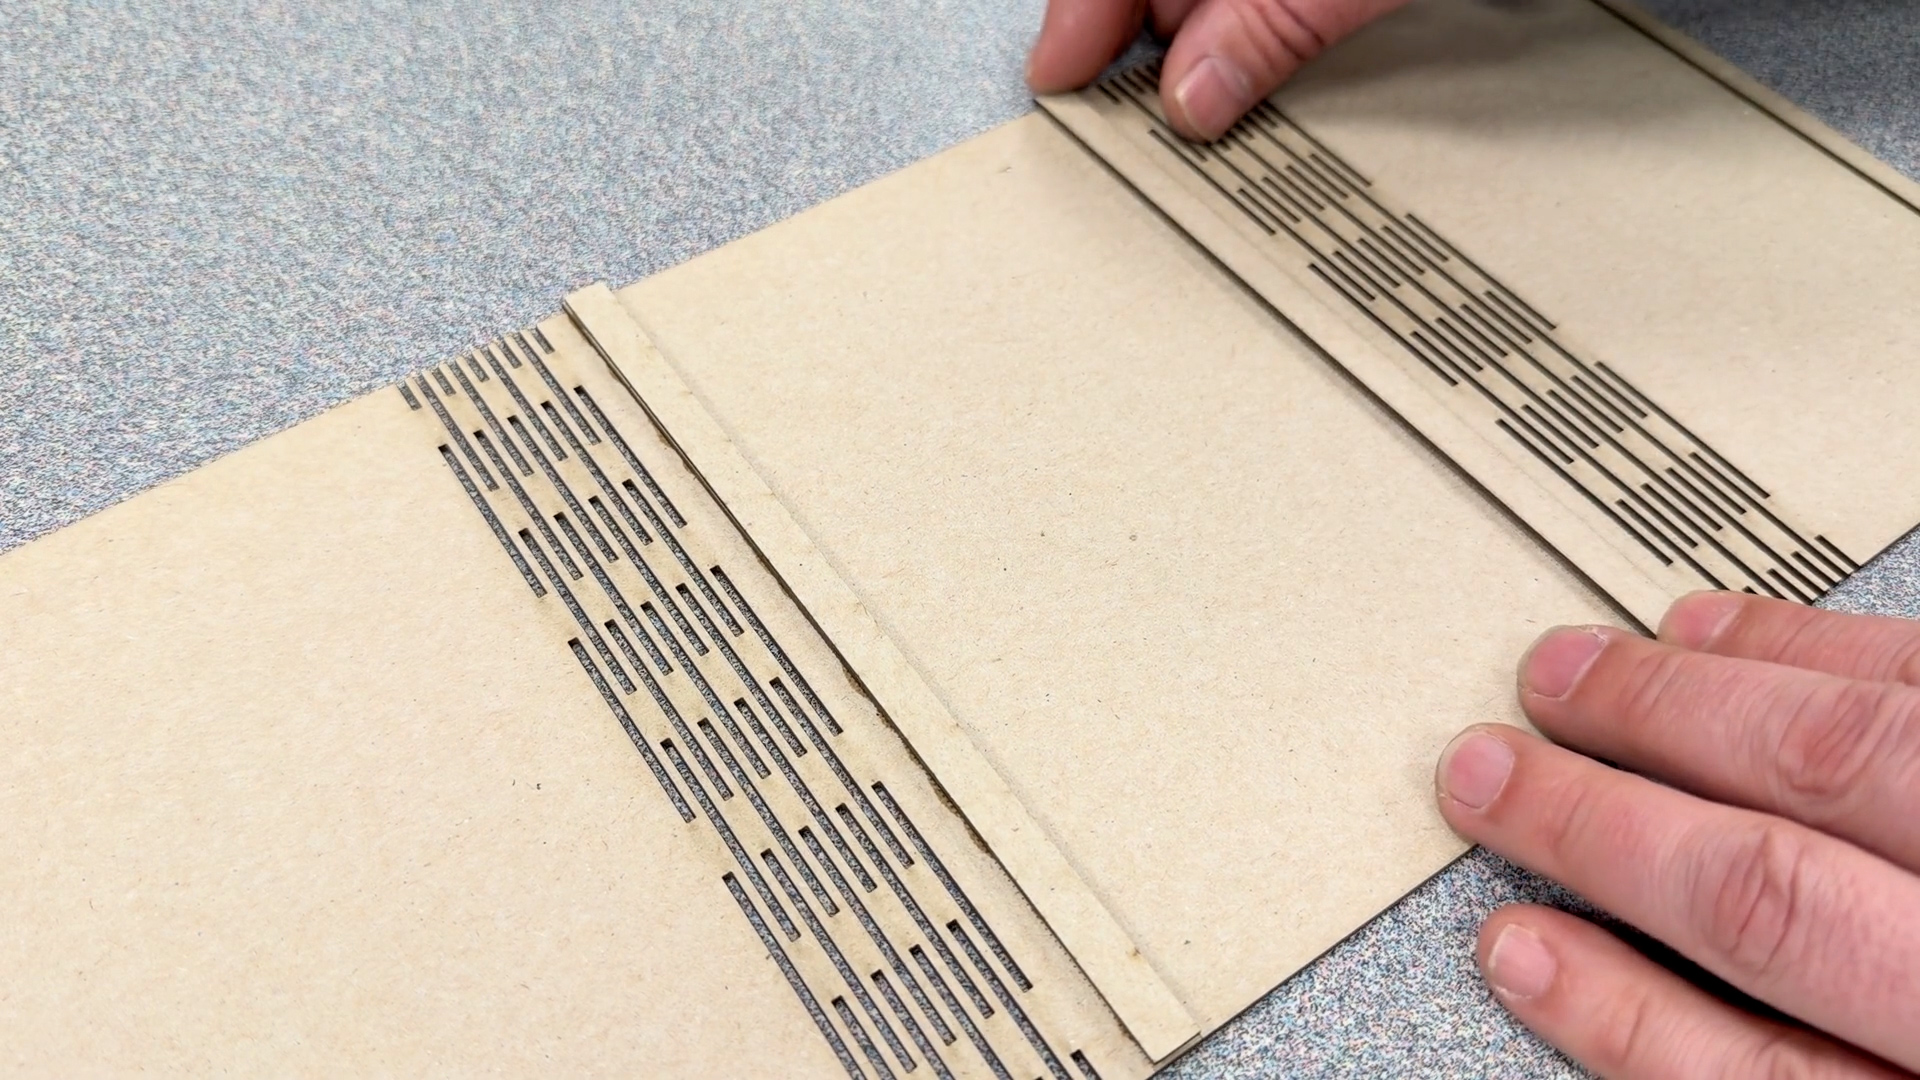
Step 4: Assemble Living Hinge Frame
After removing the cut pieces from the laser, assemble it by gluing the thin strip guide pieces together, then glue them down over the score lines of the frame. Ensure that the thinner piece is glued side down.

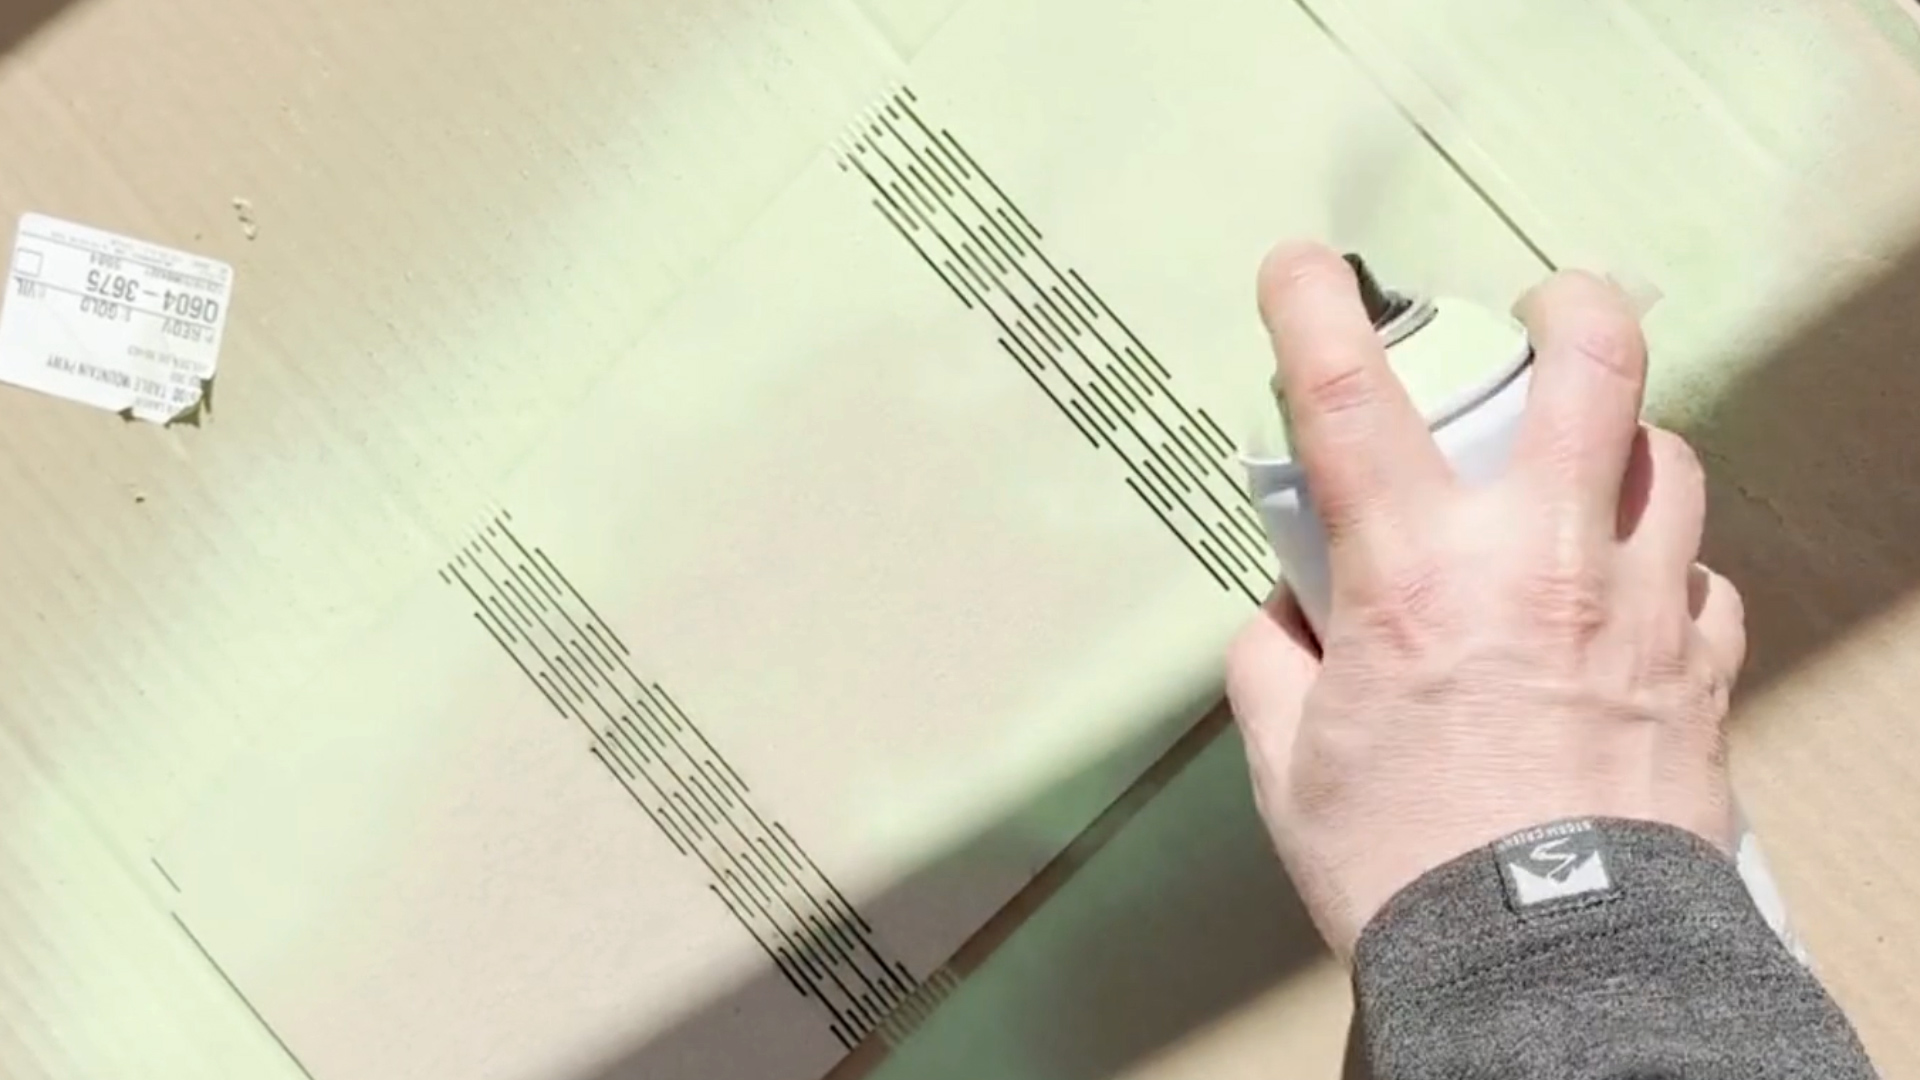
Step 5: Spray Paint Frame
Once the glue has dried, paint both sides of the frame any color of your choosing. For this project we used MTN 94 Spray Paint in the color “Vespa Green”.
Step 6: Final Touches
Once the paint has dried, place the tab end of the frame into the slot, then slide your picture into the frame.
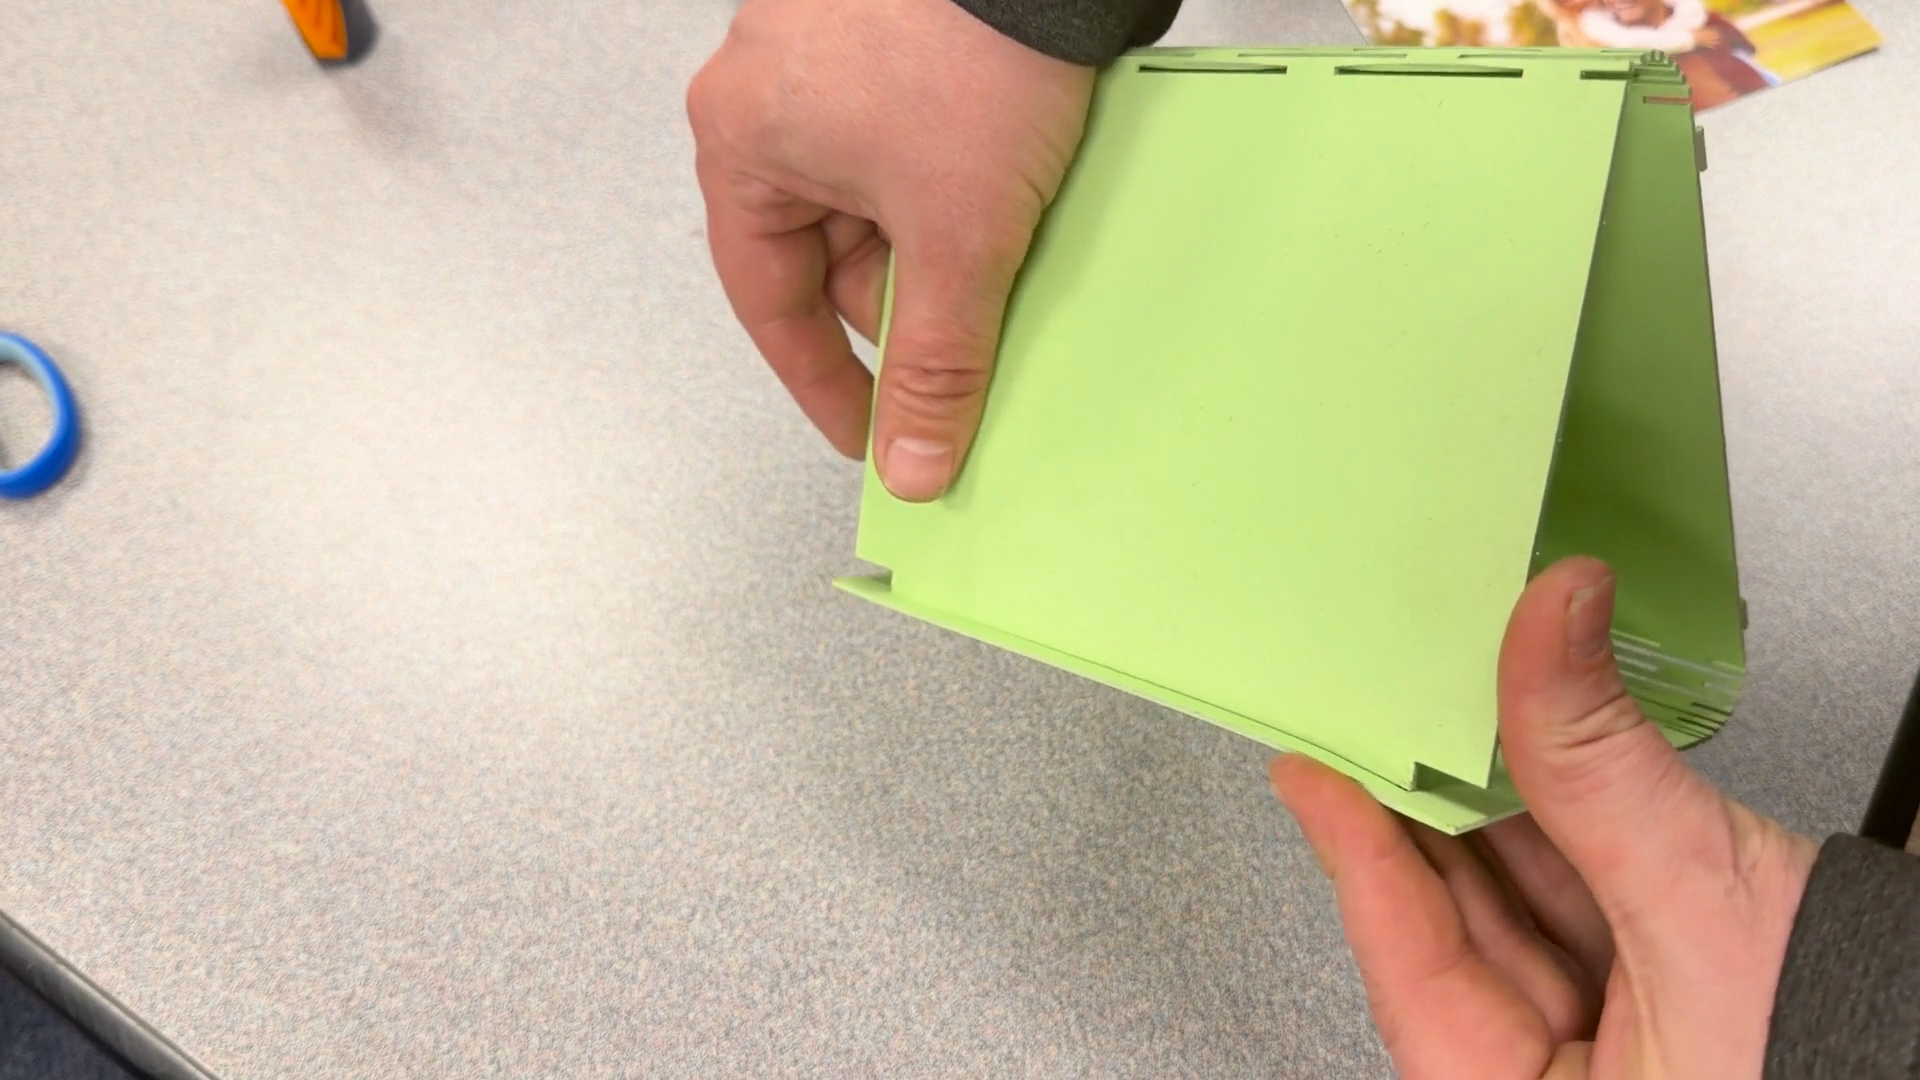
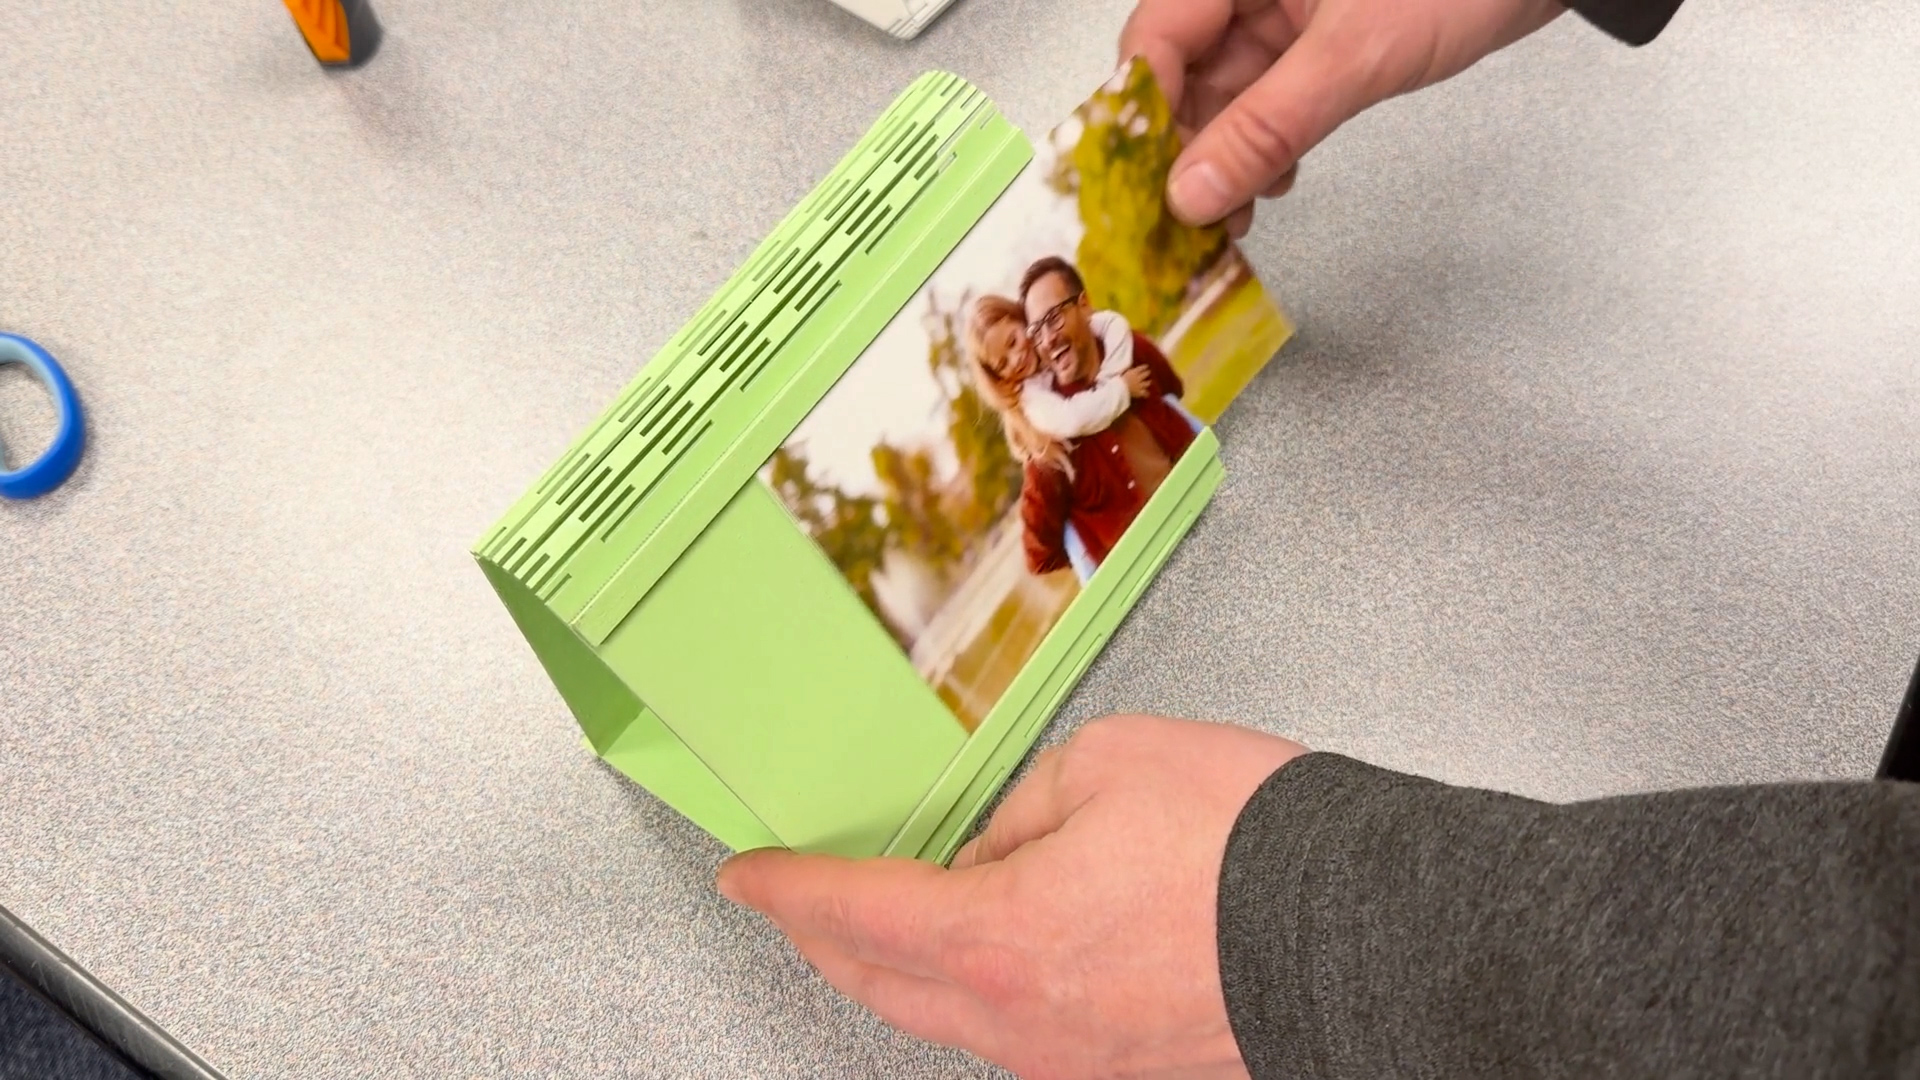
Now your living hinge picture frames are ready to go!
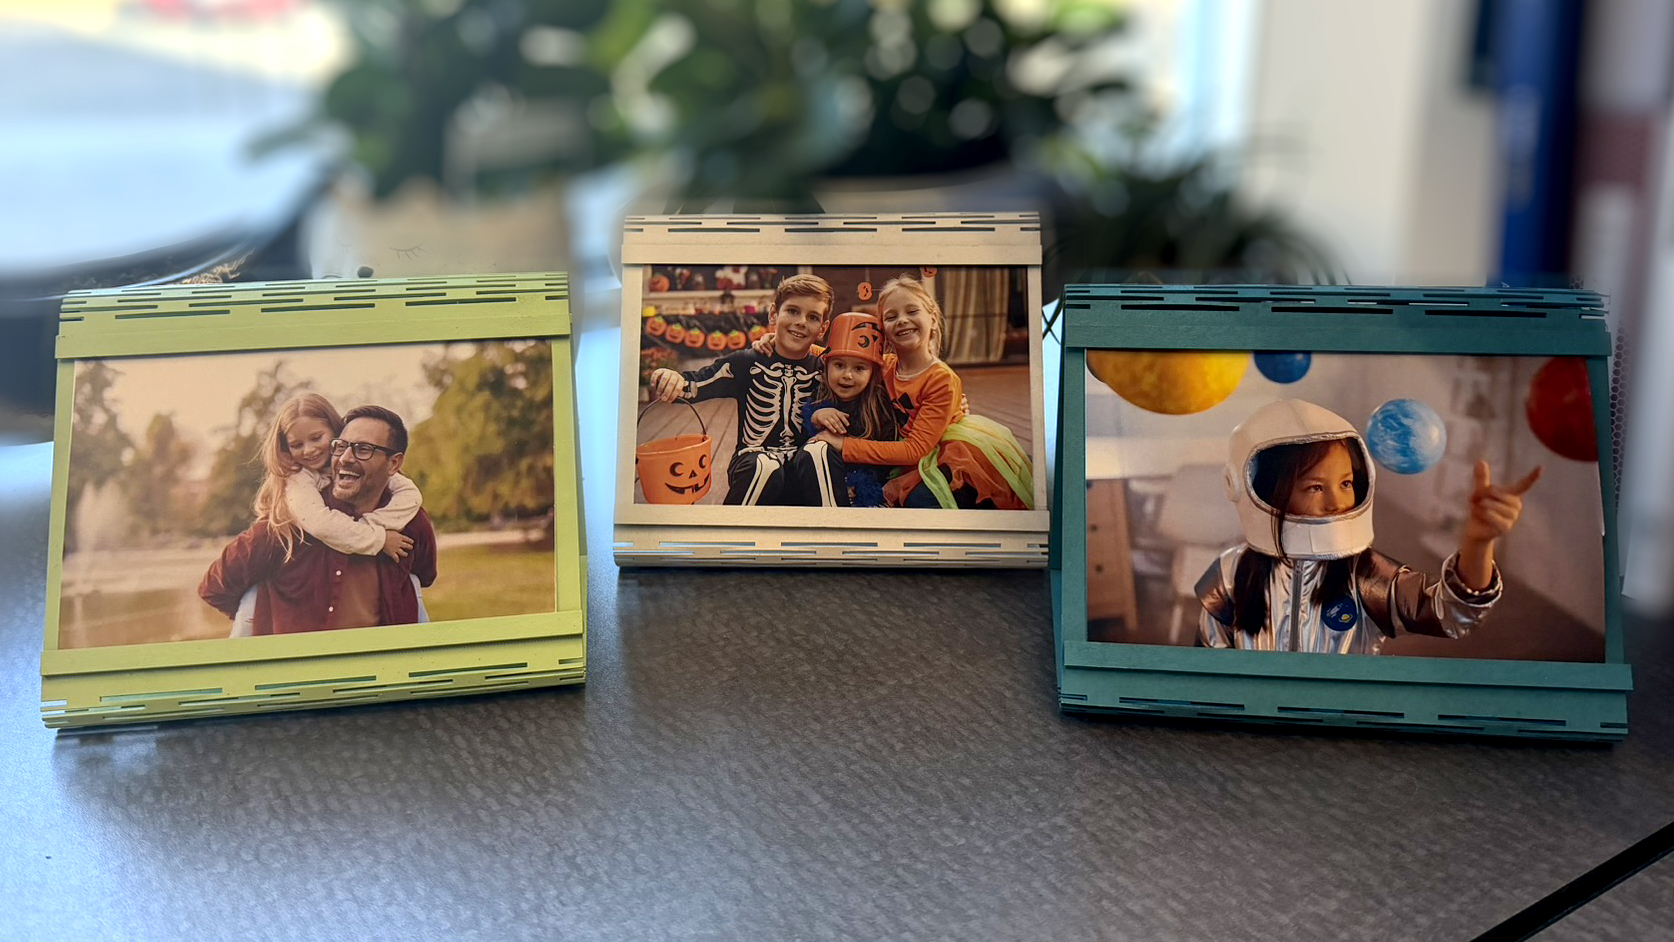
Target Markets for selling the Living Hinge Frame include:
Gifts & Keepsake Market
- Birthday gifts
- Anniversaries
- 婚礼
- Baby & milestone gifts
- Mother’s/Father’s Day
- 节日
Home Décor Retail
- Small home décor stores
- Artisan gift shops
- Handmade goods stores
- Local boutiques & craft malls
Craft Fairs & Markets
- 农贸市场
- Artisan Markets
- Seasonal Fairs
- Holiday Craft Shows
Photography Studios
- Family portrait studios
- Wedding photographers
- Pet photographers
- Senior portrait studios
Wedding & Event Market
- Table décor
- Photo gifts for bridesmaids/groomsmen
- Favors
- Guest gift packages
- Personalized thank-you gifts
- Event planners also love unique, customizable pieces.
Souvenir & Tourism Shops
- Museum gift shops
- Tourist centers
- Favors
- National/state park shops
- Local attractions